Timer hold
Note
If “hold” is selected the timer will not start until the
temperature set point is reached. If “hold” is unselected
the timer will begin as soon as the controller returns to
run mode.
To use the "Timer hold" function obey the following steps:
1. Press the menu key to move the arrow to the "hold" box.
2. To activate or inactivate the "Timer hold" function use the
up/ down keys.
Timer enabled
Note
Always activate “Timer en” when you want to use the
“Timer hold” function!
Note
If “Timer en” is selected while “Timer hold” is unselected
the countdown will start even if the set point temperature
is not reached yet.
To use the "Timer en" function obey the following steps:
1. Press the menu key to move the arrow to the "en" box.
2. To activate or inactivate the "Timer en" function use the up/ down
keys.
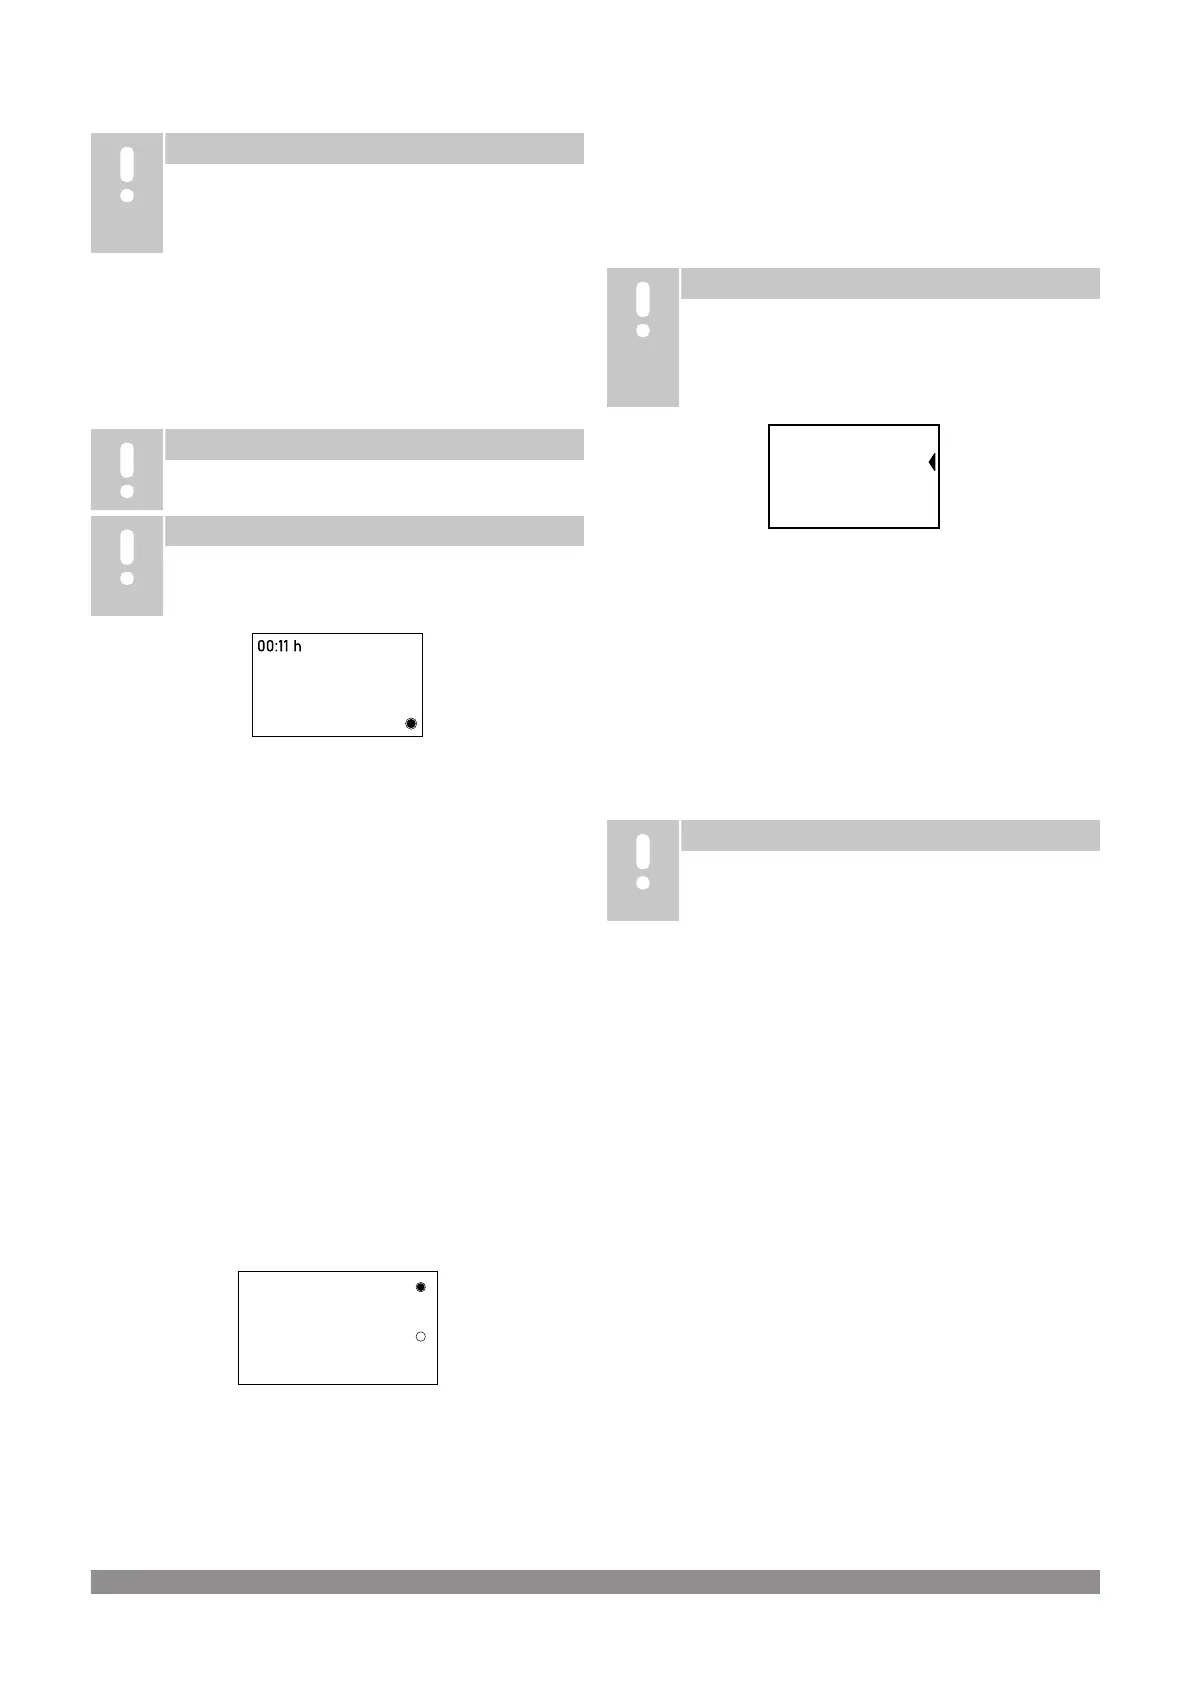
The timer period is displayed in the top left corner of the main screen
while the timer is enabled. If "Timer hold" and "Timer en" are enabled
at the same time the display will show a "h" next to the timer until the
countdown starts.
After the timer countdown has ended the heating mode is turned off
automatically and the controller is going back to standby mode.
In both modes the colon between the hours and the minutes will flash
to indicate that the timer is running.
Timer completed
After the countdown stops, following things will happen
simultaneously:
• The temperature control function will stop.
• The display will start to flash and show "Timer Complete!".
Timer restart
RESTART TIMER
REVERT TO
STANDARD MODE
CD0000584
To restart the timer or to revert to standard mode, press the menu key
from the "Timer Complete!" screen.
The "RESTART TIMER" option will start the heating cycle with the
same settings as before.
The "REVERT TO STANDARD MODE" option will reset the settings
from the cycle before and the controller will return to standard mode.
To change between both options, press the up/ down key. Enter each
option by pressing the menu key.
3.7 Hysteresis
Note
Selecting a lower value for the hysteresis will give a
better accuracy for the set-point temperature, but the
heater will be turned on and off more often. This can
reduce the life time of the relay. If accuracy is less
important it is recommended to use a higher value.
CD0000616
HYSTERESIS
OFFSET
UNITS
TIMER
2
0
°C
The hysteresis is the difference (in degrees) between switch-on and
switch-off temperature during the heating mode.
The heat up period will stop at the set-point temperature. It will be
switched on again at the set-point temperature minus the hysteresis
value. The hysteresis range is adjustable between 1 and 9. The
default value is 5.
While the arrow on the display points to the Hysteresis option, use
the up/ down keys to change the value.
3.8 Offset value
Note
In some situations the actual temperature of the product
being heated may differ due to higher or lower heat
losses.
The offset value is used to correct the difference between the
temperature displayed and the actual temperature of the product
being heated. This difference can occur because the sensor of the
controller is attached directly to the heater.
The offset value can be adjusted between -10 and +10, but the value
required can only be found by testing in the given situation.
While the arrow on the display points to the offset option, use the
up/ down keys to change the value.
3.9 Unit settings
While the arrow on the display points to the units option, use the
up/ down keys to change the setting between °C (Celsius) and °F
(Fahrenheit).
Pressing the menu key at this point will return the controller to the
main screen.
3.10
Standby
Pressing the standby key for 2 seconds will put the controller into
standby mode. The display will show "STANDBY".
The temperature control function will stop and the display backlight
goes dark.
Pressing the standby key while the controller is in standby mode will
turn the backlight on again and the controller will return to the main
screen.
Uponor Ecoflex heating blanket
|
Operation manual
|
7