5
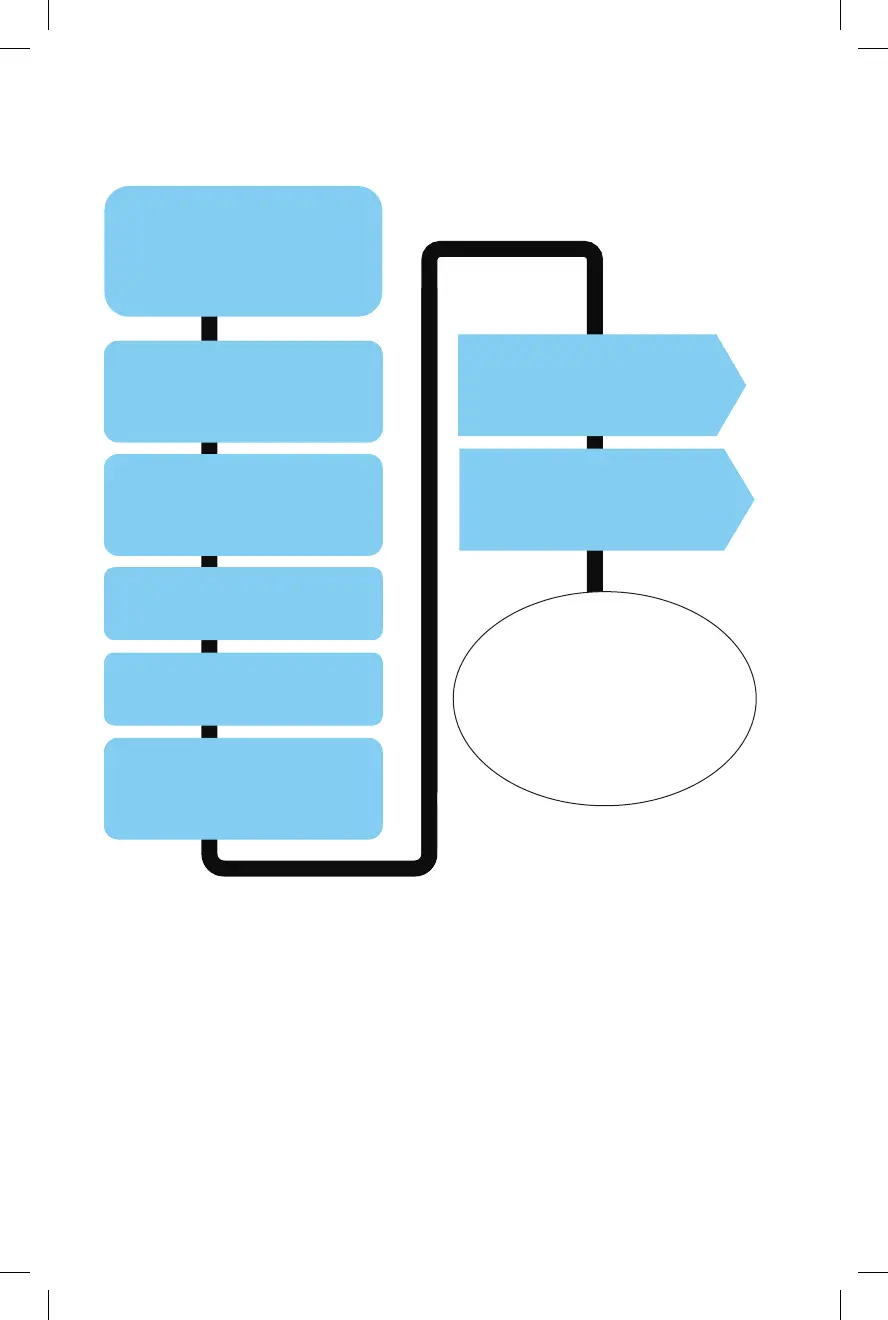
Installation
Instruction A:
Connecting to
XM Tuner
Disconnect CAS-H3t
from CAS-H3x. DO NOT
use the CAS-H3t cable.
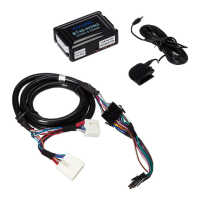
Install the BT45 interface
module in an easily
accessible location.
Install the microphone
See Diagram C (p. 9) for
recommended locations.
Connect Cable to XM tuner
See Diagram A (p. 6)
Locate XM tuner
See Chart 1 (p. 2)
Pair your Bluetooth
device (phone)
See p. 10 for instructions
Learn about audio streaming,
hands-free phone calls, and
AUX input on p. 11-13.
Make sure you have
completed all of the above
steps and made a couple of
test calls before putting
your car back together.
Installation Steps and Diagrams
Bluetooth Pairing Steps
1. Enable Bluetooth function on your device (phone)
2. Turn the vehicle’s ignition ON
3. Scan/search for available device from your phone.
- It may take up to 60 seconds for your phone to
locate the BT45-HON
Radio with XM/AUX button
4. Select the XM1 source
from your radio.
5. Select BT45-HON3 from
the list of available devices
your phone has detected.
6. Allow the pairing process
to take place.
7. Once the pairing is
complete, you will hear the
“CONNECTED” voice
prompt from your vehicle's
audio system and you will see
your device's name displayed
on the radio screen
i.e. USA SPEC Test Phone.
Radio with CD/AUX button
4. Select the CDC (CD Changer)
source by pressing the
CD/AUX button on your radio.
5. Select BT45-HON3 from the
list of available devices your
phone has detected.
6. Allow the pairing process
to take place.
7. Once the pairing is
complete you will hear the
“CONNECTED” voice
prompt from your vehicle's
audio system.
Bluetooth Setup
Note: Some devices may ask for a Pin # during the pairing process.
Pairing Pin # = 1234
Bluetooth Device Pairing Information
9 6
Diagram A: CAS H3X to XM TUNER
18 pin male
XM TUNER
CAS-H3X
TO RADIO
14-pin male
14-pin female
Diagram C: Recommended Microphone Placement
BT45 Interface Module
Factory XM Cable
DO NOT use the CAS-H3t
cable if connection to XM Tuner
16397_BT45-HON3.indd 8 10/16/15 11:03 AM