8
WARNING:
Do not stack air movers vertically during operation. To reduce risk of
overheating or overload, ensure area around intake grills are clear to allow for unobstructed
air ow.
REMOTE CONTROL MODE
NOTE: The remote control supplied with your air mover is already pre-set and does not require
pairing upon rst use. The remote control can be used directly to operate the air mover in remote
control mode.
1. Switch the speed control knob to the
position (Fig. 2). Press the on/off switch on the air
mover to "I" ON position. The air mover is in standby mode. The indicator light will illuminate
red.
2. Press the
button on the remote control to start the air mover. The air mover will automatically
start in the lowest speed setting. The indicator light on air mover will illuminate green. To change
to desired speed, press the
, , or button as necessary (Fig. 3).
3. The air mover can also be started by pressing the desired speed setting on the remote control
initially.
4. Press the
button again to return the air mover into standby mode. The indicator light will
illuminate red.
5. To turn off the air mover, press the on/off switch to "0" OFF position.
PAIRING A REMOTE CONTROL WITH YOUR AIR MOVER
If a replacement remote control is used, or the current remote control is not able to operate the air
mover, reset the remote control by following the instructions below:
1. Ensure the air mover is in the “0” OFF Position.
2. Switch the speed control knob to the
position.
3. Restart the air mover by pressing the on/off switch to "I" ON position.
4. Within the rst 5 seconds, immediately press the
button on the remote control. The indicator
light will ash red until the
button is released.
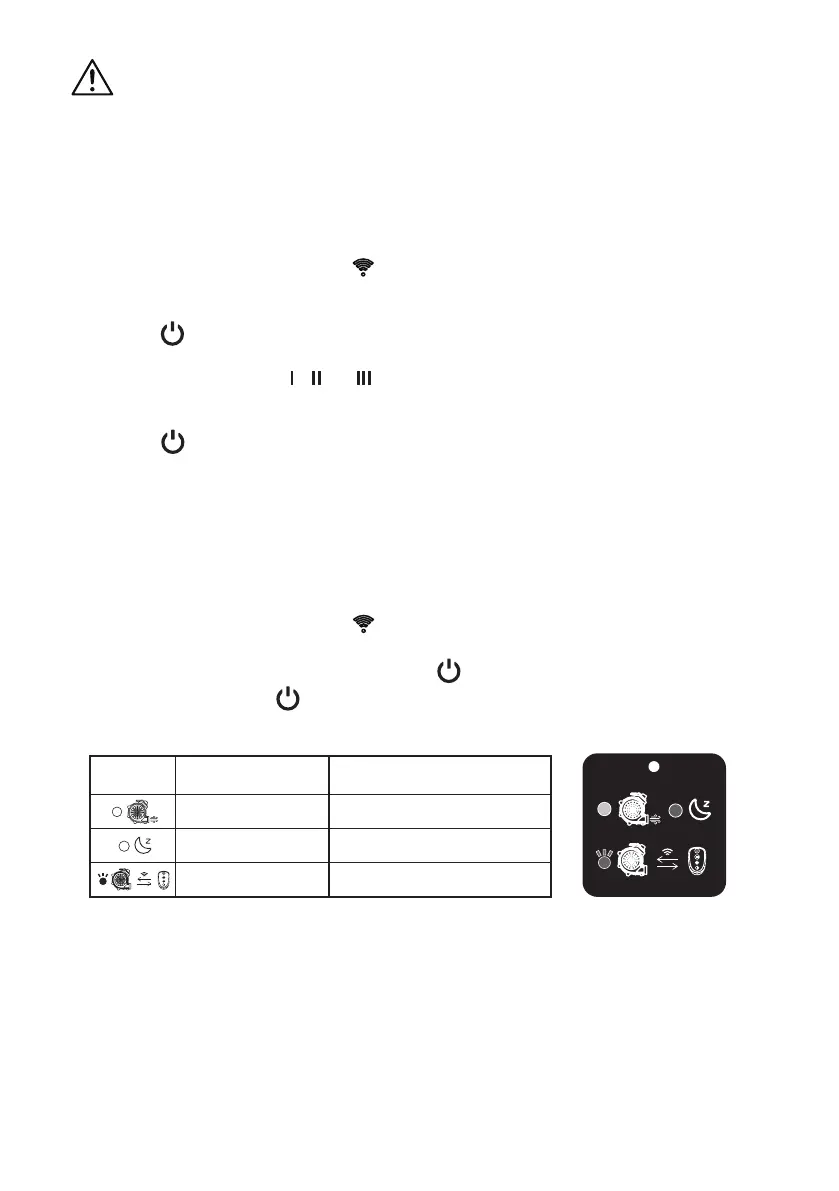
The indicator light on air mover shows the status as below:
Symbols Indicator Light Status
Green, Continuous Operational
Red, Continuous Standby
Red, Flashing Pairing/Receiving instructions
AFFIXING REMOTE CONTROL STRAP
The remote control can be conveniently stored on the included strap.
1. Place the remote control unit into the holder within the strap. Remote control should sit securely.
2. The strap can be attached to the handle of an exercise machine (ex. stationary bike or
treadmill). To secure the strap, loop the strap around the handle of the exercise machine and
secure the locking tab into an available slot (Fig. 4).