16
ARY, Inc. | 11880 College Blvd Suite 550 Overland Park, KS 66210 | www.VacMasterFresh.com | 800-821-7849
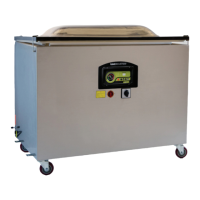
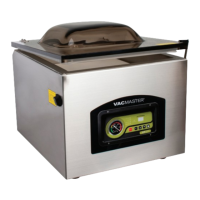
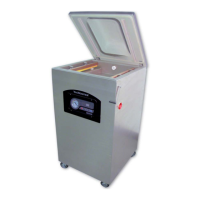
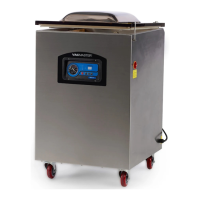
VP680 Chamber Vacuum Sealer | User Guide
▫ Disconnect the power cord from the electrical outlet by unplugging it. DO
NOT disconnect by pulling on the cord.
▫ DO NOT immerse in water or spray directly with liquid.
▫ Check the Vacuum Chamber and Gasket, making sure they are clean and
free of debris. If needed, use a clean, damp cloth with mild soap.
a. Wipe the vacuum chamber clean.
b. Wipe the gasket clean.
c. Wipe the seal area clean.
▫ Do not store the VP680 outside. 65° to 75° recommended.
▫ DO NOT use any acetone-based or abrasive cleaners on the lid or other
plastic parts. Only clean lid with a damp cloth and mild soap.
Cleaning & Storage
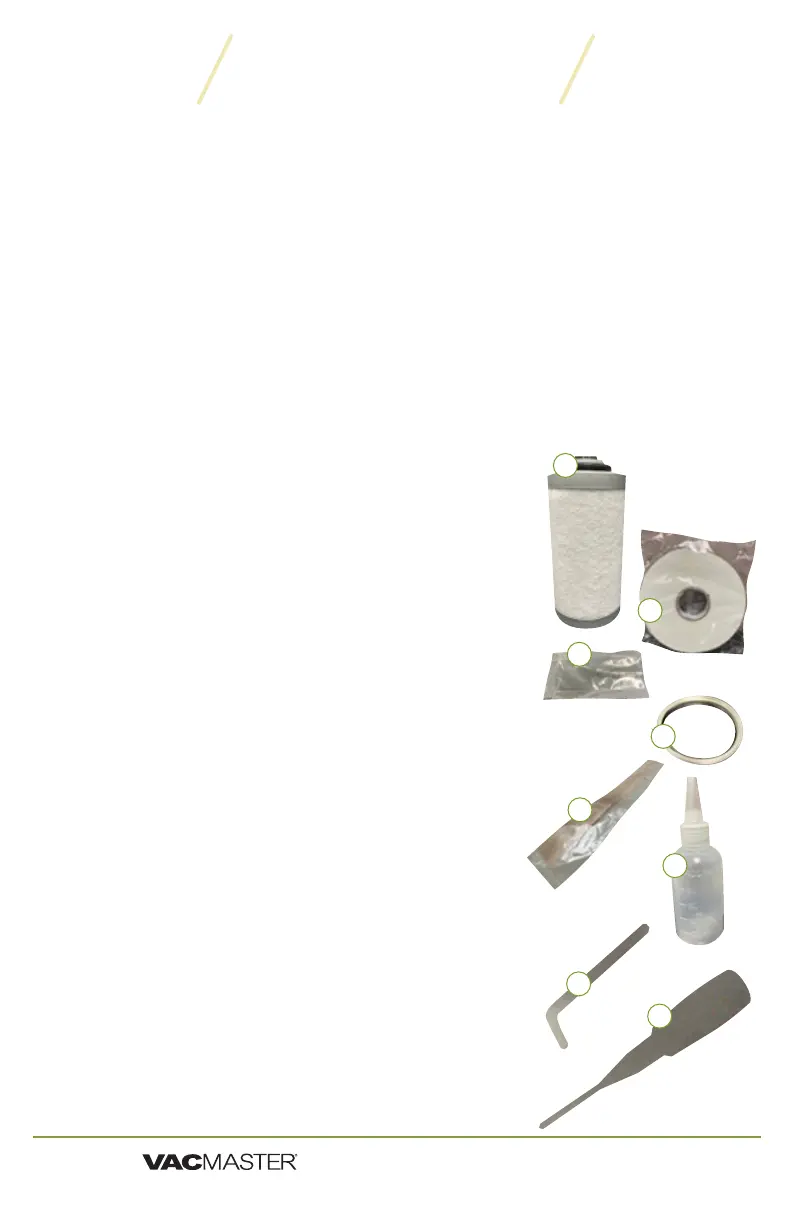
Maintenance Kit
1. Exhaust Filter:
the pump & motor assembly.
2. Double Sided Tape: Used for adhering the top
bar that holds the seal pad in the lid.
3. 15-Amp Fuses (2x): Can be used for replacing
fuses located on the control transformer and
the cord receptacle. NSF models will have a
fuse on the seal transformer.
4. Seal Wire: Used to replace seal wire that spans
the wire shows heavy discoloration.
5. Seal Tape: Used to replace seal tape the
tape shows heavy discoloration, is torn, or is
starting to lose the adhesive.
6. Oil Fill Bottle:
7. Hex/ Allen Wrench: Used to removed tension
blocks that hold the seal wire to the base of
the seal bar.
8. #1 Screwdriver: Used to un-thread screws on
the cabinet of the machine and the screws to
move the chamber.
1
2
3
4
5
7
6
8