Page 4 of 14
GEN2-V1 12ft-Instructions (Severe Weather) doc:r1
6. PARTS LIST
Roller Tube w/Square Drive Tube End
Roller Tube w/Round Drive Tube End
Roller Tube Joiner Fasteners (attached)
Valance Tube Joiner Fasteners (attached)
Plastic Roller Tube Bushing
LEFT Bracket Assembly
Sub-components of Assembly:
40x40x240mm Torsion Bar (w/plastic end caps)
Wall Brackets(w/hardware)
Extension Arm Shoulder Bracket (w/hardware)
Extension Arm Pivot Mount (w/hardware)
RIGHT Bracket Assembly
Sub-components of Assembly:
40x40x240mm Torsion Bar (w/plastic end caps)
Wall Brackets(w/hardware)
Extension Arm Shoulder Bracket (w/hardware)
Extension Arm Pivot Mount (w/hardware)
Wrist Pin Assembly (w/hardware)
Valance Level (w/hardware)
Valance Tube End Cap-LEFT End
Valance Tube End Cap-RIGHT End
Manual Crank Handle (not shown in diagram)
Spline for Fabric (not shown in diagram)
½”x 3” Sleeve Anchor Bolts (not shown in diagram)
Spline Channel Plugs (not shown in diagram)
7. HOUSE PREPARATION:
Ensure that a smooth area exists for mounting the awning free from any obstructions, light fixtures, downspouts, etc.
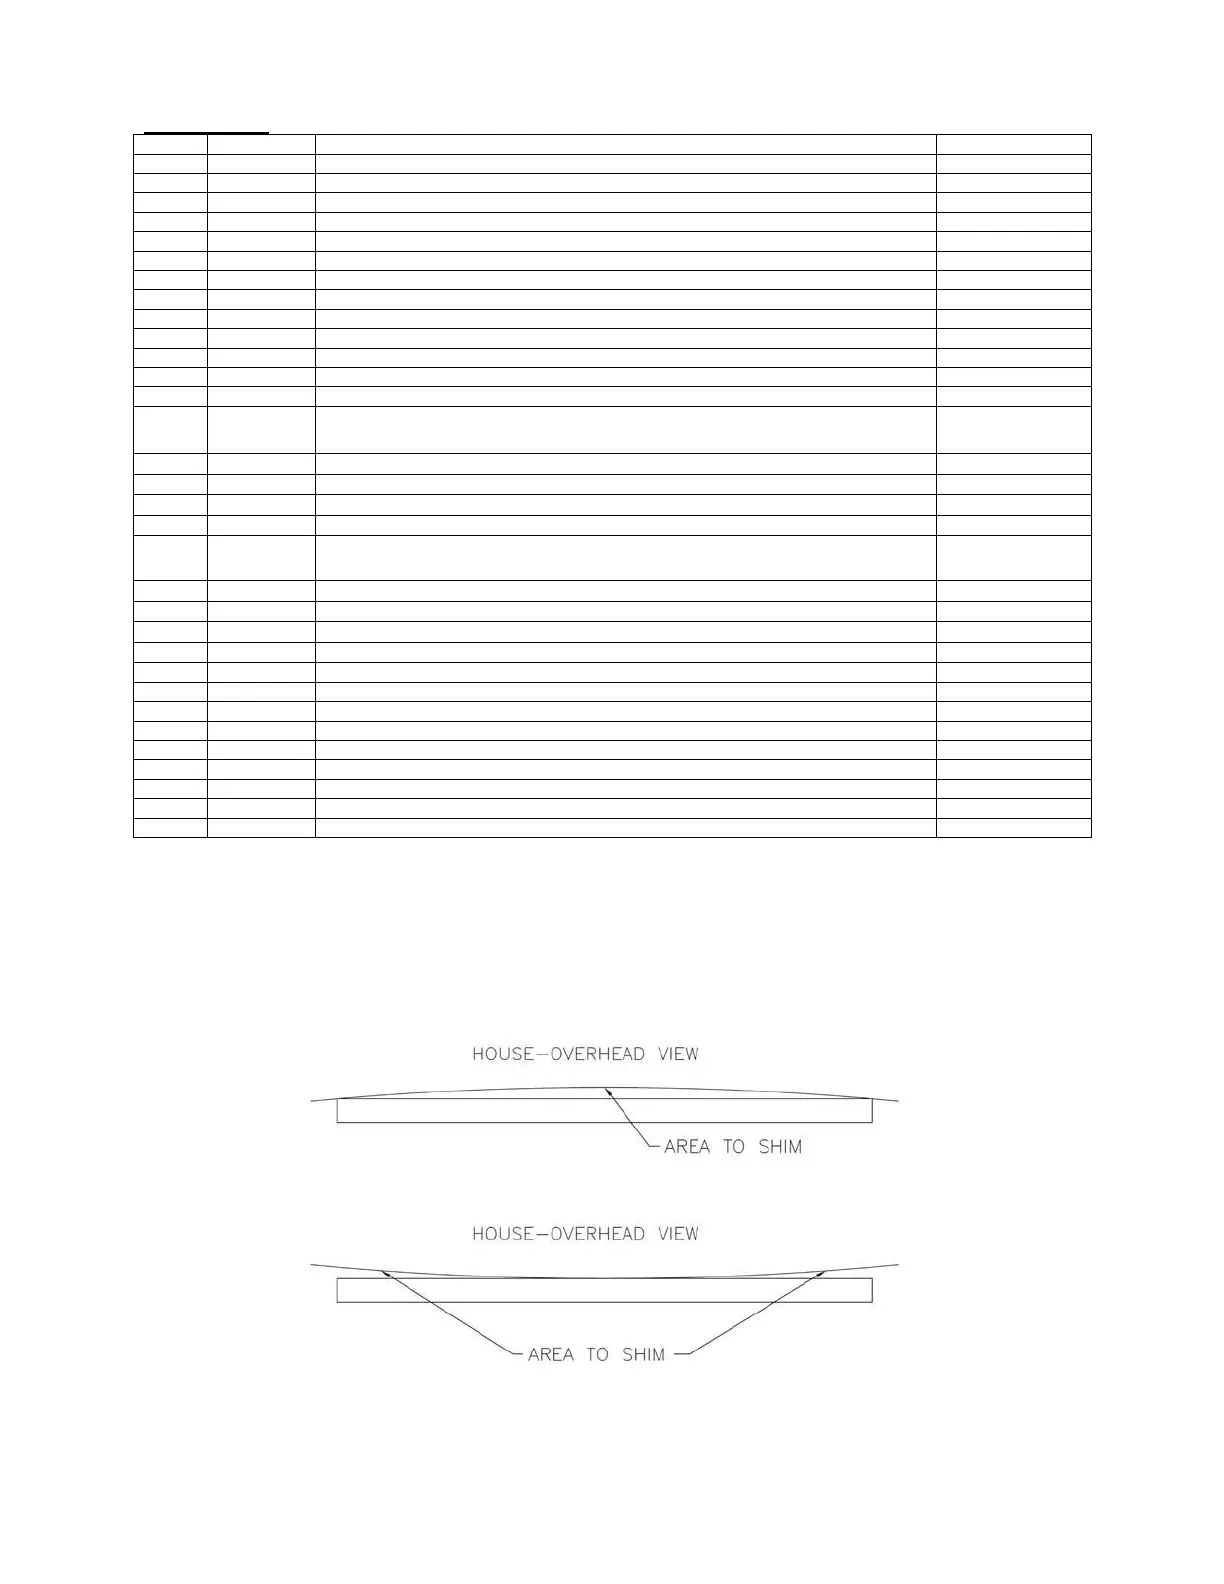
Sight the wall and use a plumb line across the wall surface to see if there are any significant bows or sweeps in the
wall. In the event the wall surface is either a very rough brick which might keep the wall mounting brackets from
mounting level, or if the wall surface is very uneven a Header Board should be installed.
 Loading...