Set and check manifold pressure and
aeration
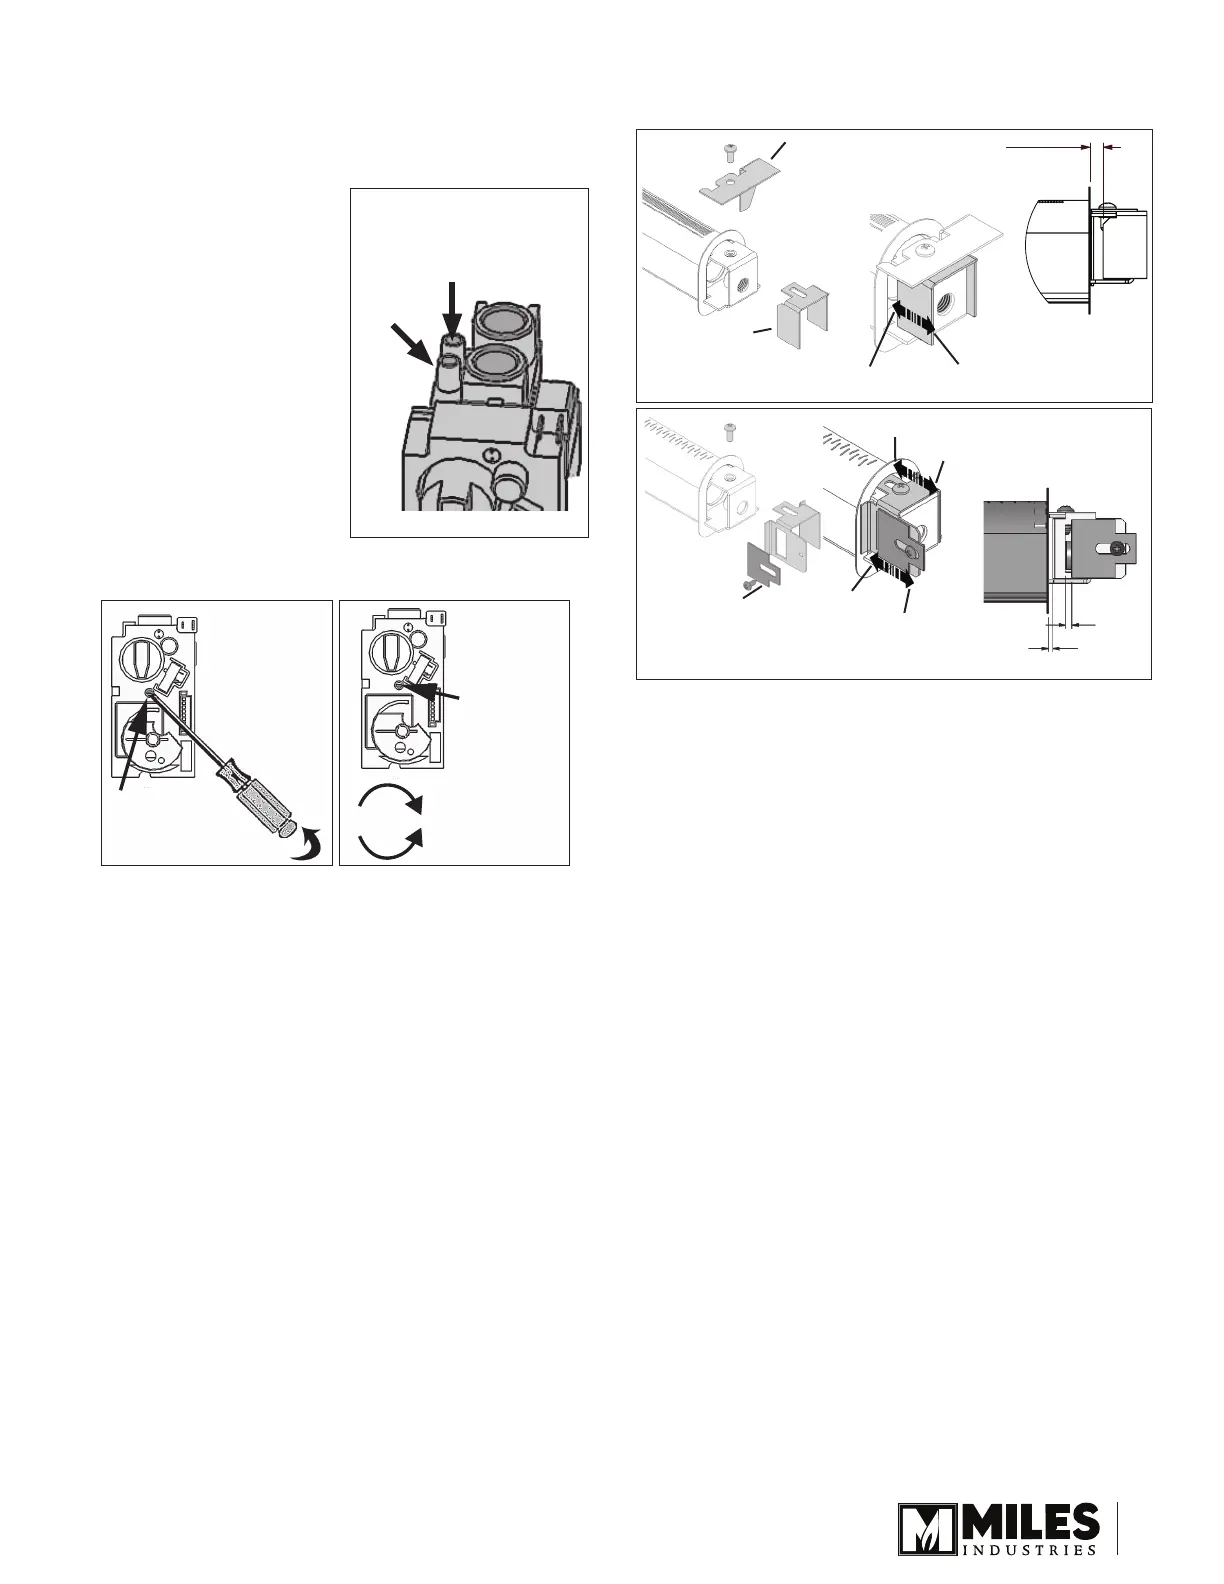
Set the manifold pressure.
1. Access the valve on the left hand side of the
appliance case.
2. Fit a manometer to the
manifold pressure test tap
on the valve—see gure
at right.
3. Light the appliance and
turn the control to full
input.
4. Adjust the pressure
adjustment screw using
a small jeweller’s size at
blade screwdriver—as
shown below—while the
appliance is running at full
input to produce manifold
pressure, as per Specications table on page 1.
Manifold Pressure
Test Tap
Valve Inlet
Pressure
Loosen screw to check
(tighten afterwards)
Pressure Test Tappings
Front Face of
Control Valve
Pry off
plastic cap
Front Face of
Control Valve
Pressure
adjustment
screw behind
plastic cap
Increases pressure
Decreases pressure
5. Check the aeration and adjust the air shutter if
necessary.
6. Turn off the appliance, remove the manometer and
tighten the test tapping screw. Check for leaks.
7. Fit the label “This control has been converted...” on
the left hand side of the appliance near the valve.
8. Ret the valve access panel (5 screws).
Reinstall the replace components
To reinstall the components removed for the conversion
or to complete the installation of the replace, see the
installation instructions supplied with the appliance.
1. Ret the ceramic panels rst, then the front brick
support and the rear log support (3 screws).
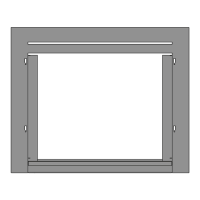
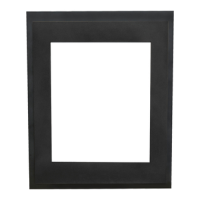
2. Reinstall the grate (with logs only), the fuel bed, the
window, the front trim and the left side access door.
Fit the conversion labels
1. Fit the conversion label with new specications over
the corresponding specications on the data plate
attached to the replace at right hand side between
the rebox and the outer case of the appliance.
2. Fit the label “This appliance was converted on...
by...” near the data label tted in 1.
3. Reinstall the right side access door.
Designed and Manufactured by / for
Miles Industries Ltd.
190–2255 Dollarton Highway, North Vancouver, BC, CANADA V7H 3B1
Tel. 604-984-3496 Fax 604-984-0246
www.valorreplaces.com
© Copyright Miles Industries Ltd., 2012
738NG
3000220
4000682
738LPG
3000220
739NG
739LPG
6
mm
AERATION GAP
0
mm
AERATION GAP
3000220
3000220
4000682
0mm AERATION GAP
2
mm
AERATION GAP
6
mm
AERATION GAP
3000371
320B293
6
mm
AERATION GAP
3000371
320B293
Jun 2008
Flashback
shield
LPG Air Shutter
Slider
Open
Close
LPG
Open
Open
Close
Close
NG
NG Air Shutter
Slider & Cover
0 mm
3 mm-logs
7 mm-rocks
Aeration Gap
logs: 5 mm
rocks: Fully open
3
 Loading...