8
HARD DRIVE INSERTION AND REMOVAL:
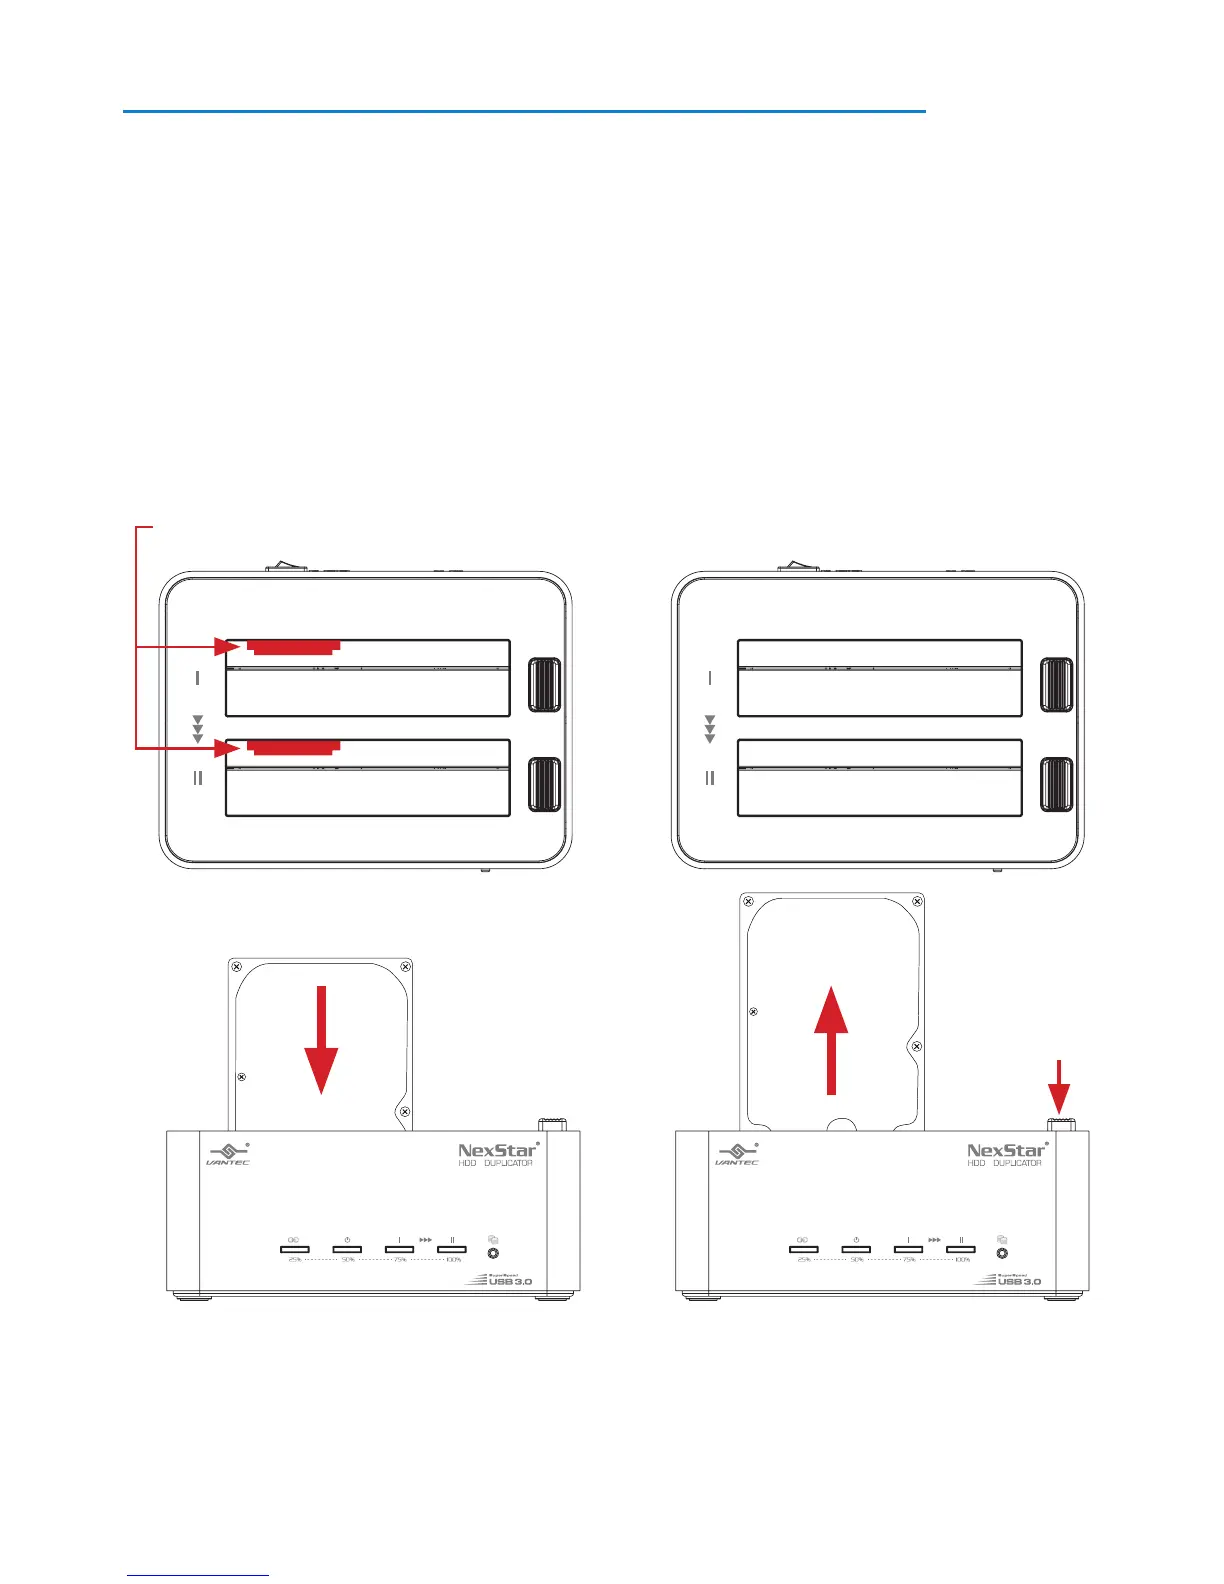
1. Note the location of SATA connector in the slot
2. Align the 2.5” or 3.5” HDD/SSD SATA connector on the drive with the connector
in the slot (Due to the size of 2.5” HDD/SSD, make sure to align the connector
carefully for proper insertion)
3. Insert the drive straight down until the connection is secured
4. To remove, locate the Eject button corresponding to the drive you are
removing, press the Eject button slowly while holding the drive as it disconnect
from the SATA connector.
NOTE:
FOR DUPLICATION: Make sure your Main Drive is in HDD1 and slave in HDD2.
DO NOT remove or insert any drive while the power is ON. You may damage the drive(s)
and/or the Duplicator.
Align SATA Connector
Master Drive
Slave Drive
Insert HDD Remove HDD
 Loading...