7
5. Carefully connect Negative (BLACK) charger clamp to the free end of the bat-
tery cable connected to the negative terminal. Connect the charger's power
cord to a grounded 110/120VAC power outlet.
6. Set charger's charge rate to appropriate setting according to battery size.
7. When charging is complete, disconnect cables and clamps in reverse order from
which they were connected.
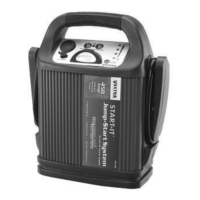
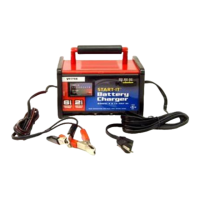
OPERATION
This Jump ‘n Charge system has three user selected charge rates; 2, 4 and 6 amps.
Pressing the 2/4/6 Amp button selects the desired charge rate. The selected Charge
Rate is indicated by a lit vertical LED bar.
Once clamps are connected, AC is connected and there is no reverse polarity condi-
tion, press the 2/4/6 Amp button and the charger will begin charging at 2 Amps
after the “battery condition pre-test” is complete. Pressing the 2/4/6 Amp button a
second time will advance the charge rate to 4 Amps, a third time to 6 Amps. Pressing
the button a forth time will turn OFF the charger output and display
000
. To return to
2 Amps press the Charge Rate button.
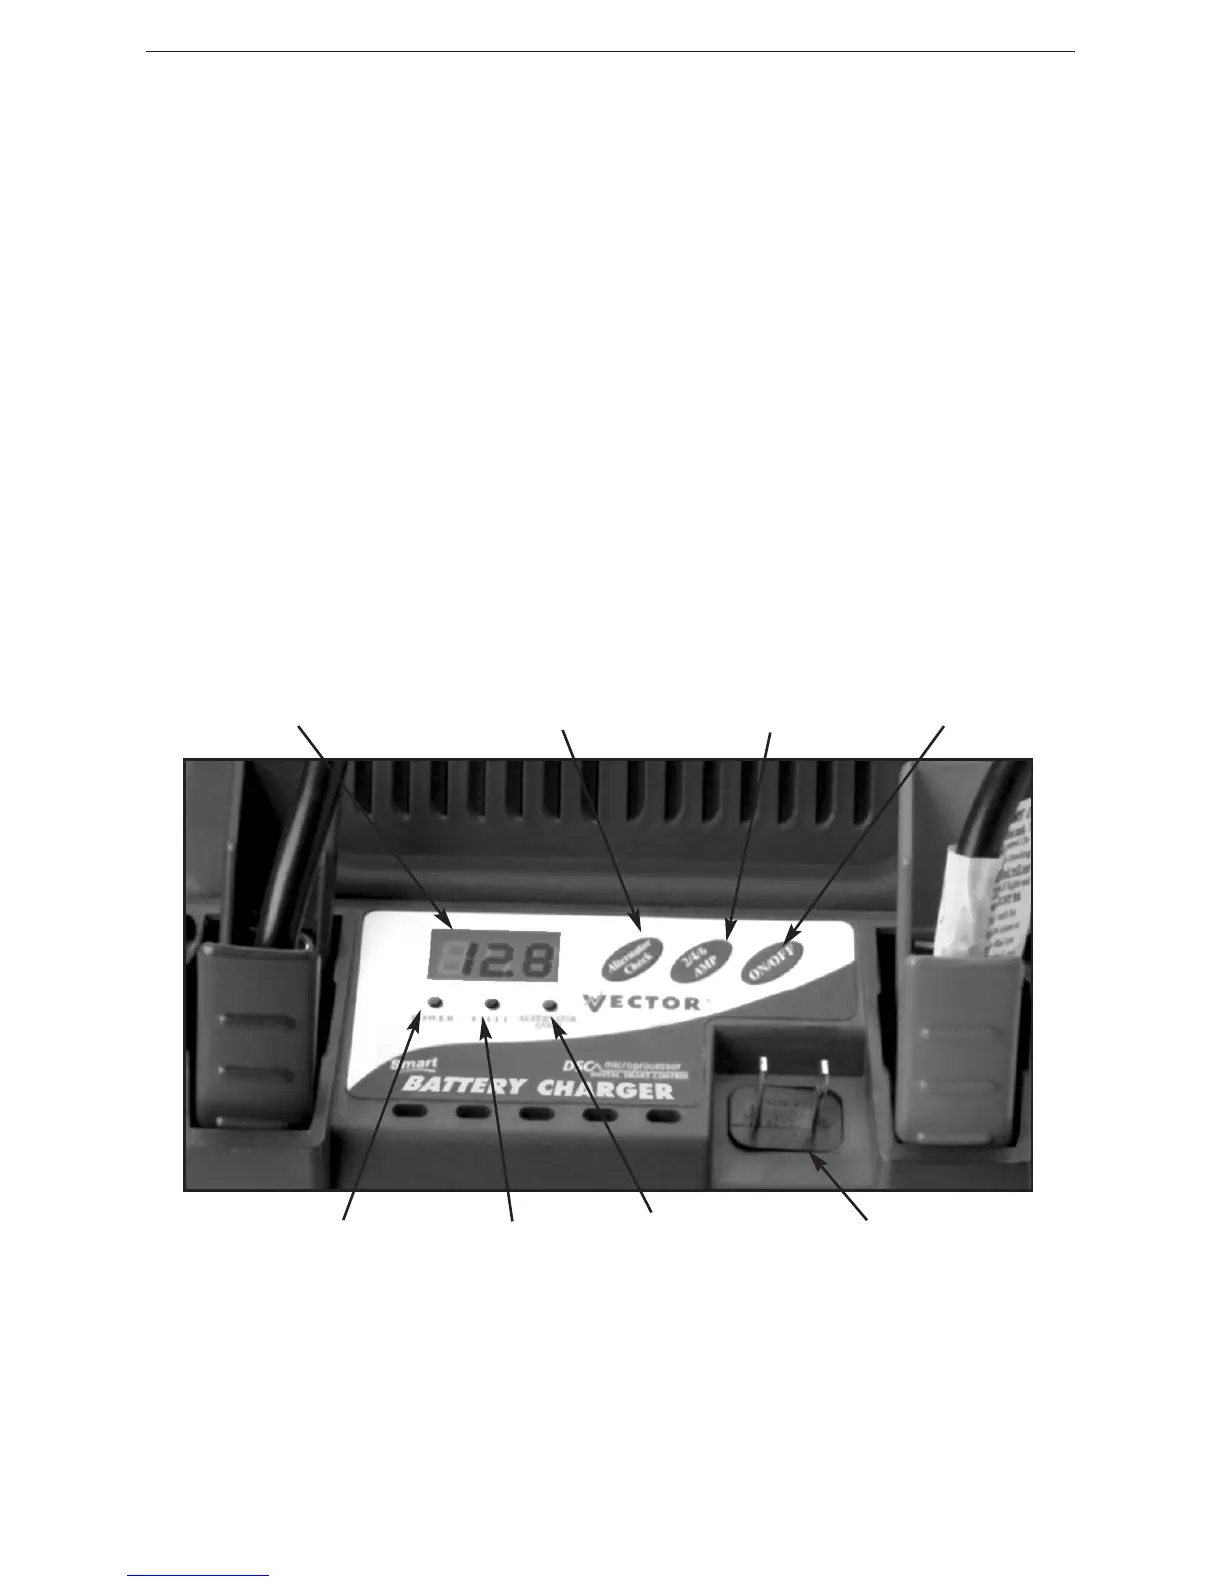
Digital Display
ON/OFF
2/4/6
Amp
Polarized Plug
Alternator
Check
Fault
Power
Alternator
Good
Figure 3 - Charger Controls and Indicators