__________________________________________________________________________________________________________________________________________________________
3
ASSEMBLY STEPS
Required tools to assemble the kit:
A small soldering iron of max. 40W.
Thin (1mm) solder, do not use any flux.
A small cutter to trim the excess wires.
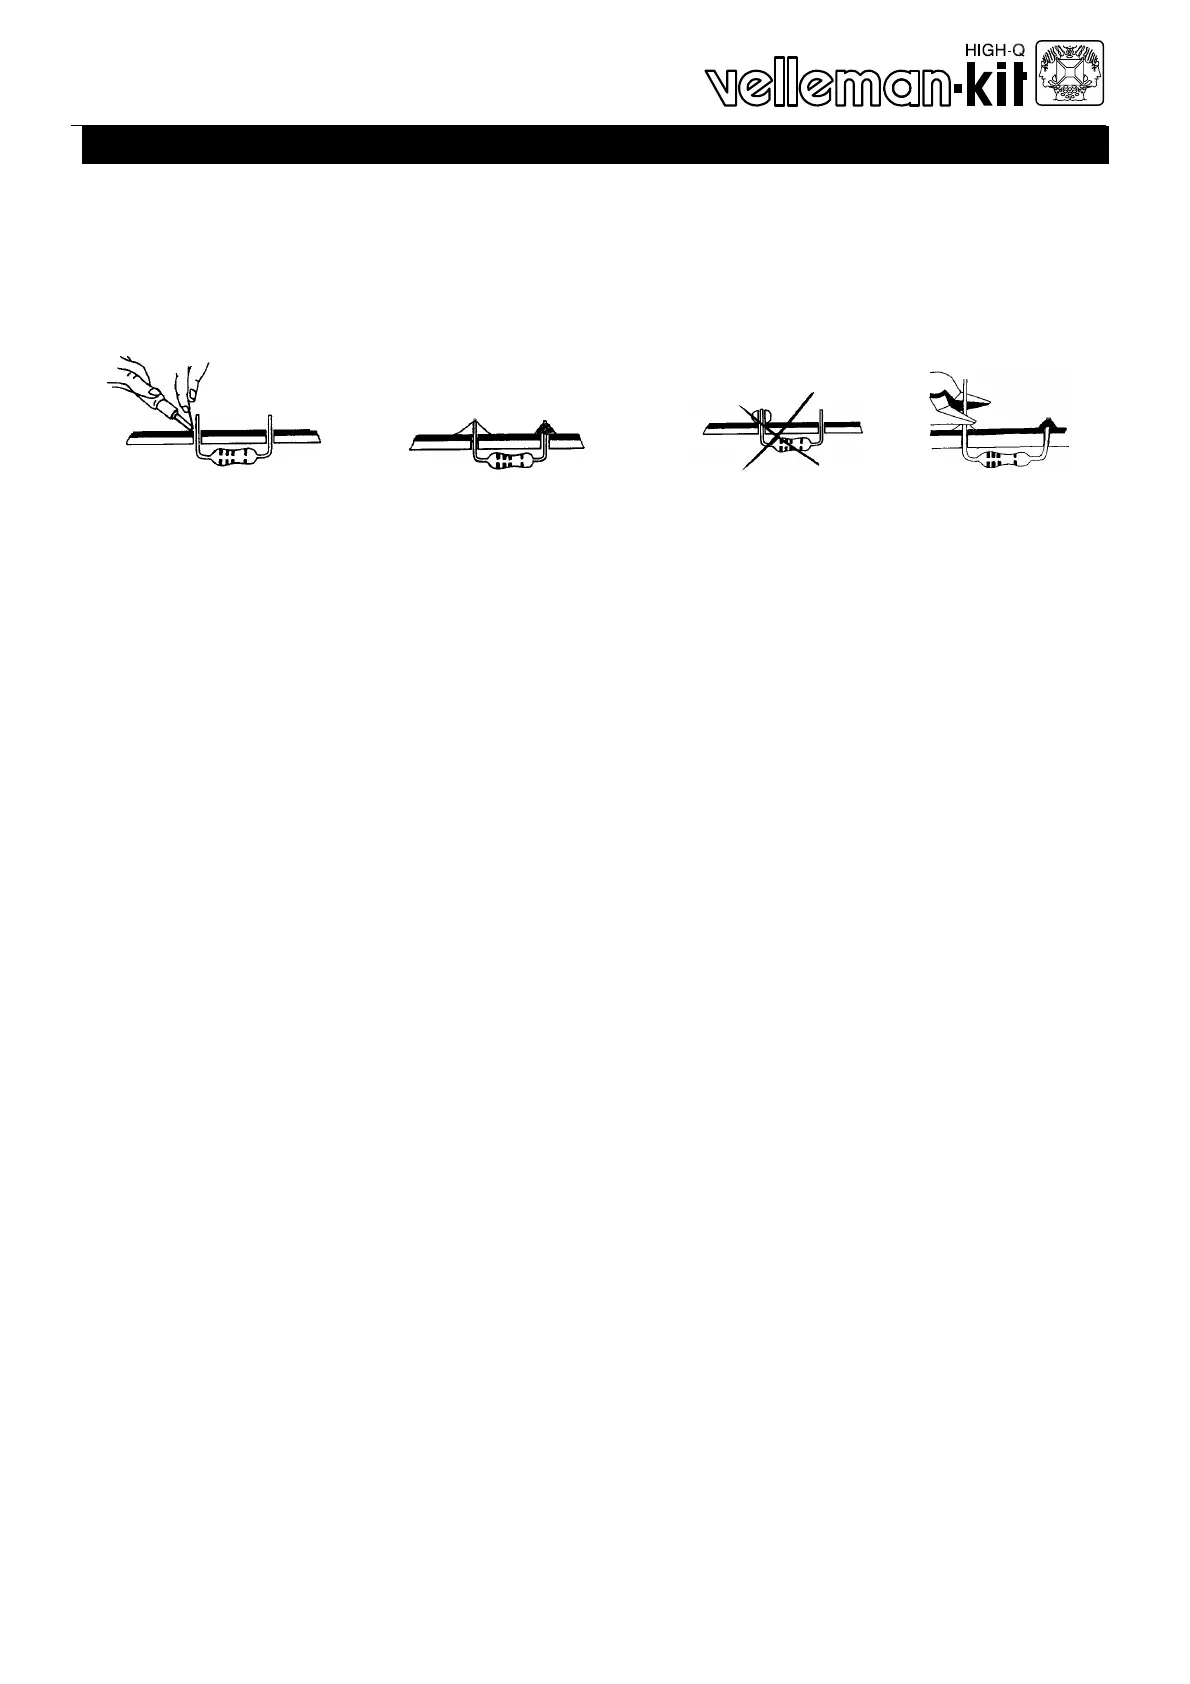
1.
2.
3.
4.
Mount the compo-
nents against the
PCB surface and
carefully solder the
leads.
Obtain cone- shaped,
shiny soldered joints
by heating the com-
ponent leads suffi-
ciently.
This solder joint
results in a bad
connection.
Trim the excess
wires up to the
level of the sol-
der
• Careless assembly will certainly lead to troubles.
• Insert the part, oriented correctly, into its correct holes on the PCB.
• Mount the components in the correct order as stated in this manual.
• The component values in the diagram are for reference only. The val-
ues in this partlist are correct and must be followed.
• Use the boxes q to tick off your progress.
F Before starting to build, also read the general guidelines