switch to Hz/% measurement – available when measuring AC/DC
voltage, AC/DC current and Hz/%
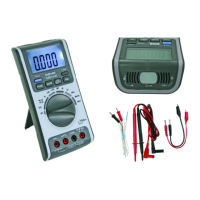
11
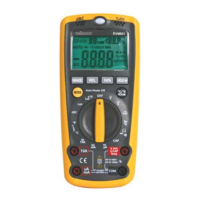
6. Use
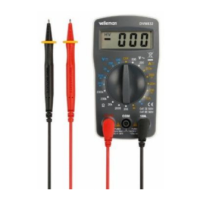
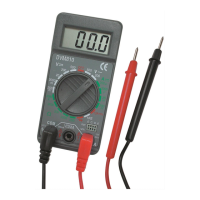
General
• When the range of the measured signal is unknown, start measurement
in auto-range mode, and then select range according to indicated value.
• The display shows “OL” when the present range limit is exceeded. Select
a higher range to continue measurement.
• Do not measure voltages > 600 V or current higher than 500mA (mA/µA
jack [6]) or 10 A (10A jack [7]). Note that the meter can only handle
10A for less than 30 seconds (with 15 minutes cool-down time).
• The device will go in sleep mode when no activity is detected for ±30
minutes. Press any button to re-activate.
Sound level measurement
• Set the rotary switch [3] to the dBC-position.
• Point the microphone [8] towards the sound source for more accurate
measurement. The sound level will be displayed.
Note: strong wind (over 10m/s) will have a negative impact on the
measurement.
Humidity measurement
• Set the rotary switch [3] to any position (except OFF).
• The relative humidity at the current location is measured ([1]) and the
value is shown on the top line of the LCD [2]. For more accurate results,
let the multimeter acclimatize for ±2h before measuring.