9
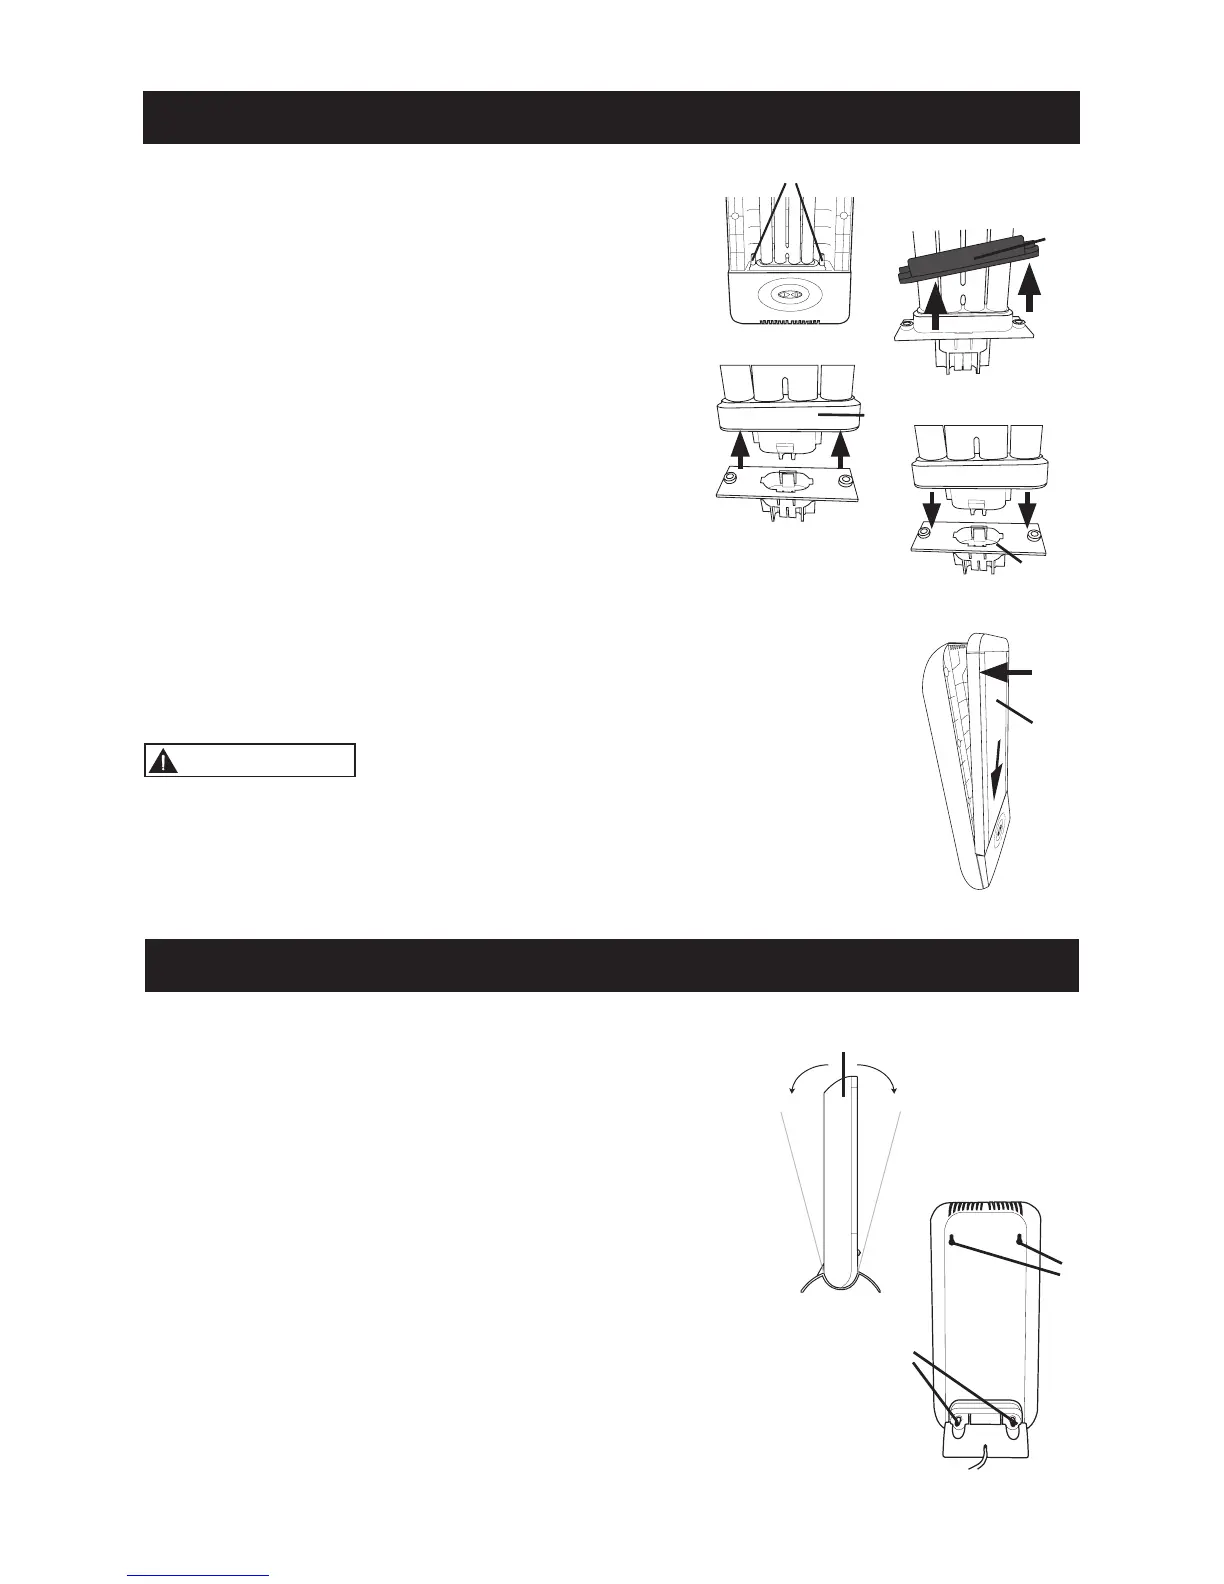
4. Unscrew the two blue thumb screws that hold
theblackbulbholderandthebulbitself(C).
5. Gently pull up the black bulb holder to expose
thebaseofthebulb(D).
6. Holding the bulb at its base, gently lift out the
old bulb, pulling it slowly and gently away from
thelampbodyasyouliftitupward(E).
7. Remove the black bulb holder by lifting it over
the top of the old bulb.
8. Place the black bulb holder over the top of the
new bulb.
9. Gently insert the new bulb into the receptacle
fromwhichyouremovedtheoldbulb(F).A
“click” sound will indicate the bulb is properly installed.
10. Lower the black bulb holder onto the bulb base. Reinstall the two
blue thumb screws.
11. Replace the lens, first by inserting its base into the opening in the
lamp base and then by aligning its top with that of the lamp base
(G).Snaplensintoplace.
WARNING:
This product contains magnets. If you have
a pacemaker, implantable defibrillator, insulin pump, any other
type of electro-mechanical device, or brain shunts that contain
magnets,keepsufcientdistance(about6inches)betweenthe
implanted device and the lamp.
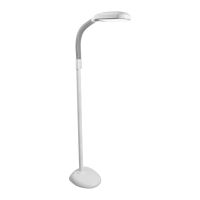
The HappyLight Liberty Series Energy Lamp offers
several ways to direct light where you want it, so you can
have more freedom of movement without compromising
the quality of the therapy:
1. Your HappyLight has a tilt range of 15° forward and
15°backward(H):Simplyloosenthetwobluethumb
screwsonthebackofthelamp(I),adjustthelamp
to the position you want, and re-tighten the thumb
screws.
2. For wall hanging, the back of your HappyLight has
twoopeningsdesignedtoreceivescrewheads(J).
Simplydrilltwoholes,leveland3½”(9cm)apartat
the location you desire, install the screws, hang the
lamp and plug it in. Install the screws into studs or
use screw anchors as required.
Bulb Removal and Replacement — continuedBulb Removal and Replacement — continued
Using the Tilt and Wall Hanging Options
E
F
D
C
G
2
1
H
15º 15º
I
J