Do you have a question about the Vestax PCV-003 and is the answer not in the manual?
Read and keep safety instructions for future reference.
Adhere to all warnings on appliance and in instructions for proper operation.
Use damp cloth for cleaning, use recommended attachments, avoid water and poor ventilation.
Use correct power sources, unplug during storms, and avoid overloading outlets.
Prevent object/liquid entry; refer servicing to qualified personnel.
Conditions like damaged cords, spills, or abnormal operation requiring professional service.
Use specified parts and perform safety checks after any service is completed.
Handle appliance and cart combinations with care to prevent accidental overturns.
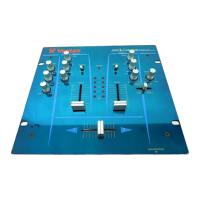
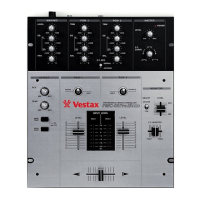
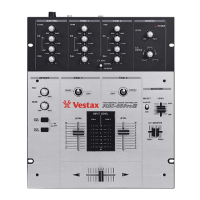
Entry-class mixer with standard DJ functions in a compact body, including EQ and mic input.
Features a removable panel for easy crossfader access and replacement, ensuring smooth operation.
Detailed explanation of each control and indicator on the mixer's top panel, from power to master volume.
Steps to remove fader knobs and screws to access the mixer's top panel.
Detailed procedure for replacing the fader unit, including connector handling and switch settings.
Explanation of power switch, DC IN, GND terminal, LINE OUT, and various input jacks on the rear panel.
Details on input/output levels, impedance, frequency response, S/N ratio, dimensions, and weight of the mixer.
Illustrates typical connections for external audio devices, amplifiers, and speakers for setup.
| Brand | Vestax |
|---|---|
| Model | PCV-003 |
| Category | Controller |
| Language | English |