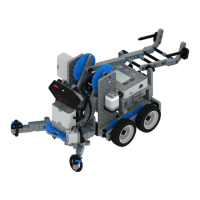
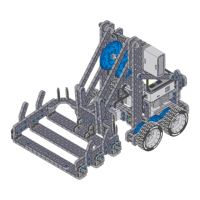
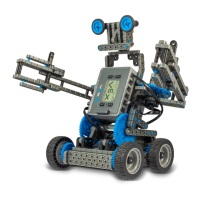
Build Instruction Tips
Check the Appendix for info on how to use the new Hex Nut Retainers.
Step 4: The green icon indicates that the build needs to be flipped over (upside down).
Step 6: Only one of the two sub-assemblies made in this step is used right now. The
other will be used later in step 9.
Step 7: Make sure your Smart Motors are oriented in the correct direction (screw holes
facing the outside of the build and the shaft hole towards the inside).
Step 10: Make sure your Smart Motors are oriented in the correct direction (screw holes
facing the outside of the build and the shaft hole towards the inside).
Step 18: The green icon indicates that the build needs to be rotated (180 degrees).
Step 20: The blue call out shows what the orientation of the Robot Brain should be if the
build were flipped right side up. Make sure the 3 wire ports on the Robot Brain are facing
the V5 Radio!
 Loading...