6
Installation Instructions
NOTICE BEFORE INSTALLATION: Ducting, recirculating kits and carbon filters
are optional extras. Please check After Sales Support for product codes.
1. Before installation, please ensure the area is clean to avoid suction of any remaining
bits of broken wood and dust.
2. It cannot share the same air ventilation tube with other appliance such as gas tube,
warmer tube, and hot wind tube.
3. The bending of ducting should be ≥120°, parallel or above the start point and should
be connected to the external wall.
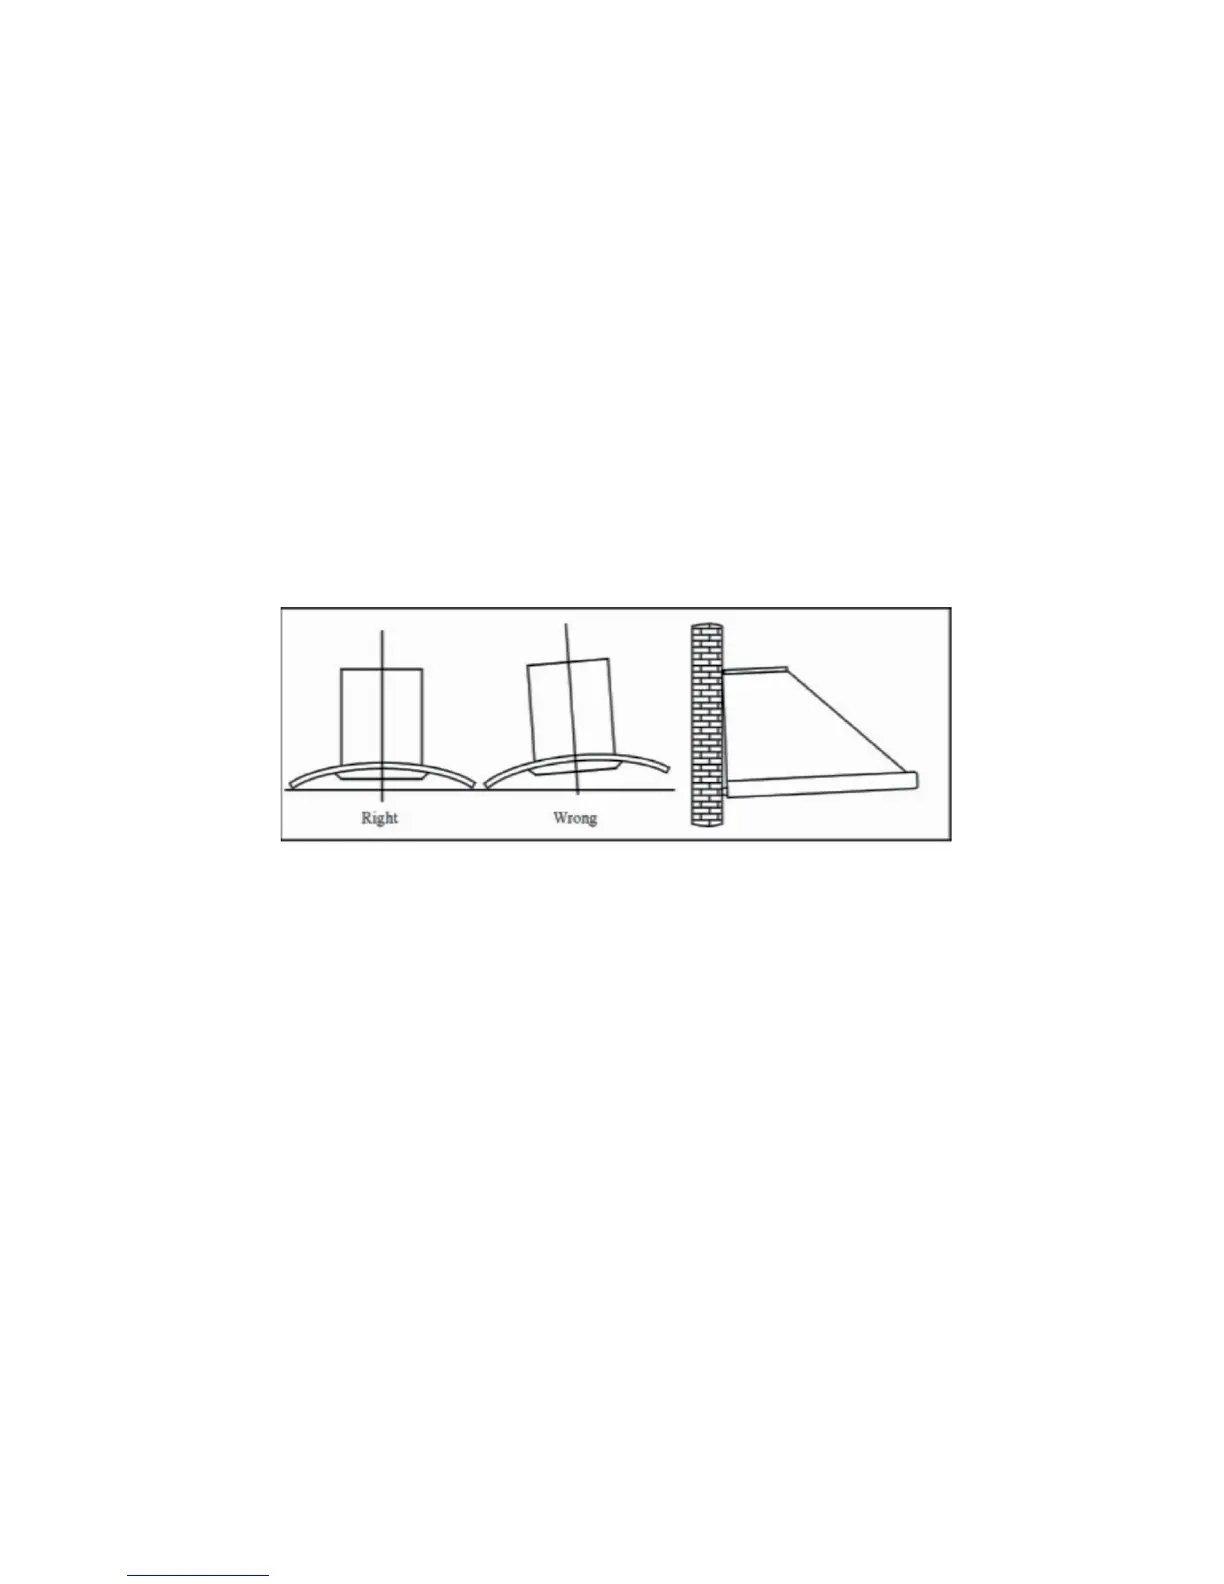
4. After installation, make sure that the extractor is level to avoid grease collection at
one end.
Installation of the hood:
1. The cooker hoods should be placed at a distance of 65—75cm from the cooking
surface for best effect. The minimum distance between the supporting surface for
the cooking vessels on the hob and the lowest part of the range hood is to be 65cm.
When the range hood is located above a gas appliance, this distance may be
reduced to 60cm to align with the AGA code. See Pic 1.
2. Install the hook on a suitable place once the installation height is fixed, and keep
it in line. The fixed position of the inside chimney bracket is the place of chimney.
See Pic 2.
3. Fix one-way valve on the hood and connect any ducting to the one-way valve.
See Pic 3.
4. Put the cooker hood on the hook. See Pic 4.
5. Use clamp to fix the T-piece valve on the ducting. See Pic 5.
6. Fix plate on the outer chimney, and be sure that the inside chimney can be adjusted
the height in it freely, See Pic 6.