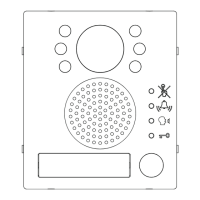
F
D
E
G
Fig. 2 Back
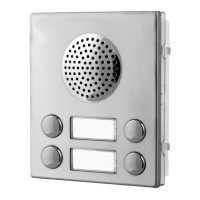
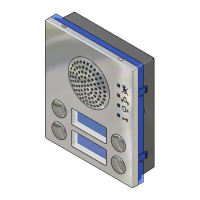
DESCRIPTION
Speaker unit for audio door entry kits or little systems.
The unit circuitry includes:
a. The transmitting amplier with condenser microphone and
volume control;
b. The receiving amplier and volume control;
c. 2 LEDs to illuminate the name plate (except Art.4836-0 model);
d. The lock release relay to enable the electric lock;
e. The modulated tone generator;
On speaker units Art.4836-0, Art.4836-1 and Art.4836-2 the P3
and P4 terminals will not be available.
LEGEND
A
Loudspeaker
B
Push buttons
C
Card name holders
D
Loudspeaker volume
E
Microphone volume
F
Microphone
G
Connection terminals
CONTROLS
Loudspeaker volume
Adjust the loudspeaker volume.
Rotate clockwise to increase or anti-clockwise to decrease
Microphone volume
Adjust the microphone volume.
Rotate clockwise to increase or anti-clockwise to decrease
AVAILABLE VERSIONS AND BUTTONS LAYOUT
Art.4836-0
1
Art.4836-1
1
2
Art.4836-2
13
Art.4836-1D
13
4 2
Art.4836-2D
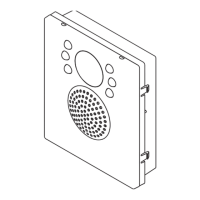
ADHESIVE GASKET PLACEMENT
Apply the
Y
seal as shown in Fig. 3.
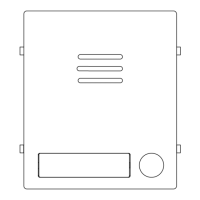
ANTITAMPERING LOCKS FIXING
Fit the anti-tampering locks
W
as shown in Fig. 4.
Y
G
Fig. 3
W
Fig. 4