E8
Checklist for Installation
• Make sure the unit has been installed according to all of
the Installation Instructions and the Wall and Top Cabinet
Templates.
• Plug in the power cord.
• Keep the Operation Manual.
Viking Range, LLC
111 Front Street
Greenwood, Mississippi 38930 USA
(662) 455-1200
For product information,
call 1-888-845-4641
Oven Installation
(A)
(B)
(B)
(C)
(D)
figure
figure
figure
figure
figure
figure
figure
figure
figure
figure
figure
figure
figure
figure
figure
figure
figure
figure
figure
figure
figure
figure
figure
figure
figure
figure
figure
figure
figure
figure
figure
figure
figure
figure
figure
figure
figure
figure
figure
figure
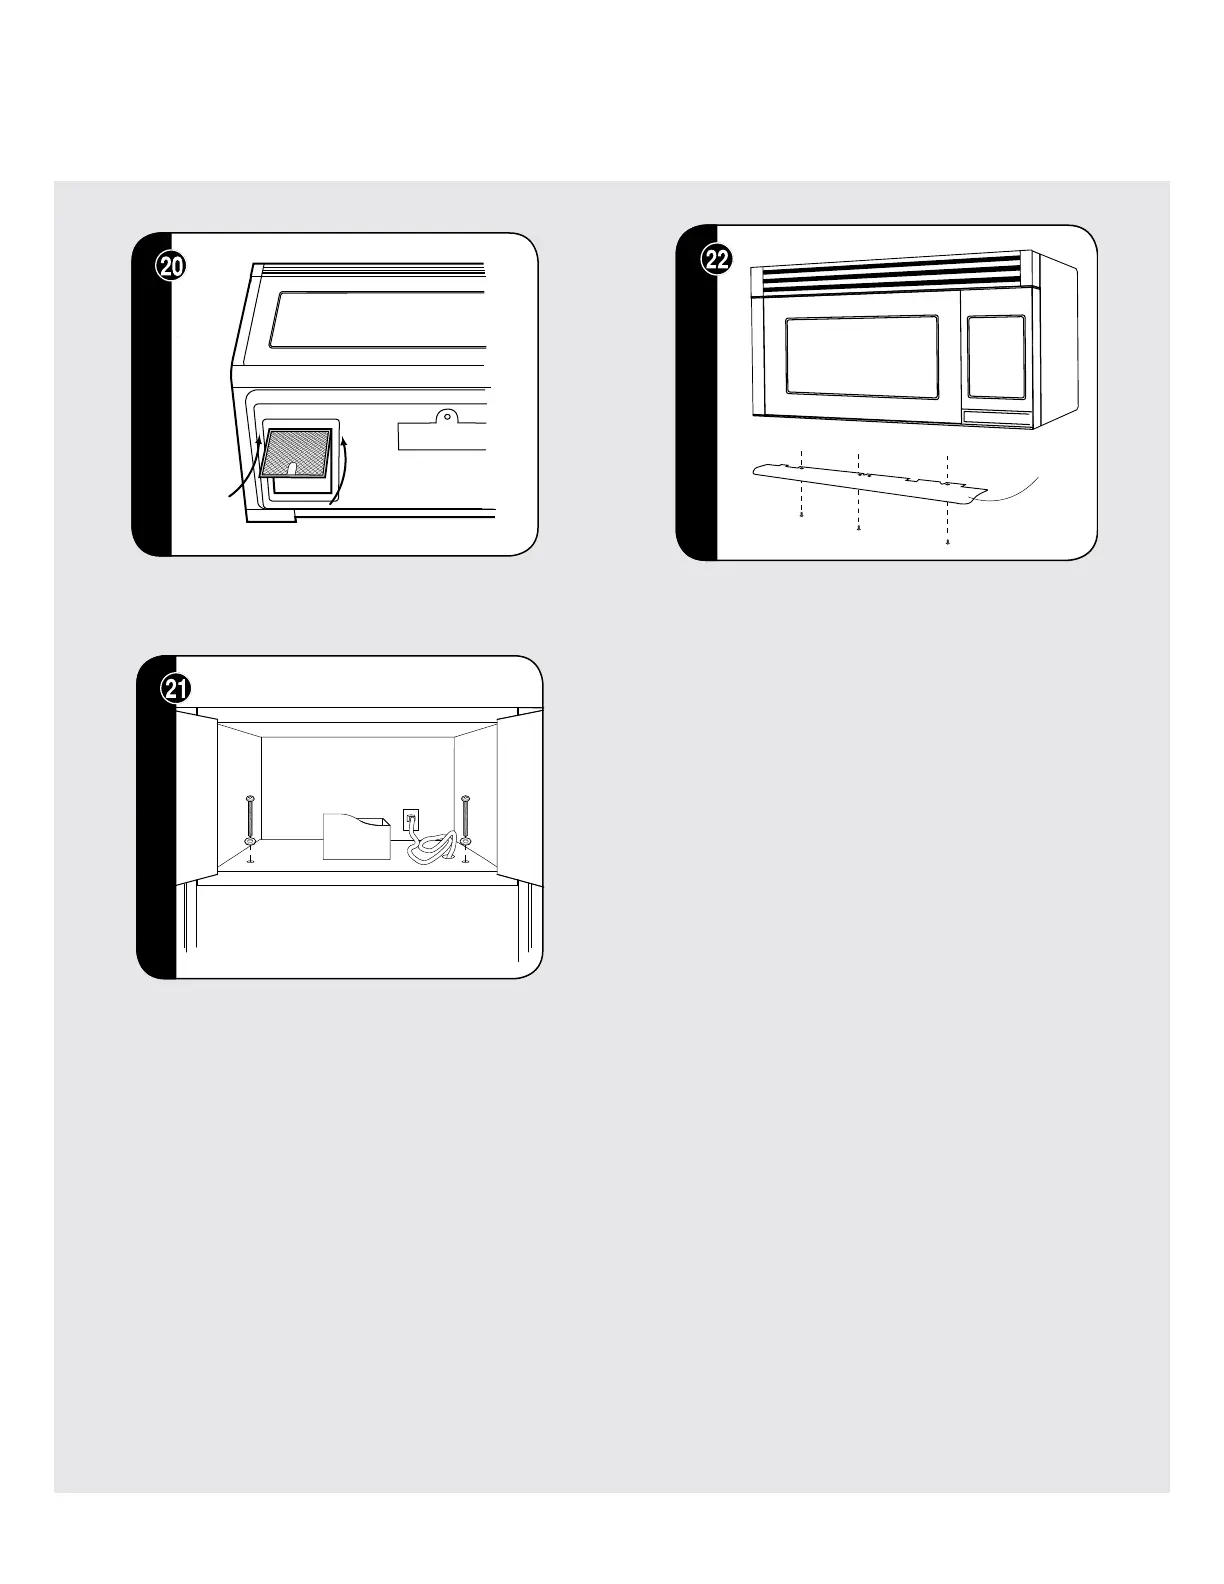
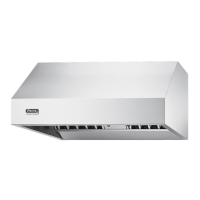
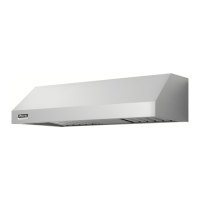
MOUNTING OVEN TO THE WALL: Install Grease
Filters by fitting into the opening. Push back and up
into place.
(C)
(D)
figure
figure
figure
figure
figure
figure
figure
figure
figure
figure
figure
figure
figure
figure
figure
figure
figure
figure
figure
figure
figure
figure
figure
figure
figure
figure
figure
figure
figure
figure
figure
figure
figure
figure
figure
figure
figure
figure
figure
figure
figure
figure
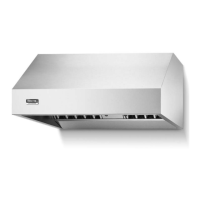
MOUNTING OVEN TO THE WALL: Use the two Top
Cabinet Screws (C) and two Flat Washers (D), supplied
in the INSTALLATION HARDWARE, to attach the unit to
the top cabinet.
Deflector
figure
figure
MOUNTING DEFLECTOR: Secure the deflector with 3
Tapping Screws 4 x 12mm, packed in the Installation
Hardware.