GUARDS AND WATER
SHIELDS FOR
XT1 SPRINKLERS
TECHNICAL DATA
Form No. F_021319 20.10.06 Rev 20.2
Page 5 of 8
The Viking Corporation, 210 N Industrial Park Drive, Hastings MI 49058
Telephone: 269-945-9501 Technical Services: 877-384-5464 Fax: 269-818-1680 Email: techsvcs@vikingcorp.com
Visit the Viking website for the latest edition of this technical data page www.vikinggroupinc.com
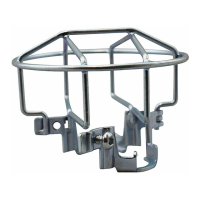
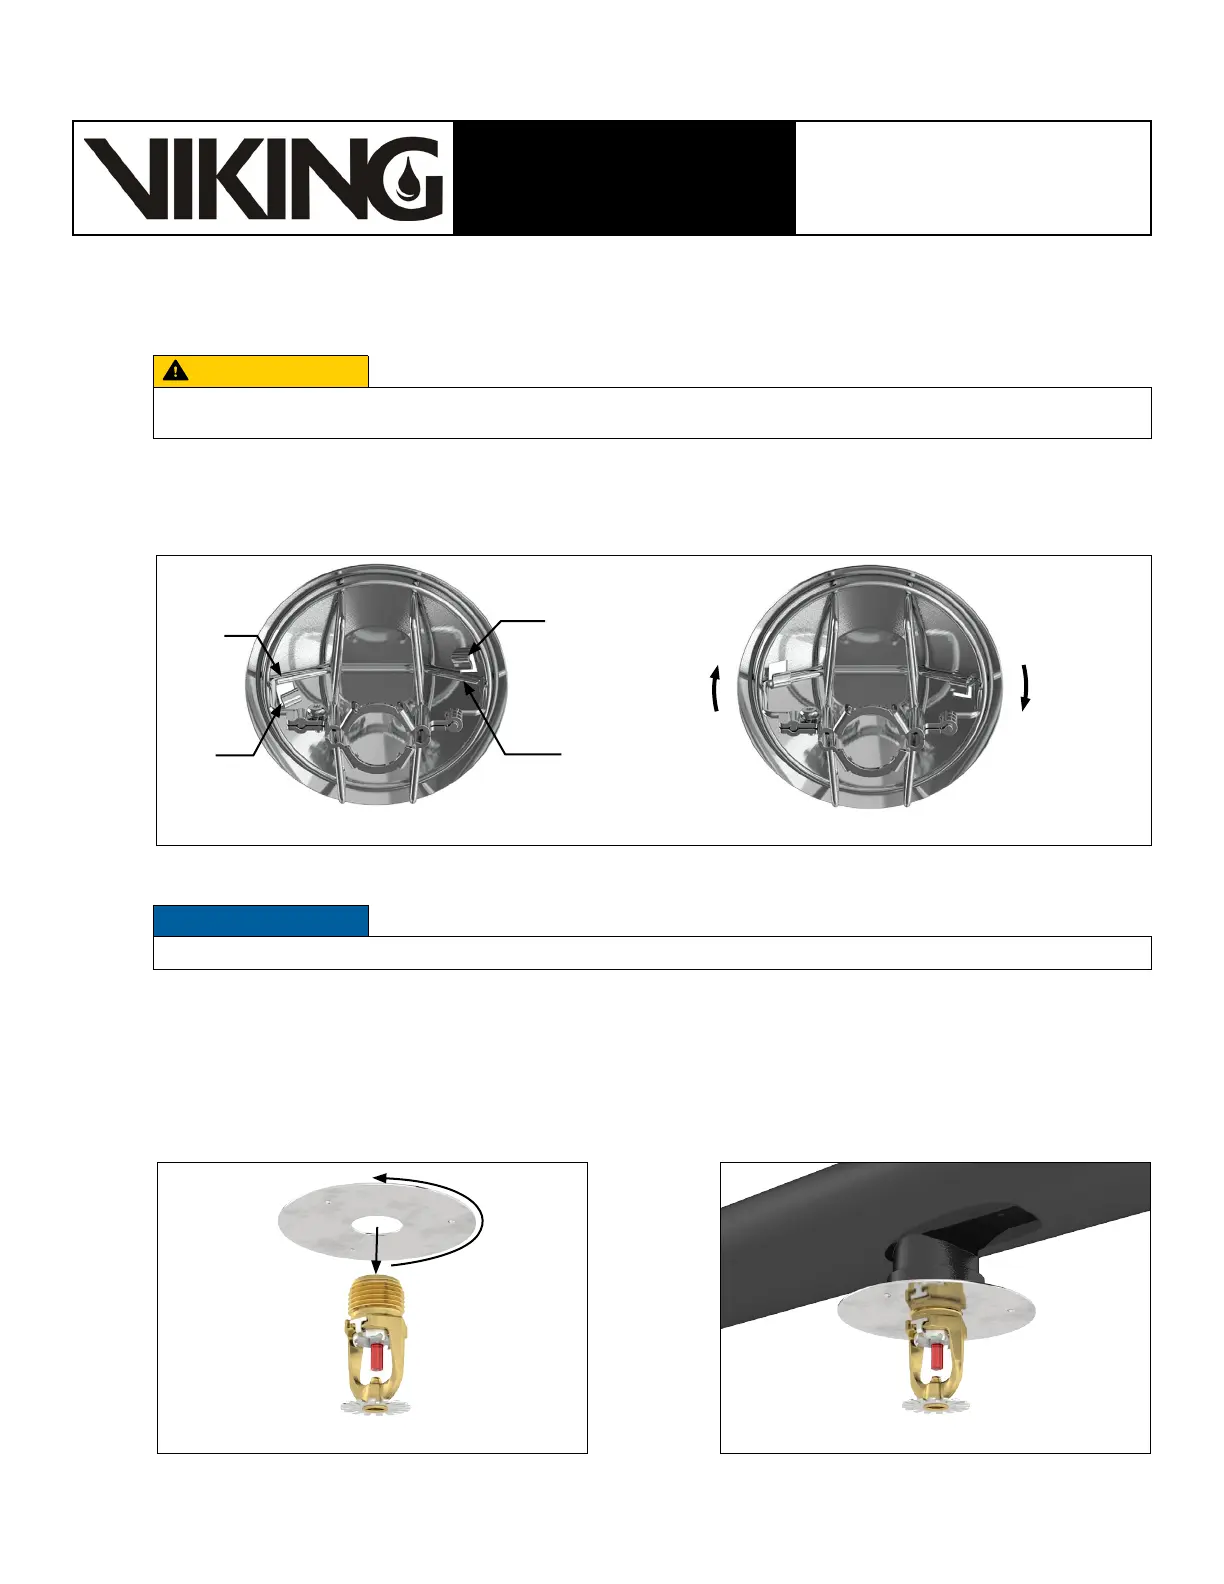
B. Installing the XWU Water Shield onto the XG Sprinkler Guard
CAUTION
CUTTING HAZARD
The outer edge of the water shield is sharp and can cause cuts.
► Avoid sharp edges.
Procedure:
1. Line up the clips to be installed onto the guard frame as shown below.
2. Rotate the water shield a few degrees clockwise to snap the clips onto the guard wires as shown above.
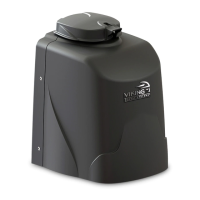
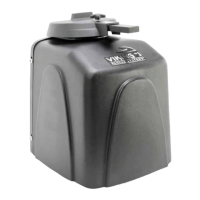
C. Installing the F-1 Water Shield (and XG Guard, if desired - not shown below)
NOTICE
Use only the designated sprinkler wrench. Refer the appropriate sprinkler’s Technical Data sheet
.
Tools needed:
• Sprinkler wrench (see Notice above).
Procedure:
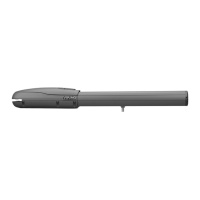
1. Install the F-1 Water Shield onto the sprinkler threads as shown below.
2. Install the sprinkler/water shield assembly into the piping according to the sprinkler’s Technical Data sheet.
3. After installing the sprinkler/water shield into the pipe, install the XG guard (if applicable) onto the sprinkler as shown in
Section 4A.
Clip
ClipGuard
Frame
Guard
Frame
Figure 7: Installing the Water Shield
Figure 8: Installing F-1 Water Shield Figure 9: Sprinkler/Water Shield Installed in Pipe