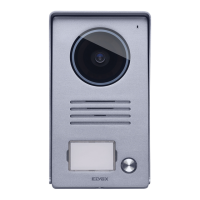
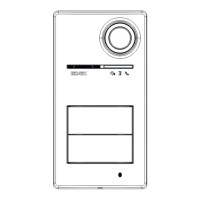
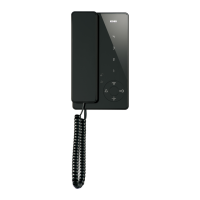
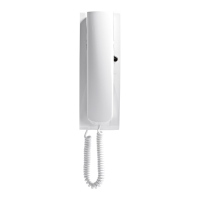
1. Selecting order of pushbutton modules
By conrming with (OK) you select how any modules Art.
41010 connected to the speech unit are ordered. The 4 buttons
on the standard module are automatically put in rst place.
If the procedure can begin, the 4 LEDs on the standard mod-
ule will start blinking slowly, otherwise only one will turn on to
indicate an error code. By pressing
(DEL) and then again
OK you can try entering the ordering procedure again.
Once started, you can cancel the procedure by pressing
(DEL), the speech unit will exit parameter conguration, without
saving any changes.
The LEDs of all the modules Art. 41010 will begin to ash. The
number of ashing LEDs for each module indicates their current
position, so that module number 1 will have only one LED ash-
ing and so on. If all the LEDs of a module blink, then that module
has not yet been ordered.
Now press any one button per module, to indicate the order of
the modules. The button at the top left of the rst module will
take the number 5, the button at top left of the second module
15, and so on.
You have 10 s to complete this step. The time restarts with each
button pressed. If you do not complete the task, the congura-
tion is not updated.
When the position of a module has been selected, a number of
LEDs equal to the chosen position will light up steady.
The procedure ends automatically after ordering the last mod-
ule. The LEDs are all lit up steady.
However you exit the procedure, the speech unit will emit a
warning tone.
2. Pushbutton remapping
By default each button on the speech unit calls an indoor unit
according to its sequential position. This correspondence can
be altered button by button with the conguration described
here.
On conrming with
(OK), the LEDs will start to blink,
waiting for a button, even one on the additional modules, to be
pressed. After pressing the button, only the corresponding LED
will stay on. You have 30 s to complete the conguration, which
consists in:
Pressing the same button to take its conguration to default
Pressing a button on an indoor unit that causes sending the
lock, or F1 or F2, or relay activation or a call to the switchboard.
It is not possible to terminate the procedure early. Pressing any
button on the speech unit will cause it to emit an appropriate
tone.
3. Automatic procedure for assigning indoor
unit ID
The speech unit from which this conguration is run, when con-
gured as Vertical, must be the Master. When congured as
Horizontal, it must function as the Master via appropriate pro-
gramming of one or more routers Art. 69RS.
On pressing
(OK) to start the procedure, the 4 standard
LEDs will blink, waiting for a button to be pressed that will be the
one from which the IDs will start being assigned automatically to
the indoor units requesting it.
Once you have chosen the ID, you have 5 minutes to request
assignment by an indoor unit. The main indoor unit must be
assigned rst and then its secondary indoor units, if any.
After assigning the ID to the rst button chosen, the electronic
module will automatically switch to assigning the ID for the next
button.
After each successful assignment, the speech unit will auto
-
matically issue a verication call to the indoor unit that has just
been coded.
After each complete assignment you have another 5 minutes
to run the next one.
4. Automatic procedure for assigning speech
unit ID
To be performed only on the speech unit to which you want to
assign the Master ID (ID=1).
The procedure works with outdoor units that support automatic
ID assignment.
On pressing
(OK), the speech unit from where the proce-
dure is started becomes the Master, regardless of the ID that it
had previously and the IDs of the other speech units. The other
speech units with the ID already assigned and that are not the
Master do not participate in the ID assignment procedure.
While waiting for the search for available IDs, the 4 standard
LEDs of the speech units involved light up one at a time in the
order 1-2-4-3 to simulate the clockwise rotation of a light. When
checking ID uniqueness, one speech unit at a time, the 4 stand
-
ard LEDs will all blink together.
It is not possible to terminate the procedure early. At the end
of the procedure, the speech unit will emit an appropriate tone.
Note 2: It is possible to force ID assignment for all the speech
units as follows.
This procedure lets you reset the IDs of all the speech units in
the system. Consecutive IDs will be used, but some programs
(e.g. common lock) may no longer be valid.
The choice is made by selecting the ID assignment mode with
the buttons
(PREVIOUS) and (NEXT).
LED conguration Meaning
Assigning ID for non-secondary
speech units
Assigning ID for all speech units
Downstream from this procedure, the FW is written so that when
switching on, after the speech unit has remained at rest for 10
s, and regardless of the ID (which however must be assigned),
it will check whether there are any other speech units with its
own ID. If it nds at least one, the procedure described here will
begin spontaneously. If there is more than one, they will in turn,
one at a time, search for an ID to be allocated.
5. Lock time
Through the procedure described here, the lock time can only
be set to the values of 1 s (default) and 5 s. With SaveProg
other values are possible from 0 (lock totally disabled) to 254
26
41001 - 41002 - 41003 - 41004
EN
 Loading...