We make audio lovers audiophiles.
TM
Better Sound by Design.
TM
Virtue ONE & TWO Owner’s Manual
http://www.virtueaudio.com Page 7 of 11
Modding your unit
You may want to remove the wrap-around skin in several circumstances:
1. Curiosity.
2. Replacing the cover with another color.
3. Bypassing the POT/attenuator to turn the unit in case a pre-amp is being used.
4. Minor repairs or upgrades such as:
a. tightening the output binding posts
b. replacing the LED assembly
c. replacing the fuse
d. replacing the power switch
e. replacing the input capacitor to implement high-pass filtering
Removing the Cover
Removing the CoverRemoving the Cover
Removing the Cover
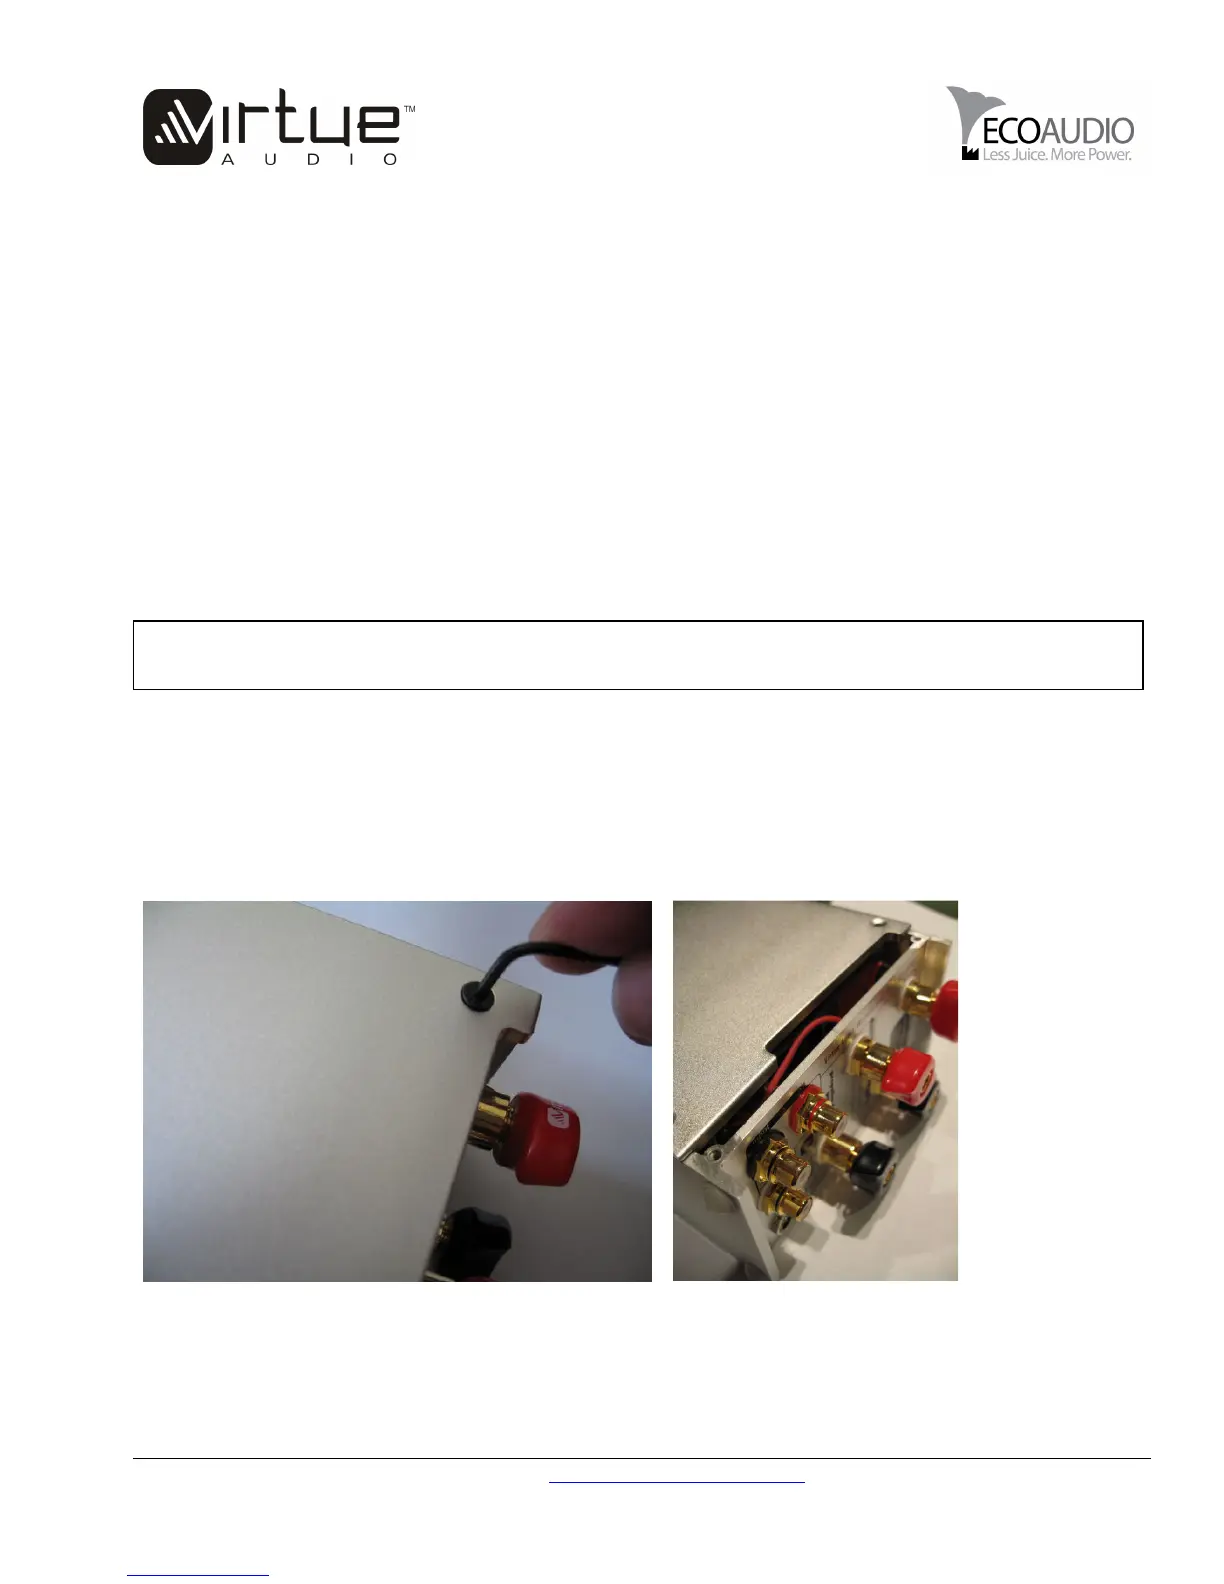
To remove the cover, choose a hex-screw wrench that fits the screws snugly. Unscrew slowly, making sure not
to strip the threads. When tightening, please do not over-tighten as you may damage the threads and make it
difficult to remove them.
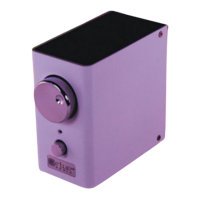
After removing the screws, spring open the shell and gently slide back, half way. Do not slide the cover off
fully before unfastening the LED tether.
Unfastening the LED
Unfastening the LEDUnfastening the LED
Unfastening the LED
WARNING
WARNINGWARNING
WARNING
Before modding your Virtue amplifier, please insure that the amplifier is completely powered
off and the power supply cable is disconnected from the amplifier.
 Loading...