Do you have a question about the Visioneer OneTouch 8920 and is the answer not in the manual?
Lists the contents of the scanner box to ensure all parts are present before installation.
Guides through installing the PaperPort software before connecting the scanner.
Details the physical connection process of the scanner to the computer via USB.
Explains how to verify the scanner is properly connected and recognized by the computer.
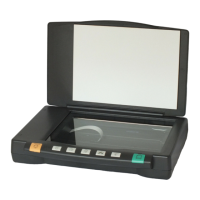
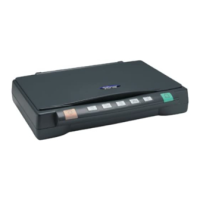
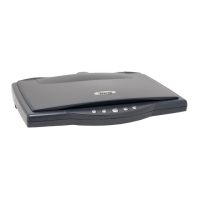
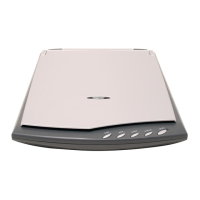
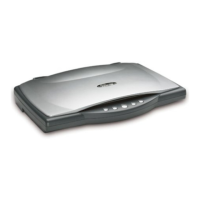
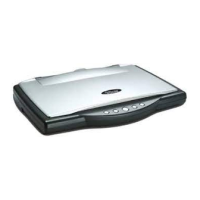
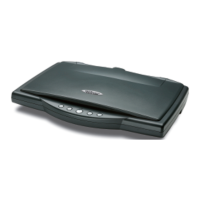
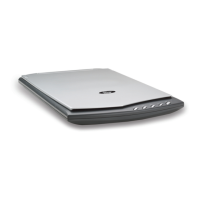
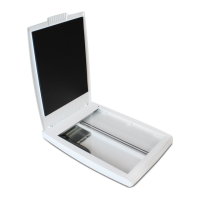
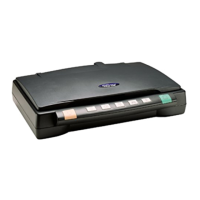
Identifies and illustrates the main components of the scanner, including covers, buttons, and ports.
Outlines the three primary methods for scanning paper documents with the Visioneer scanner.
Explains the scanner's internal mechanism for scanning different media types like paper and film.
Details the steps to perform scans of slides and negatives using the software.
Guides users on how to access the scanner's configuration settings via shortcut menu or button panel.
Describes the purpose and layout of the configuration dialog box for customizing scanner buttons.
Details the process of creating custom scan configurations for specific needs.
Explains how to modify scan settings like brightness and page size within custom configurations.
Describes how to save customized scan settings as a profile for future use.
Explains how to adjust the resolution and sharpness of scanned images.
Details how to modify the brightness and contrast levels of scanned images.
Guides on adjusting color properties like gamma, saturation, and hue for scanned images.
Explains how to set output size, use auto-trim, and save custom image dimensions.
Details the process for uninstalling the primary Visioneer OneTouch software.
Guides on how to remove the associated PaperPort software from the system.
Explains the procedure for cleaning the scanner glass to maintain scan quality.
Provides contact information for obtaining technical assistance from Visioneer.