Do you have a question about the Visioneer OneTouch 9020 and is the answer not in the manual?
Install the PaperPort software before connecting the scanner to the computer.
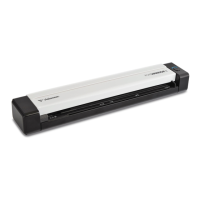
Connect the Visioneer 9020 scanner to a USB 1.1 or USB 2.0 port.
Information about the PaperPort software's features is detailed in the User's Guide.
Verify that the scanner is properly connected and ready to scan.
Troubleshoot common connection issues if the scanner icon shows a red X.
Scan paper items using scanner buttons, the on-screen panel, or PaperPort.
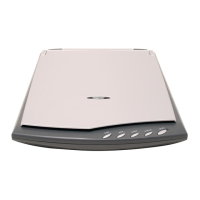
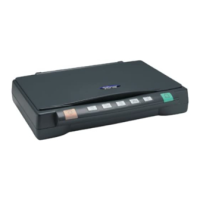
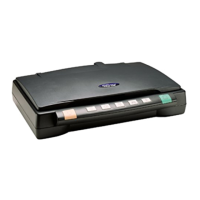
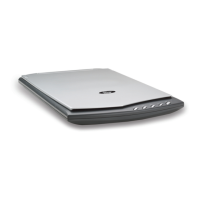
Scan items by pressing a OneTouch button on the scanner's front panel.
Details the preconfigured functions for each OneTouch button.
Scan items by clicking scanner buttons displayed on the computer screen.
How the scanner uses different lights for paper vs. film scanning.
Access the scanner's configuration settings via the taskbar icon.
Access scanner configuration settings from the on-screen button panel.
Overview of the dialog box that shows current settings for each scanner button.
How to access help for scanner features and configuration options.
Customize destination, configuration, and image format for scanner buttons.
Create custom scan configurations for settings not available in presets.
Modify scan and page settings for custom configurations.
Configure preferences for the Scan Manager Pro and scanner.
One-time setup to select the Visioneer Scan Manager Pro as the source.
Scan items using the Twain button within the PaperPort software.
Select and modify scan settings like resolution, brightness, and contrast.
Save adjusted scan settings as a profile for future reuse.
Control image detail and clarity by adjusting resolution and sharpness.
Modify the lightness and darkness of scanned images.
Fine-tune color tones, strength, and shade in scanned images.
Control the dimensions and scaling of the scanned image.
Create and save custom image dimensions for repeated use.
Information panel showing scan location, image size, and disk space.
Enlarge or reduce the preview image for detailed inspection.
Configure scan settings independent of PaperPort software.
Check common issues like cables, power, and locking tab when scanner fails.
Resolve issues with incomplete or memory allocation errors during PaperPort installation.
Remove the Visioneer OneTouch software from your computer.
Remove the PaperPort software and manage scanned image files.
| Color Depth | 48-bit |
|---|---|
| Interface | USB 2.0 |
| Weight | 3.5 lbs |
| Scanner Type | Flatbed |
| Maximum Document Size | 8.5 x 11.7 inches |
| Scanning Technology | CIS |
| Compatibility | Windows |