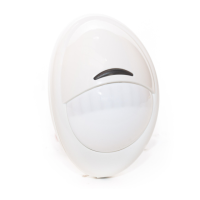
2 D-306173 MP-841 FLAT PIR
ENVIRONMENTAL
-10°C to 50°C (14°F to 122°F)
-20°C to 60°C (-4°F to 140°F)
119 x 79 x 33.5 mm (4.68 x 3.11 x 1.31”)
U.S. Patents 5,693,943 6,211,522
3. INSTALLATION
3.1 General Guidance
The following factors must be considered before selecting a location
for the detector:
1. Keep away from heat sources.
2. Do not expose to air drafts.
3. Do not install outdoors.
4. Avoid direct sunshine.
5. Do not install near high-voltage electrical lines.
6. Do not install behind partitions.
7. Always mount on a solid, stable surface.
Warning! Do not obscure partially or completely the detector’s field of
view.
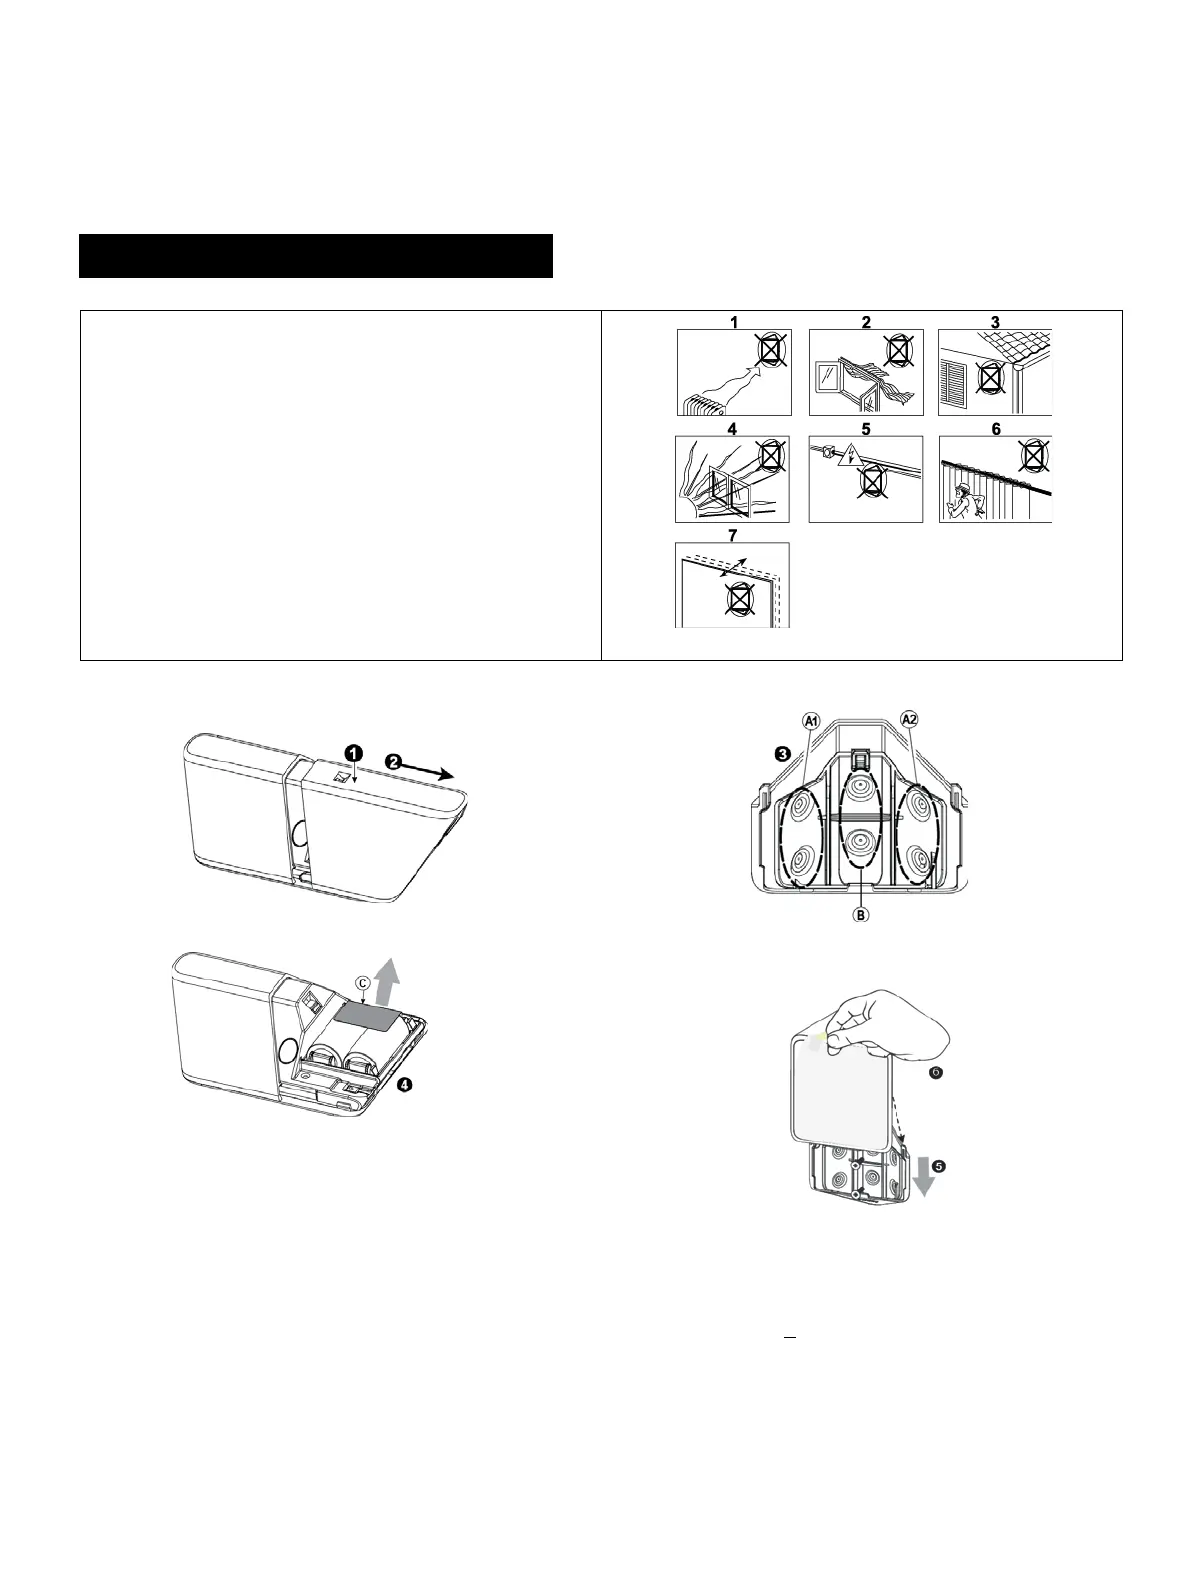
Figure 2. General Guidelines
3.2 Installation Procedure
1. Press in this point; see Figure 3 Opening the unit for details.
2. Push in the direction of the arrow as shown in Figure 3 to
separate the detector from the bracket.
3. Mount the bracket on the wall.
4. Install new batteries.
-OR-
If batteries are already installed, pull the activation strip.
5. Mount the detector on the bracket by sliding it downward until a
click is heard.
6. Keep the protective film on the unit until after the unit is
mounted in its final location and ready for the walk test, then
A. Use A1 or A2 for corner mounting, see Figure 4.
B. Use for surface mounting, see Figure 4.
C. Activation strip, see Figure 5.
Note: It is recommended to wait about 1 minute after battery removal, before inserting the new battery.
Caution! Risk of explosion if battery is replaced by an incorrect type. Dispose of used battery according to the manufacturer's instructions.
MP-841 shall be installed in accordance with the Standard for Installation and Classification of Burglar and Holdup Alarm Systems, UL 681.
Figure 3 – Opening the Unit
Figure 4 – Bracket Mounting
Figure 5 – Removing the Activation Strip
Figure 6 – Mounting Detector on Bracket
D-306173 MP-841 FLAT PIR 3
3.3 Replacing the Batteries
Figure 7 – Replacing Batteries
3.4 Activating and Pairing the Detector
To pair the detector to the Touchscreen control panel, you must set it to pairing mode.
1. First set the Touchscreen panel to pairing mode and then the detector.
2. To activate, pull the activation strip that protrudes from the back of the detector, see Figure 5.
3. The green LED (see Figure 1) blinks 3 times every 5 seconds (repeated up to 20 times) to indicate that the detector is searching for the
Touchscreen control panel.
Note: If detector pairing is not successful during the searching process – by tripping the motion detector or by pressing the tamper
switch – the searching process will restart.
4. Complete the pairing procedure on the Touchscreen control panel. For pairing instructions see the Touchscreen control panel’s
installation guide.
Note: Pairing should be performed before installation.
After the installation a good link to the panel is displayed when the Received Signal Strength Indicator (RSSI) indicated on the panel is higher
than -70dBm and the Link Quality Indicator (LQI) is stronger than 250. If the RSSI and LQI values are lower, you must change the location of the
detector.
3.5 Rebooting the Detector
To reboot the detector, complete the following steps:
1. Remove the battery cover.
2. Press and release the tamper switch for 1 to 2 seconds (see Figure 1).
3. Close the battery cover.
3.6 Returning the Detector to default mode
CAUTION! The default process removes the device from the network and enables re-pairing.
Prerequisite: Separate the detector from the bracket to remove both batteries. See Figure 7 for details.
1. Press and hold down the detectors tamper switch.
2. Insert one of the two batteries into the detector while observing battery polarity.
3. Release the tamper switch within 4 seconds (the LED blinks 3 times every 5 seconds).
4. To re-pair the detector, follow the instructions in section 3.4.
3.7 Walk Testing
Walk across the far end of coverage pattern in both directions. The LED should light for 2-3 seconds
each time your motion is detected.
Important! Instruct the user to perform a walk test at least once a week to verify the proper functioning
of the detector.
Note: After battery insertion or closing the cover (which results in closing the tamper switch) the LED
flashes for 2 minutes and the detector goes into walk-test mode for 15 minutes. In walk-test
mode the LED lights for every motion detected. After 15 minutes the detector automatically
enters normal mode in which the LED will not blink after detection.
TROUBLESHOOTING
If you encounter one of the following problems with the MP-841, perform the suggested remedy:
Attempt to pair the sensor is unsuccessful.
Make sure that the sensor is reset to default mode and then set to
pairing mode, see section 3.4 for details.
The sensor and the Touchscreen panel do not communicate.
Perform the signal strength testing procedure described in the control
panel installation manual. Make sure that the signal is sufficient. If
necessary, replace the sensor’s battery.
The sensor sends a Low Battery indication.
To ensure continuous proper operation, replace both batteries within
two weeks of the first Low Battery indication.
Panel does not arm because of an unrecognized sensor malfunction.
Consult with your installer or system provider before you disable
a zone.
Disable the sensor zone; see the control panel user manual for details.
Note that disabling a sensor zone lowers the overall security level of
1. Press upward to separate the detector
from the bracket.
2. Replace the batteries.
3. Put back the detector on the bracket.
Figure 8 – Coverage Pattern Walk Test
 Loading...