USER SETTINGS
D-303974 PowerMaxExpress User's Guide 21
Enter partition No.
(e.g. for partition 1&3
enter 13)
Continue the same way up to Code 8 and press
to return to SET USER CODES menu.
You may now select any other item on the USER
SETTINGS menu or quit programming by clicking
. When <OK> TO EXIT is displayed - click
.
Enrolling Keyfob Transmitters
Eight system users carry keyfob transmitters to
exercise better, quicker and safer system functions
control. Your control panel must recognize the
unique identification code (ID) of each such keyfob to
respond to commands transmitted by them.
Before anything else, gather up all keyfob units you
intend to enroll, and make sure they all have
batteries installed. Keyfob transmitter enrolling
involves the following steps:
A. Having entered your Master User Code successfully
(see above - Entering the User Settings Menu),
Click the button (repeatedly, if
necessary) until the display will read:
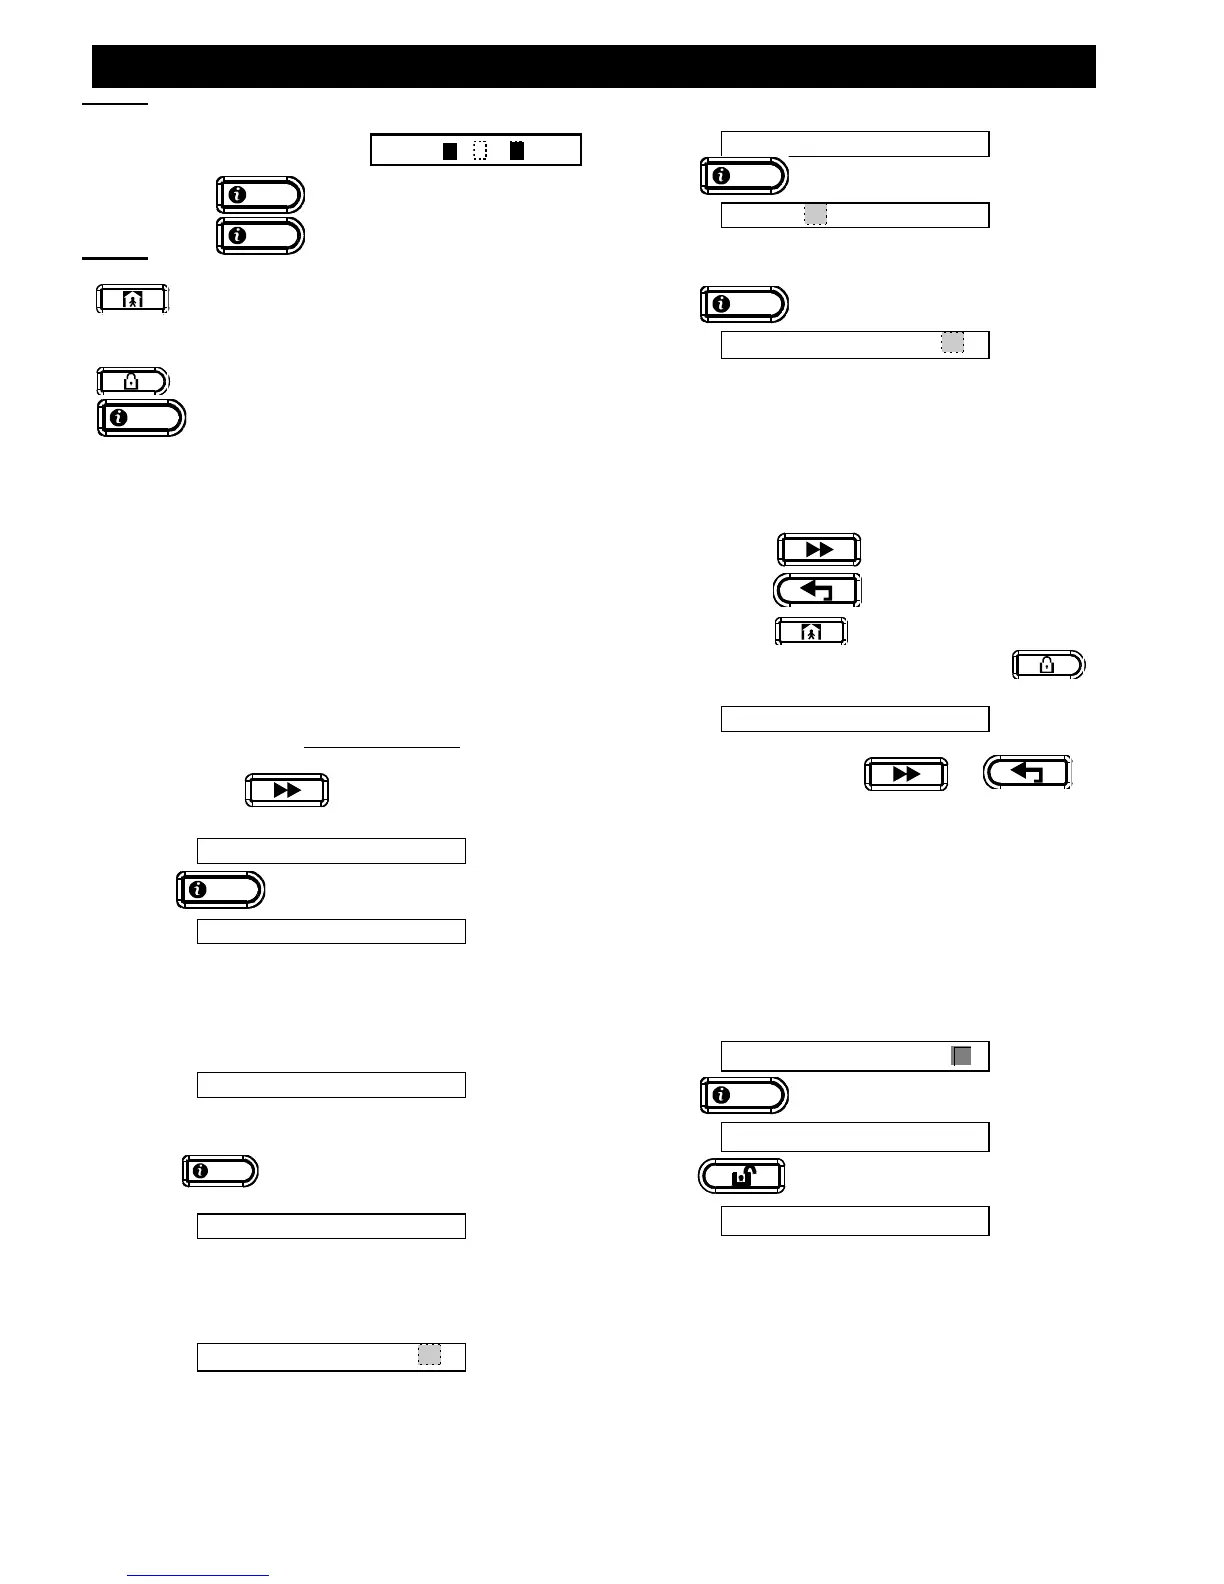
C. Suppose that the Keyfob you are about to enroll
is to be designated as Keyfob No. 5. Assuming
that memory location No. 5 is free - no keyfob has
yet been enrolled to it - click the <5> key. The
display will change to:
The clear space at the far right tells you that the
memory location is free.
D. Click
. The display will prompt you to
initiate a transmission from the chosen keyfob:
E. Initiate a transmission from the chosen keyfob by
pressing any one of its pushbuttons. In response,
the “Happy Tune” (- - - –––) will sound. For
disabled partitioning mode, the display will be:
Proceed to step "I" below.
When partition is enabled, the display will read:
G. Select the desired partitions via pushbuttons 1, 2
and 3 on the control panel keypad.
H. Click
A dark box will appear at the far right, indicating
that the chosen Keyfob has been enrolled as
Keyfob No. 5.
I. From this point on, you may continue in several
different directions:
If you wish to enroll another keyfob, select
the desired number by:
- Clicking to go up (678.....)
- Clicking to go down (432.....)
- Clicking <keyfob #>.
To return to the main menu, click .
This will bring back the display:
You may now review and select any other mode on
the User menu (by clicking or ).
Deleting Keyfob Transmitters
Occupied keyfob memory locations must be cleared
(enrolled ID must be deleted) before enrolling a new
ID. To delete an existing ID, proceed as follows:
A. Select the desired memory location, as described in
the previous paragraph, steps A-C. If, for example,
you selected keyfob No. 5, the display will read:
. The display will change to:
C. Click . The display will change to:
Note that the dark box at the far right has
disappeared. It is now possible to enroll a new ID. It
is also possible to leave the cleared keyfob location
free and simply exit to the main menu.