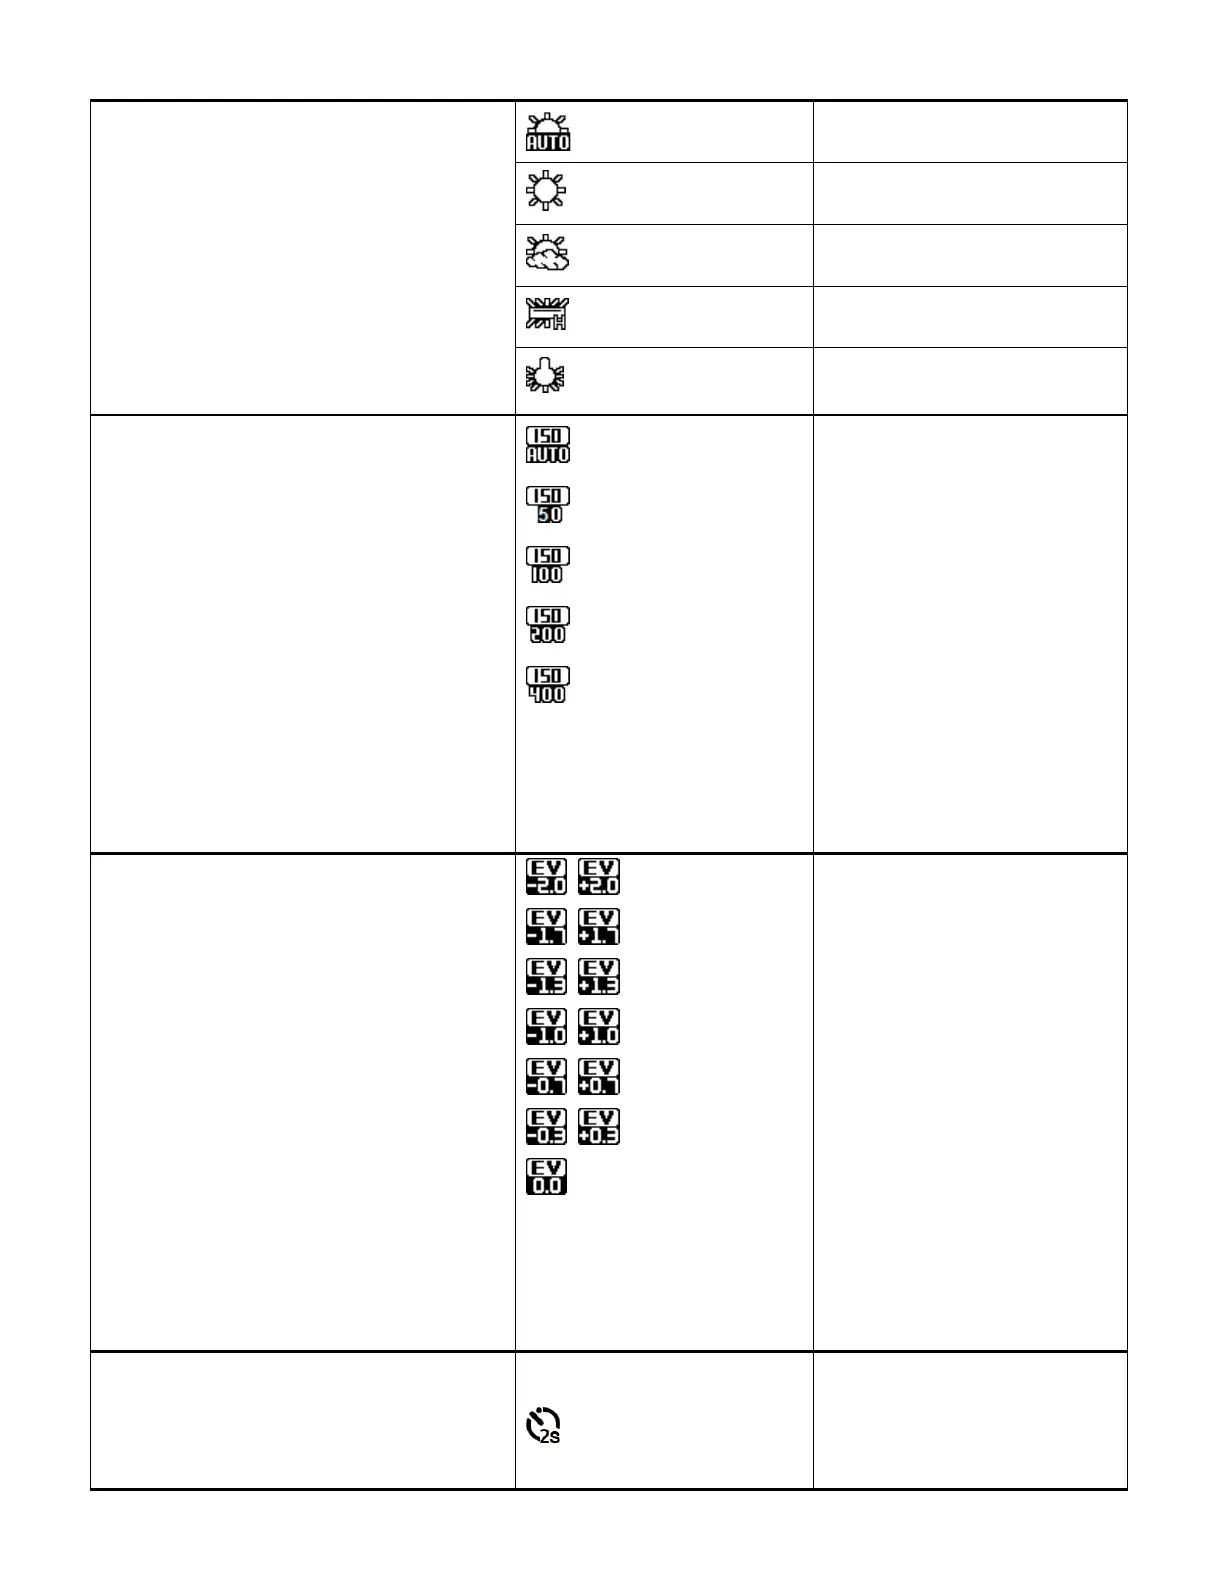
White Balance
The White Balance feature allows your
camera to adjust the coloring of the captured
images depending on the type of light source
in the current environment.
Properly adjusting the White Balance setting
to match your current environment will allow
the camera to properly balance the colors in
the images that are taken with your camera.
White balance selected for
daylight surrounding.
White balance selected for
cloudy surrounding.
White balance selected for
fluorescent surrounding.
White balance selected for
tungsten lighting.
ISO
The ISO menu allows you to set the level of
sensitivity that your camera has to light in the
surrounding environment. When the ISO level
is increased, the image sensor in your
camera will be more sensitive to light and
allow you to capture images in lower-light
situations. The higher sensitivity to light
however, may reduce the quality of the
images that are taken.
When the ISO is reduced, the image sensor
in your camera will be less sensitive to light
and will optimize the image quality in
environments with bright lighting.
Auto (Default)
50
100
200
400
Displays the Sensitivity
setting.
Exposure
The Light Exposure setting helps you control
the amount of light that enters your camera’s
lens. This setting should be adjusted when
the environment is lighter or darker than
normal.
When the environment has more light than is
needed, reduce the exposure setting (by
using the negative - count) to reduce the
amount of light allowed into the lens by your
camera.
If the environment has less light (darker) than
is needed, increase the exposure setting (by
using the positive + count) to increase the
amount of light allowed into the lens by your
camera.
±2.0
±1.7
±1.3
±1.0
±0.7
±0.3
0 (Default)
Displays selected EV±
value.
Self Timer
The Self Timer menu allows you to set a
delay between the time that the camera’s
Shutter button is pressed and the actual
OFF (Default) - no icon
2S
OFF – The photo is taken
as soon as you press the
Shutter button.