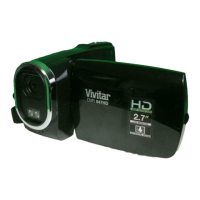
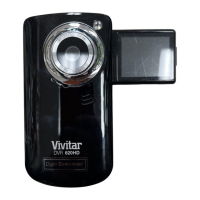
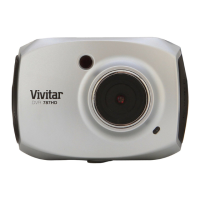
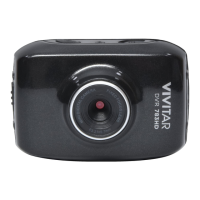
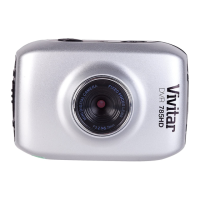
Video Capture Mode
The Video Capture Mode allows you to capture videos with your DVR.
When the camera is first powered ON, the camera will be in Video Capture Mode.
Taking a Video
1) While in Video Capture Mode, use the LCD display to direct the camera at the scene you
would like to capture.
2) Press the Up -T/Zoom In and Down - W/Zoom Out on the joystick control to better set the
camera display if desired.
3) Press the Video Shutter button to start the video capture.
4) You will see a red blinking icon at the top of the LCD indicating that the record is in progress.
5) To stop the video record, press the Video Shutter button again.
6) The video will automatically be saved to the camera‟s SD memory card.
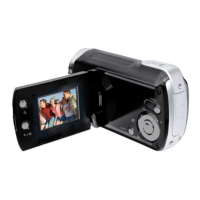
7) You can also capture your videos using the Flip Screen.
When you would like to quickly and easily include yourself in the video, simply flip the LCD
screen 180 degrees and hold out the camera facing towards you. Make sure you can see
yourself within the scene on the LCD screen and press the Video Shutter button to begin
shooting the video. Press the Video Shutter button again to stop the video recording. It‟s as
easy as twist and shoot!
Video Capture Mode Quick Function Buttons
Selects the LED Light On-Off
ViviLink - Opens the ViviLink for Videos menu
STARTS/STOPS the video capture
Opens the menu options for Video Capture Mode
Saves your selected menu option
Note: To navigate through the Menus, use the
UP/DOWN/LEFT/RIGHT direction control buttons.
Toggles between the Video Capture Mode, Photo Capture Mode,
and Playback Mode
Exits the menu screen