Do you have a question about the Vivitar Vivicam 3805 and is the answer not in the manual?
Provides general information about the user manual's accuracy and subject to change.
States the copyright year and proprietary information notice.
Confirms that all trademarks are property of their respective owners.
Details crucial safety precautions for using the digital camera and handling its components.
Lists the key features and capabilities of the digital camera.
Details the components included in the digital camera package.
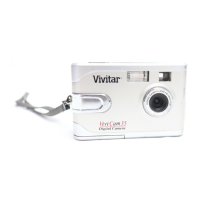
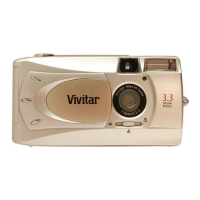
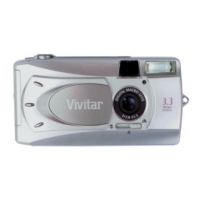
Provides a general overview of the digital camera's features and layout.
Illustrates and labels the components on the front of the camera.
Illustrates and labels the components on the back of the camera.
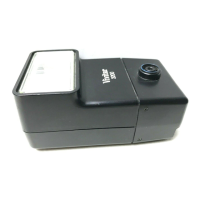
Illustrates and labels the components on the right side of the camera.
Illustrates and labels the components on the left side of the camera.
Explains how to use the LCD screen for previewing and adjusting settings.
Provides instructions on how to turn the LCD screen on and off.
Explains the various icons displayed on the LCD screen.
Details icons and information displayed on the LCD during capture mode.
Details icons and information displayed on the LCD during playback mode.
Step-by-step guide on how to attach the hand strap to the camera.
Instructions for correctly inserting AA batteries into the camera.
Instructions for inserting an SD/MMC card for additional storage.
Explains the unique sliding door switch mechanism for powering the camera on and off.
Procedure to set the camera's date and time before initial use.
Instructions to change the display language of the camera.
Lists the software components provided on the CD and installation overview.
Explains the two camera modes: Capture and Playback.
Step-by-step guide on how to quickly capture a still image.
Introduces adjusting camera settings via physical buttons.
Instructions on using the 4x digital zoom feature for capturing images.
Details the different flash modes available for various lighting conditions.
Explains how to adjust image resolution and its impact on quality and file size.
Guide to using the self-timer for hands-free photography and group shots.
Describes the three preset scene modes for specific shooting conditions.
Introduces adjusting advanced settings via the camera's menu system.
Explains how to set white balance for accurate color reproduction under different lighting.
Details how to adjust exposure value (EV) for controlling image brightness.
Describes three special effects (Normal, B&W, Sepia) for image capture.
Instructions for recording MPEG movie clips using the camera.
Explains how to view images and clips stored on internal memory or SD/MMC card.
Details how to navigate and view individual photos or clips at full screen.
Instructions on how to zoom in and pan to view details of still images.
Guide to adding or deleting voice memos associated with still images.
Explains how to view multiple images simultaneously in thumbnail mode.
Instructions on how to play back recorded movie clips.
Procedure for deleting single files, all files, or formatting the memory card.
Instructions on how to lock files to prevent accidental deletion.
How to view all images and movie clips in an automated slide show.
Steps to move files from internal memory to an external SD/MMC card.
Detailed steps for connecting the camera to a PC via USB to transfer files.
Instructions for connecting the camera to a TV using the AV cable.
How to select the appropriate TV output format (NTSC or PAL).
Internal memory or card is full, preventing picture/video capture.
SD/MMC card is not of the correct format or recognized.
No files available on memory for playback.
Indicates the battery is completely discharged.
Low battery prevents flash operation.
Camera is processing an image/video, potentially due to rapid button presses.
Flash is charging and cannot fire immediately.
Indicates file transfer operation is in progress.
Troubleshooting steps for when the camera does not turn on.
Solutions for issues preventing the camera from capturing images.
Steps to diagnose and fix problems with the camera's flash.
Causes and solutions for blurry images, often related to movement.
Troubleshooting connection issues between the camera and a PC.
| Brand | Vivitar |
|---|---|
| Model | Vivicam 3805 |
| Category | Digital Camera |
| Language | English |