Do you have a question about the Vivitar ViviCam S124 and is the answer not in the manual?
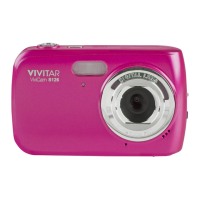
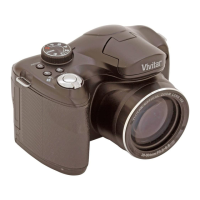
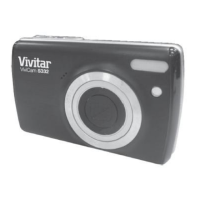
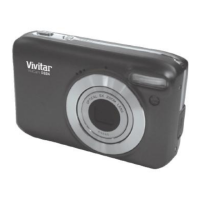
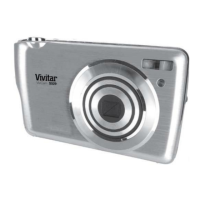
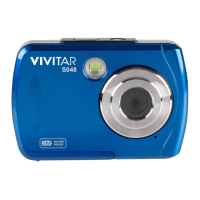
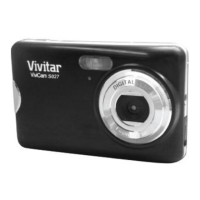
Welcome message and overview of the digital camera.
Lists the items that come with the digital camera package.
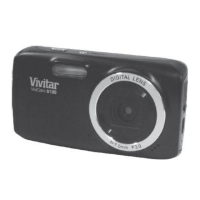
Controls for camera power and image capture.
Buttons for mode selection and menu navigation.
The optical lens and the LCD screen for viewing.
Slots for SD card and battery housing.
Instructions for inserting batteries and the SD memory card.
Steps to turn on the digital camera.
Initial guidance on using the camera's functions.
Proper battery insertion, usage, and power indicators.
Guide for inserting the SD memory card correctly.
Instructions for turning the camera on, off, and auto-off.
How to select the camera's operating language.
How to set the camera's current date and time.
Configuring default social network for media uploads.
Mode for taking still pictures.
Mode for recording video clips.
Mode for viewing and managing captured media.
How to use the MODE button to switch between camera modes.
Step-by-step guide on navigating camera menus using buttons.
Using ViviLink for uploading photos/videos to social networks.
Setting up and assigning ViviLink for media.
How to change flash modes using the UP button.
Guidelines for optimal flash operation and placement.
Explains Forced Off, Forced On, Auto Flash, and Red Eye Reduction.
Steps to turn Macro mode ON for close-up photography.
Steps to turn Macro mode OFF for standard photography.
Icon indicating Macro mode is active.
How to toggle the visibility of icons on the LCD.
Instructions for composing and capturing a photo.
How to use the zoom feature to magnify subjects.
Automatic saving of photos to memory.
Steps to set up the camera for self-portraits, including Macro.
How to capture a self-portrait using the flip screen.
Tip regarding focus for self-portraits without Macro mode.
Assigning functions like Scene, Flash, Delete, ViviLink to directional buttons.
Functions of Shutter, SET, MODE, and Zoom buttons in Photo Mode.
Settings for scene type, image size, and photo quality.
Options for delayed shots and image stabilization.
Features for face recognition and color correction.
Adjusting light sensitivity, metering, and visual effects.
Settings for image stabilization and face recognition.
Adjusting color temperature and visual effects.
Controls for light sensitivity and light measurement.
Settings for timestamps and memory card management.
Adjusting image clarity and light input.
Setting the camera's sensitivity to light.
Light metering methods and camera language selection.
Using face detection and anti-shake for better photos.
Taking a burst of six rapid photos.
Adjusting color balance and applying color effects.
Applying color filters and adjusting image sharpness.
Controlling light levels and sensor sensitivity.
Metering modes and camera language options.
How to control the amount of light entering the lens.
Adjusting the camera's light sensitivity.
Different methods for measuring light in a scene.
Choosing how the camera measures light for exposure.
Setting the camera's user interface language.
Setting the camera's date and time.
Configuring camera language and date/time.
Setting the automatic camera power-off timer.
Adjusting frequency for fluorescent lighting.
Managing camera power saving through auto-off.
Setting frequency for optimal video under lighting.
Erasing all data from the SD memory card.
How to erase all data from the SD card.
Restoring the camera to its original settings.
How to capture and save video footage.
Using the zoom feature while recording video.
Capturing videos using the flip screen for self-recording.
Assigning functions like Scene, Light Exposure, Delete to directional buttons.
Functions of Shutter, SET, MODE, and Zoom buttons in Video Mode.
Choosing scene settings to optimize video capture.
Selecting the video resolution (e.g., HD, VGA).
Choosing the quality level for video recordings.
Correcting color casts under various lighting conditions.
Applying stylistic color filters to video.
Adjusting the sharpness of video clips.
Adjusting the amount of light for video recording.
Managing light sensitivity for video capture.
Selecting light metering modes for video.
Choosing light measurement methods for video.
Setting the camera's interface language.
Setting the date and time for video recordings.
Enabling or disabling timestamps on videos.
Managing the camera's auto power-off feature.
Adjusting frequency for lighting conditions in video.
Setting frequency for optimal video under lighting.
Erasing all data from the SD memory card.
Restoring video settings to original factory state.
Restoring camera settings to default.
Steps to erase all data from the memory card.
Navigating through stored photos to view them.
Using zoom to magnify photos and navigating the enlarged view.
Displaying multiple photos in a grid for selection.
How to view photos in a grid layout.
Navigating and selecting photos from the thumbnail grid.
Enlarging selected thumbnails to full size.
Navigating photos, starting slide shows, and ViviLink.
Functions of SET, MODE, Zoom, and Thumbnail view buttons.
Procedures for deleting selected or all media files.
Assigning uploads and rotating photos.
Options for printing photos and configuring slide shows.
Trimming and resizing photos to focus on specific areas.
Locking individual or all photos to prevent deletion.
Connecting to a Pictbridge printer for direct photo printing.
Steps to print photos directly from the camera.
Setting display intervals for photo slide shows.
How to play, pause, and stop video recordings.
Navigating and playing video files.
Using the thumbnail view to select videos.
Using buttons to play, pause, and stop videos.
Navigating videos, stopping playback, and ViviLink.
Functions of Shutter, SET, MODE, and Zoom/Thumbnail buttons.
Procedures for deleting selected or all video files.
Assigning social network destinations for video uploads.
Protecting video files from accidental deletion.
Protecting individual or all video files from deletion.
Removing protection from locked video files.
Step-by-step guide to install the software on Windows/Mac.
Steps to physically connect the camera to the computer.
What to expect when connecting the camera for the first time.
How to transfer media using the manager software.
Features like upload, manage, edit, and geotagging.
Manual transfer process for Windows OS.
Manual transfer process for Macintosh OS.
Methods for transferring media to an iPad.
Instructions for safe handling to prevent damage.
Precautions against heat sources and moisture.
What the warranty covers, including duration and defects.
Items and conditions not covered by the warranty.
Instructions for returning the product for repair.
Accessing manuals, FAQs, and email support via website.
Phone numbers for customer support in US, UK, and Australia.
Solutions for photos not appearing after transfer.
Advice on preventing accidental data loss.
Steps to recover images deleted via the software.
| Image Sensor Type | CCD |
|---|---|
| Digital Zoom | 4x |
| Storage Media | SD/SDHC |
| Megapixels | 12 MP |
| Image Sensor | 1/2.3 inch |
| LCD Screen Size | 2.7 inches |