SERVICING
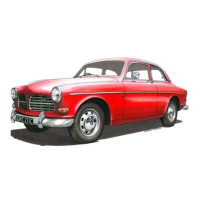
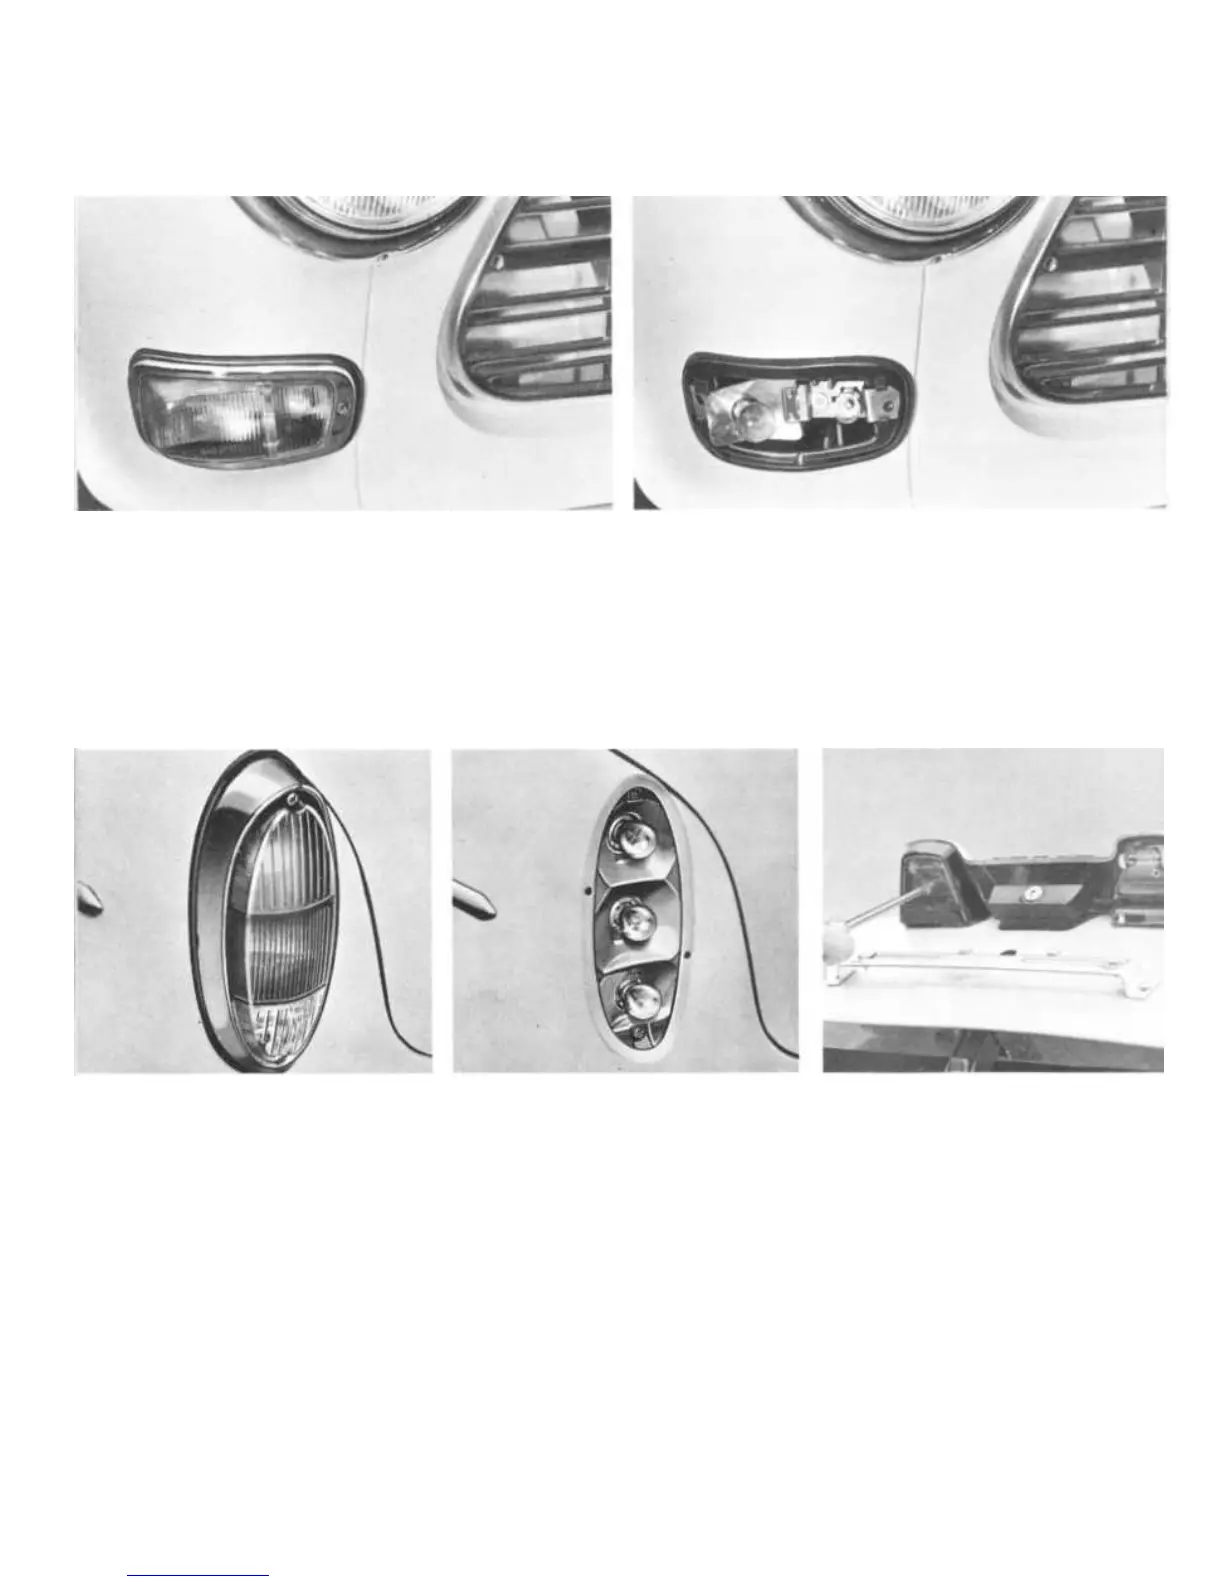
Replacing the bulbs in the front parking lights/flashers
Unscrew the two screws by means of a
Philips screwdriver and lift off the glass and
the
metal frame. The bulbs can now be re-
moved by pushing in and twisting anti-
clockwise.
The larger one is the flasher and the smaller
one the parking light. See that the glass
seats properly on the gasket.
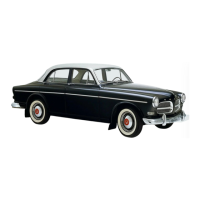
Replacing the bulbs in the rear flashers,
stop/tail
lights and back-up lights
Replacing the bulbs in
the number plate lighting
Unscrew the two screws,
one at the. upper and one
at
the lower end of the
lighting fixture, by means
of
a
Philips
screwdriver
and lift off the glass and
the
metal frame. The bulbs
can now be removed by
pushing in and twisting
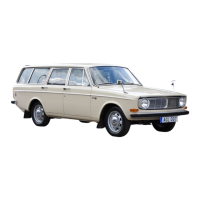
anti-clockwise. The top bulb
is
the flasher, the middle
one the combined stop/tail
light,
and the bottom one
the back-up light. See that
the glass seats properly on
the gasket when assembling
the fixture.
The untinted
part of the glass should be
at the bottom.
The number plate lighting is
built into the handle on the
l
uggage compartment lid with
one bulb on each side of the
emblem. The bulbs are access-
i
ble from the underside of the
emblem.
44