6 English
8. Plug your appliance into the outlet and turn the power on.
9. If the replacement fuse blows, a short-circuit may be present
and the product should be discarded or returned to an
authorized service facility for examination and/or repair.
Risk of fi re. Do not replace attachment plug. Contains a safety device
(fuse, AFCI, LCDI) that should not be removed. Discard product if the
attachment plug is damaged.
SAVE THESE INSTRUCTIONS
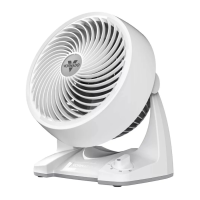
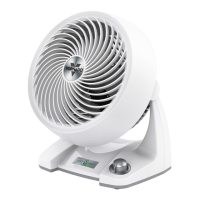
Fig. A Fig. B
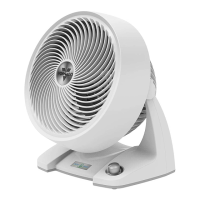
Fig. C
19
Español
LIMPIEZA
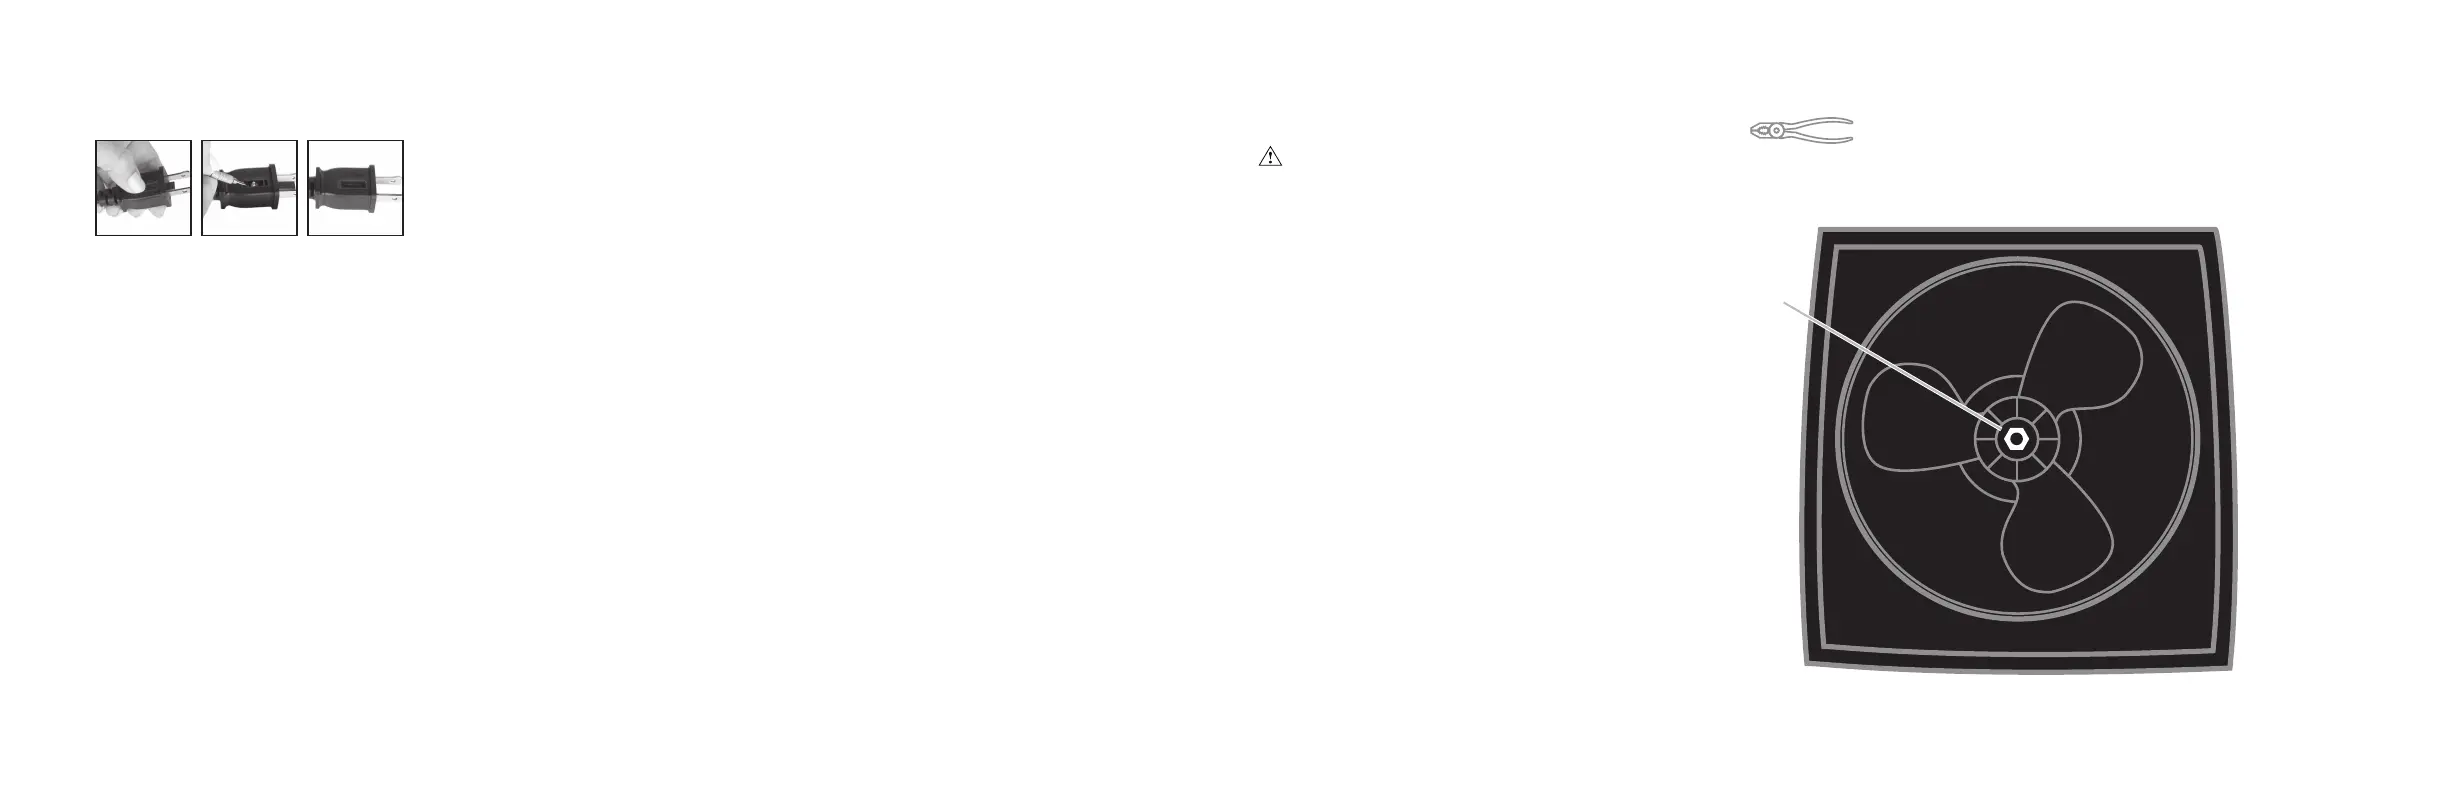
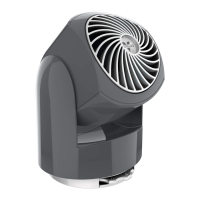
REMOCIÓN DEL ASPA Se requiere un alicate.
1. Primero, retire la tuerca de la varilla
girando la tuerca en sentido horario
para afl ojarla (modelo 573 no tiene
tuerca). Si está incluido, quite las
arandelas y reserve. Retire el aspa
de la varilla.
2. Limpie el aspa con un paño suave.
Si el circulador se usa en un ambien-
te grasoso, como la cocina, puede
ser necesario utilizar un jabón suave
o un producto de limpieza común.
No use solventes.
3. Para reubicar el aspa, asegúrese de
que el lado plano de la varilla esté
alineado directamente con el lado
plano correspondiente en el en-
chufe del aspa. Empuje el aspa en la
varilla hasta que llegue a la base del
circulador. No utilice un martillo,
pues podría dañar el artefacto. Si
está incluido, reinstale las arandelas
provistas y la tuerca.
ADVERTENCIA: Para reducir el riesgo de descarga eléctrica o daños a personas, desenchufe el circulador antes de remover el aspa.
NUT