2
Complete and return the warranty card. The warranty does
not take effect until the warranty card is returned.
Remove and set aside the following items:
Alignment Jig.
Record clamp.
Power cord.
Bag containing screwdrivers and screws for mounting the cartridge.
Shure Stylus Force Gauge
JMW-Classic tonearm wand
Remove the large foam top packaging piece and place it on the side.
Make room for the turntable, it will be ready to place in its final destination
immediately.
Grab the turntable on the sides where the foam is cut out and lift straight up. Be
careful, the turntable is very heavy (40 pounds) if you need help, get it. Place the
turntable on a flat sturdy surface that will support the weight.
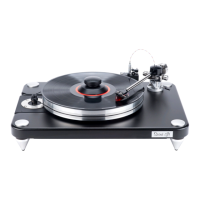
Lift the aluminum turntable platter from the smaller box, remove the plastic bag, and
peel off the tape covering the bearing hole. Be very careful not to hit or damage the
motor pulley when sliding the platter on to the spindle shaft. It measured +/- .0005”
when it was tested at the factory. Try not to disturb it at all. The platter can be
damaged if it is hit, be careful.
The paper protection on the platter can be used as a mat if you are not comfortable
with the record sitting on the bare aluminum platter. There is also a urethane mat
provided for those that must use a mat. We recommend bare platter listening but it is
an owner’s choice to decide.
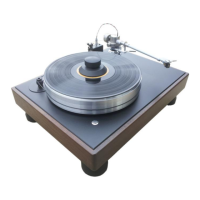
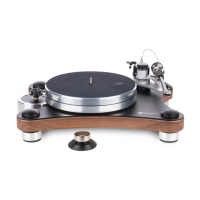
SETTING UP THE CLASSIC
The Classic 1 must be placed on a flat, level surface. This will make setup easy, provide
better sound quality, and put less strain on the main bearing.
Place the turntable chassis on the shelf or stand where it will be used. The Classic 1
has very good isolation so it simply requires a good solid shelf on a rack that doesn’t
sway in the breeze. You can get very good sound by placing the Classic 1 on a maple
butcher block board about 2” thick.
The platter bearing is lubricated; no additional lubrication is needed for at least one
year.
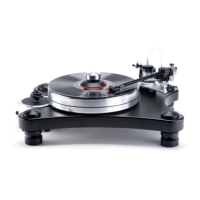
Place the drive belt around the platter and around the pulley on the motor. The belt
does not have to be level on the platter. It will self-level when the platter starts
rotating. You can powder the belt with baby powder or talc for even better sound.
For 33 RPM operation, place the belt on the upper part of the pulley. For 45 RPM
operation, place the belt on the lower, wider part of the pulley. The center groove in
each diameter is usually the correct speed.
 Loading...