Do you have a question about the VPI Scout and is the answer not in the manual?
Follow safety instructions to reduce risk of electrical hazard or injury.
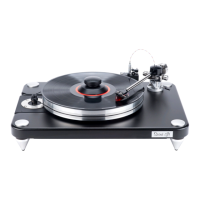
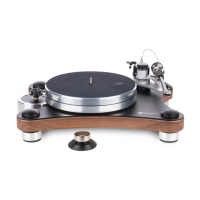
Ensure the Scout is placed on a flat, level surface for setup and sound quality.
Avoid electrical shock by not opening the motor housing or using ungrounded outlets.
Exercise extreme caution with the tonearm's sharp male pivot point.
Use a bubble level to ensure the platter is level and adjust feet accordingly.
Gently connect wire connectors to the cartridge pins, do not push fully.
Place the Alignment Jig on the spindle, aligning its V-groove with the bearing shaft.
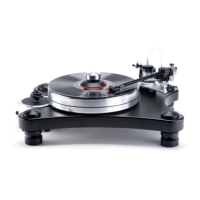
Carefully place the arm tube assembly onto the male pivot point.
Align the red dots on the Lemo connector and receptacle for proper connection.
Swing the tonearm over the jig and position the stylus on the center dot.
Align the cartridge between the grid lines, with the stylus on the white dot.
Center the cartridge and align the stylus, adjusting screws and counterweight as needed.
Tighten cartridge mounting screws gently and remove the alignment jig.
Avoid using groove-less records for anti-skate adjustment to prevent warranty voiding.
Adjust tracking force by moving the tonearm counterweight forward or backward.
Employ a digital gauge on the platter to set the tracking force accurately.
Loosen setscrews and turn the adjustment wheel to make the arm parallel.
| Drive Method | Belt Drive |
|---|---|
| Speed Accuracy | 0.1% |
| Weight | 32 lbs |
| Platter | Aluminum |
| Motor | 300 RPM AC Synchronous |
| Tonearm | Unipivot |
| Speed | 33.3, 45 RPM |
| Dimensions | 19" x 14" x 8" (W x D x H) |