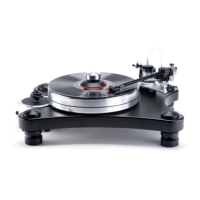
5
6. Installing and Aligning the Cartridge
6.1 For cartridges with pass-through mounting holes, use the hardware supplied with the
cartridge and follow the alignment procedure carefully (Denon, Miajimma, etc.)
For all cartridges using 2.5mm standard metric mounting threads use the supplied Allen
head screws and the 5/64” Allen wrench. Be sure to use washers under the screw heads.
6.2 The tonearm wires are color-coded as follows:
Red right hot
Green right ground
White or Black left hot
Blue left ground.
If your phono section inverts phase, the hot color becomes the ground color.
6.3 Using tweezers or fine-tipped pliers, grip the center of the red wire’s connector not the
wire itself and push it onto the cartridge’s right hot terminal pin. Connect the
remaining connectors in the same way. To avoid damage to the cartridge, do not push
the connectors all the way on.
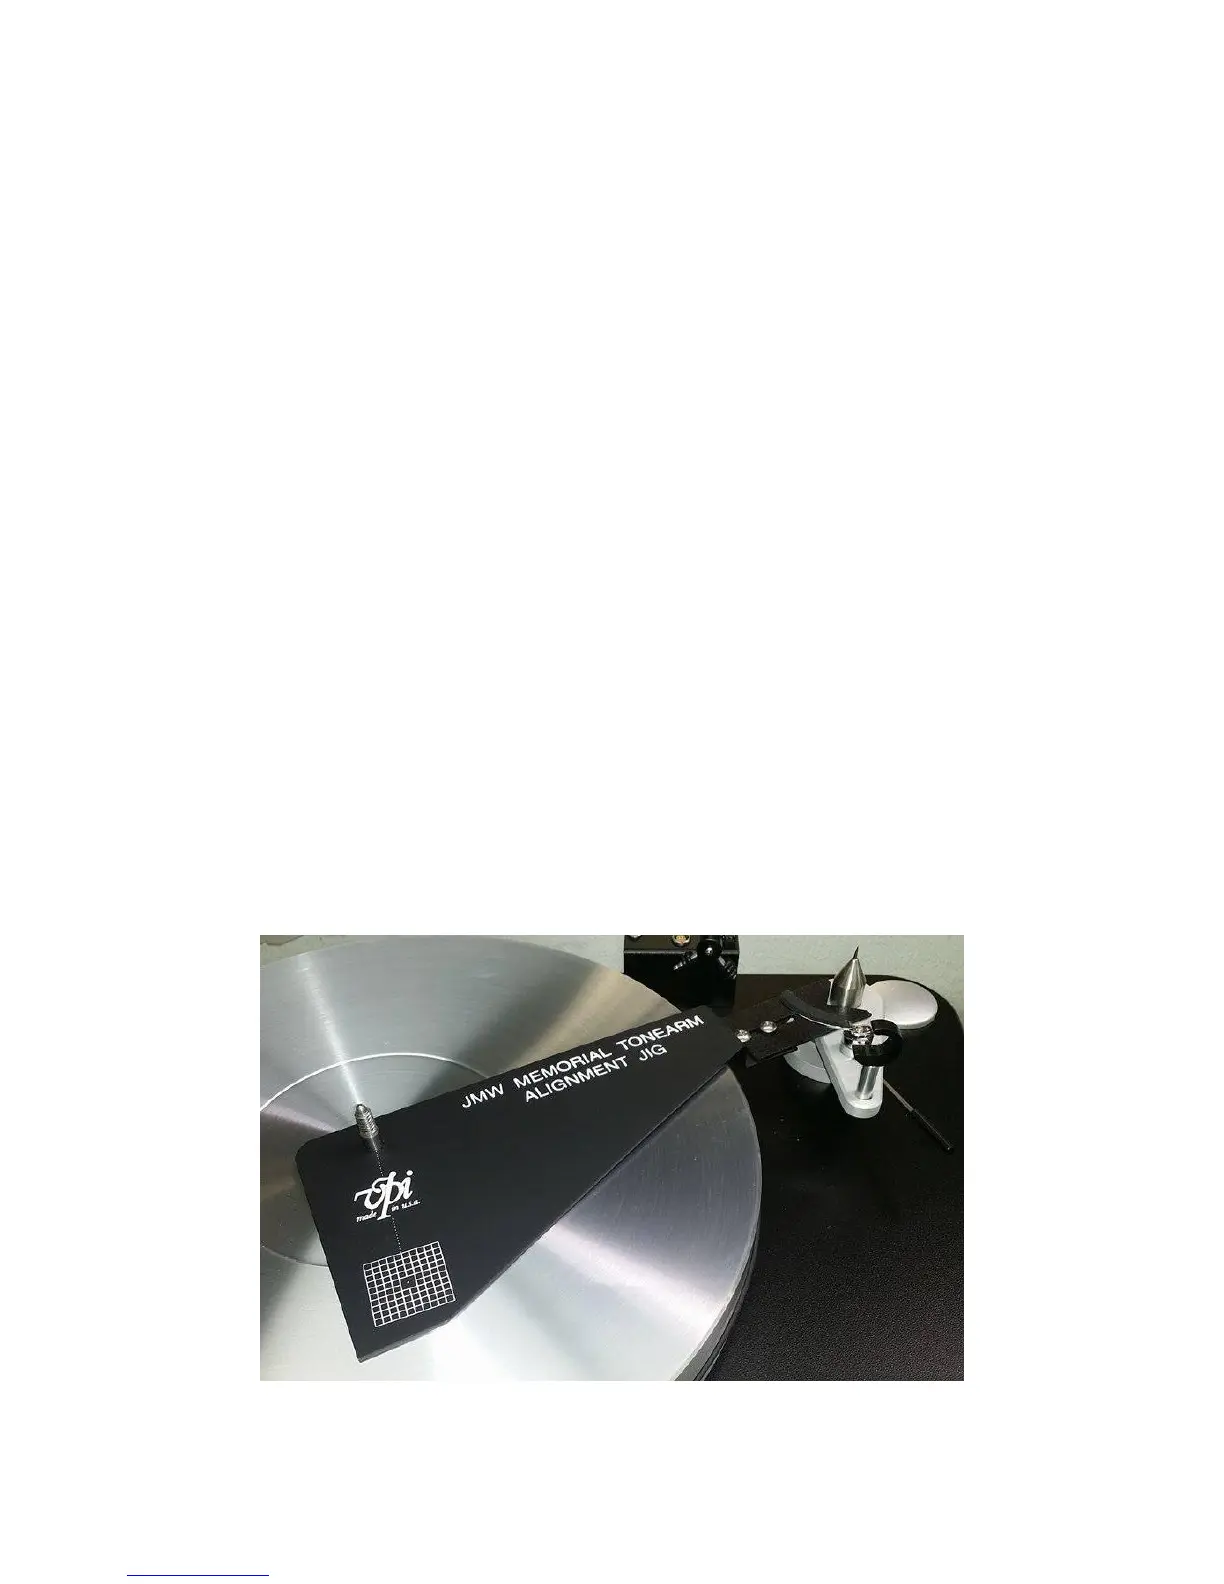
6.4 Place the Alignment Jig on the spindle with the V-groove against the base of the male
bearing shaft. Tighten the screws of the jig so it fits snugly against the male bearing shaft
and over the record spindle. The jig is adjustable and automatically corrects for alignment
when you put it in the position shown in the picture below.