Note
• If you power on only one baby unit, you may see
the parent unit displaying and then
No link to CAM # (# represents the baby unit
number), and the LINK LED light flashing.
Press VIEW in Single CAM or Patrol mode to switch
to the baby unit you have powered on.
Status check - Two baby units
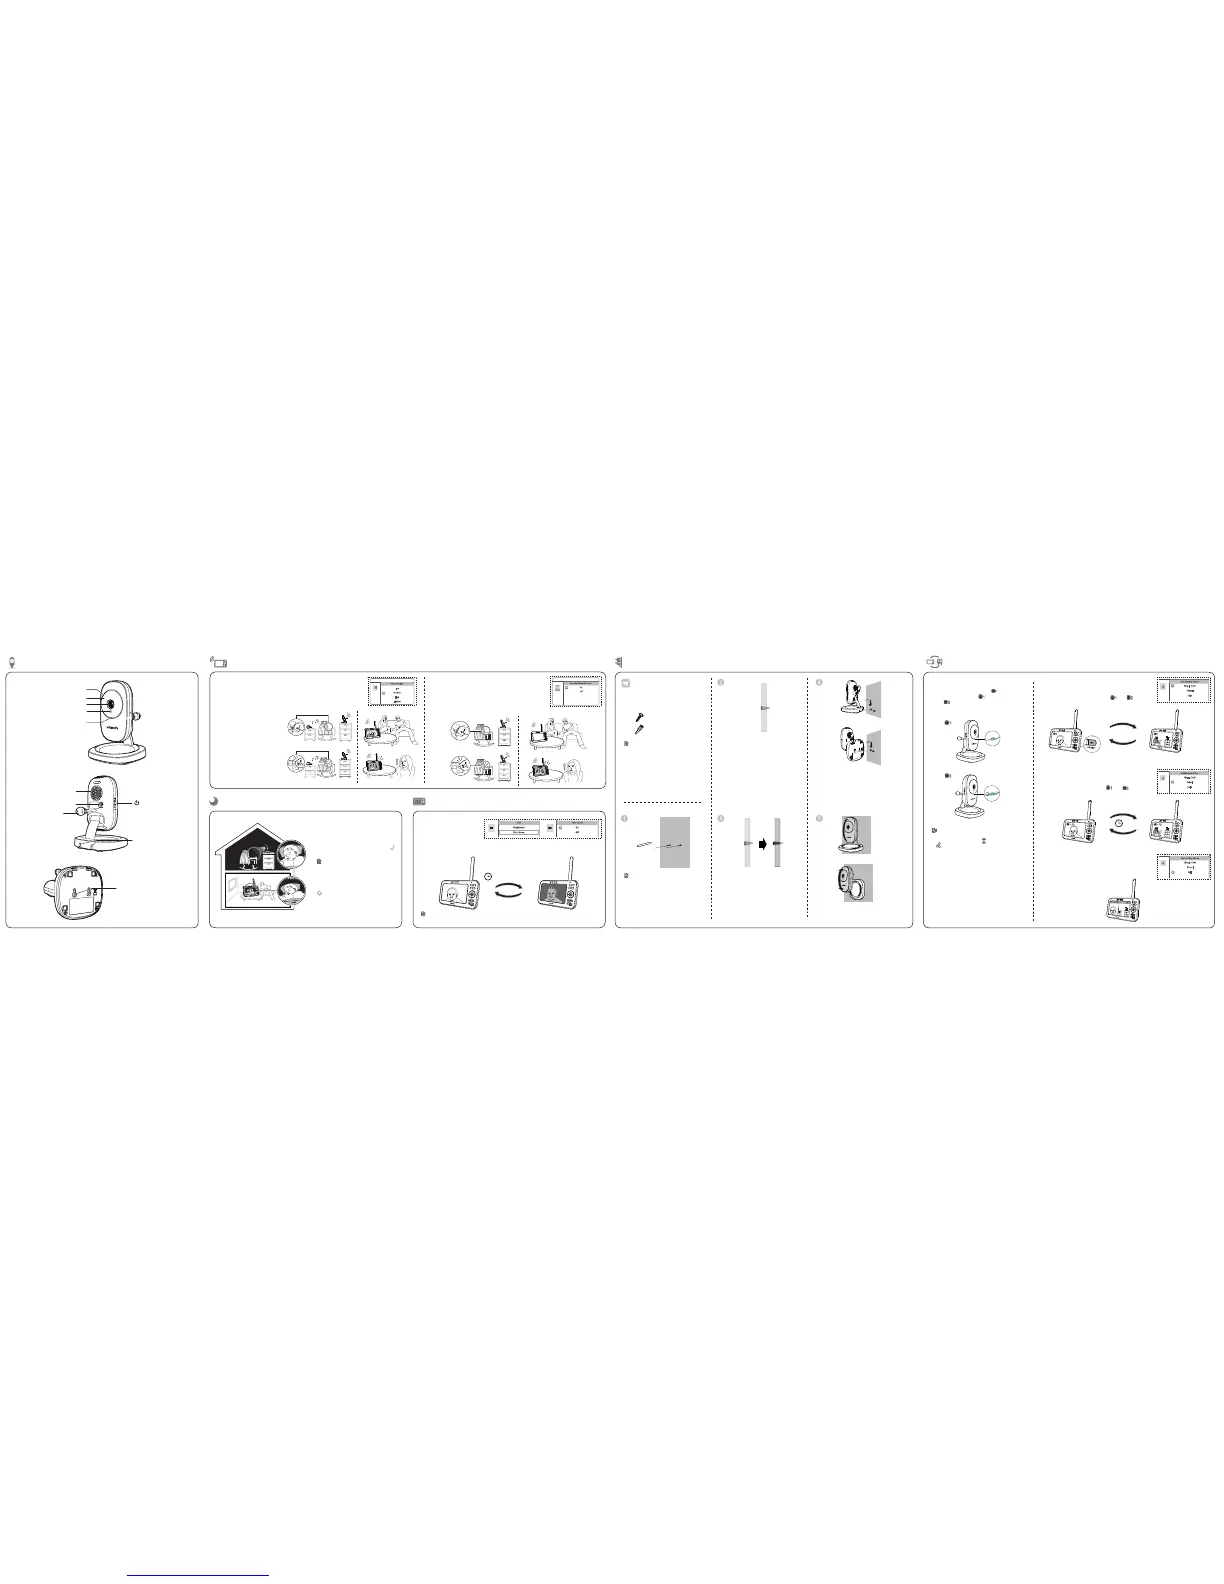
Mount the baby unit on dry wall (optional)
Items to purchase
You will need to purchase the
following items separately to
mount your baby unit:
Use a pencil to mark two holes in
parallel. Make sure they are the same
distance apart as the wall mount holes
on the baby unit.
Note
• Check for reception strength and camera
angle before drilling the holes.
2 screws
2 anchors
Drill two holes in the wall.
If you drill the holes into a stud, go to
step 3.
-OR-
If you drill the holes into an object other
than a stud, insert the wall anchors into
the holes. Tap gently on the ends with a
hammer until the wall anchors are flush
with the wall.
Insert the screws into the holes and tight-
en the screws until only 1/4 inch of the
screws are exposed.
Depending on your preference, choose
the upright or lateral orientation to mount
your unit. Align the wall mount holes at the
bottom or at the rear side of the baby unit
with the screws on the wall. Slide the baby
unit down until it locks into place.
OR
Tilt or rotate to adjust camera angle.
OR
Select Patrol as your monitoring mod e to alternately
view the image from baby unit s and every 10
seconds.
Change different views - Patrol
10s
Monitoring Mode
Single CAM
Patrol
Split
Select Split as your monitoring mode to view the
images from both baby unit s at once.
Change different views - Split
Monitoring Mode
Single CAM
Patrol
Split
In Single CAM or Patrol mode, press VIEW to switch
between the imag e of baby units and .
Press VIEW
Change different views - Single CAM
Monitoring Mode
Single CAM
Patrol
Split
Night vision
The baby unit has infrared LEDs that
allow you to see your baby clearly at
night or in a dark room. When the baby
unit being viewed detects low light
levels, the infrared LEDs are switched
on automatically. The images from the
baby unit are in black and white, and
appears on the screen.
Notes
• It is normal if you see a s hort white glare
on your parent unit sc reen as the baby unit
is adapting to the d ark environment.
• When the infrare d LEDs are on, the images
are in black and w hite. This is normal.
Tip
• Depending on the surroundings and other
interfering factors, like lightings, objects,
colors and backgrounds, the video quality
may vary. Adjust the baby unit’s angle or
place the baby unit at a higher level to
prevent glare and blurry display.
Wall mount holes for
lateral mounting
Light sensor
Camera
Microphone
ON/OFF
LED light
Infrared LEDs
ON/OFF switch
Speaker
Power jack
Temperature
sensor
Wall mount holes for
upright mounting
Dim mode
With dim mode preset to
on, your parent unit display
will dim to conserve ene rgy
after 10 minutes of inactivity,
in which there is neither key
pressed nor aler t received
from the baby unit.
10 min inactivity
Press any buttons
Note
• The types of screws and anchors you
need depend on the composition of the
wall.
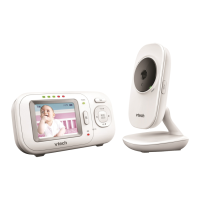
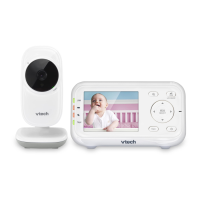
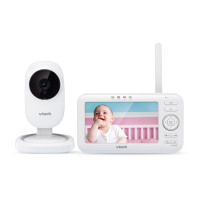
Overview - Baby unit
Sound sensitivity and sound activation
Sound activationSound sensitivity
When sound activatio n is on, the parent unit screen stays off
to save power when the baby unit detec ts no sound.
Once the baby unit detec ts sounds that are louder than the
chosen sound sensit ivity level, the parent unit screen turns
on automatically. It will then turn of f again after 50 seconds
of no sound detection .
Sound-activated Screen
On
O
With sound sensitivit y setting, you can choose to hear sounds from t he
baby unit all the time, or to hear sounds that exceed a cer tain level. The
default level Highest allows you to hear all sounds (including background
noises).
If you set the sound sensitivit y to
a lower level (e.g. Medium), you
will only hear sounds that exceed
the selected level. The baby unit
may not detect soft sound s, and
the parent unit speaker may remain
quiet.
For details, please see Adjust the
sound sensitivit y of the baby unit
in the User’s manual .
VOX Sensitivity
Low
Medium
High
Highest
63ē
 Loading...