8
TRAMPOLINE | ASSEMBLY INSTRUCTIONS
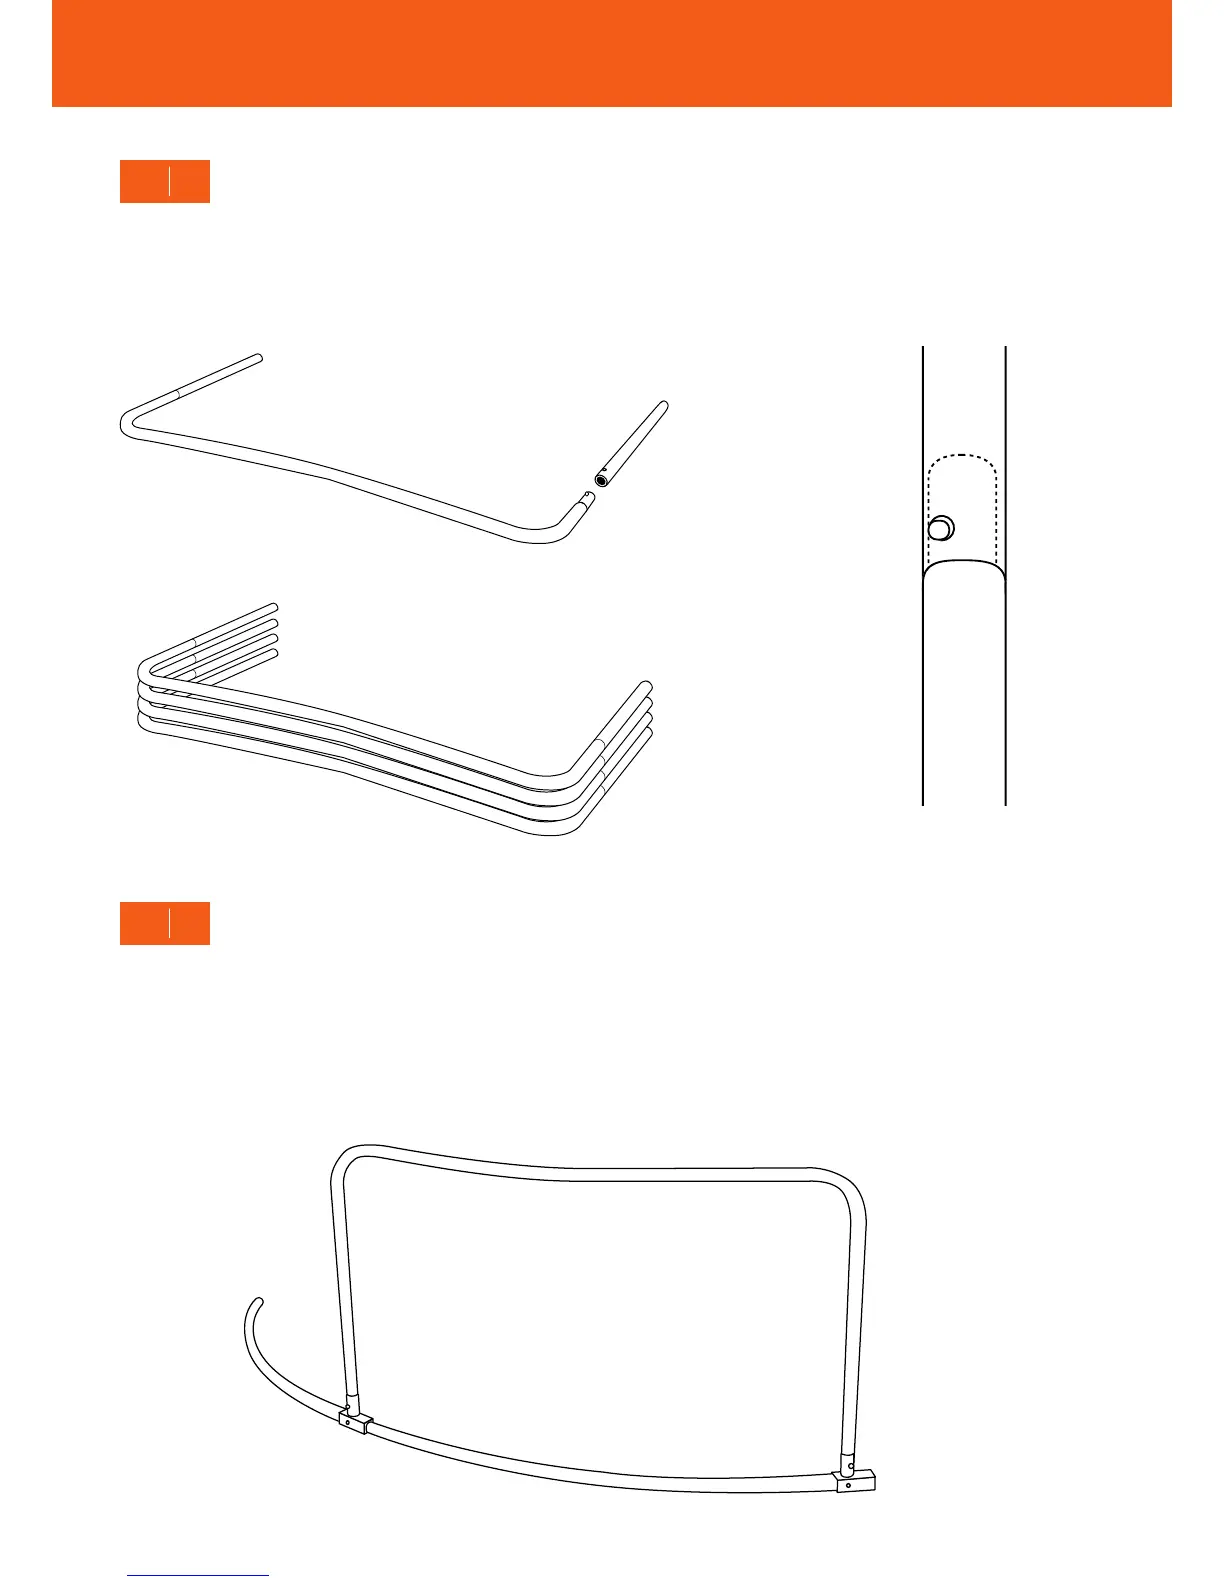
Take one W-shaped pole, press the spring button and insert a straight pole into each end. Twist the straight poles until the
spring button clicks again—locking the poles together. Continue until you have connected all straight and W-shaped poles.
Arrange the completed pieces on the ground. These will become the legs.
2
STEP
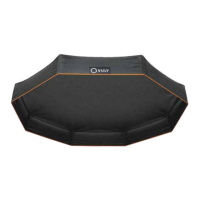
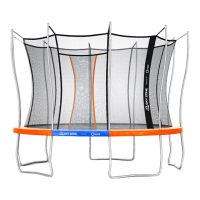
Take one completed W-shaped section (leg), and insert the straight poles into the connections on the curved poles (frame).
Continue until you have all the legs attached to the frame.
Note: Make sure that all spring locks engage—the buttons on the straight poles must be on the same side as the connection
holes on the curved frame.
3
STEP