12 13
Recommended accessories to increase the stability
When using heavier equipment, especially in combination with a large exten-
sion, it may be necessary to increase the stability of the stand by additional
ballasting measures. For this purpose, we recommend the use of special
sandbags or stand weights. These ensure the optimum stability of your stand
even under adverse conditions. You can nd suitable accessories in our web-
shop www.foto-walser.de/en under:
Item number, description
15537 Walimex pro Sand Bag
15876 Walimex pro Tripod Weight, 3 kg
13739 Walimex Weight for Rods & Boom Stands, 4.4 kg
Instructions for use and care of the stand and boom
■ Please note that lamp stands must be set up on a sufciently strong, level
surface to ensure maximum stability and load capacity.
■ Observe the instructions regarding the maximum load capacity of your
stand model (see technical specications).
■ Bear in mind that the load values given apply to equipment placed cent-
rally on the stand and to a balanced boom. Depending on the equipment
used (and the leverage that occurs), the maximum load values may differ
from the specied maximum value.
■ Note that moisture on the centre column elements signicantly reduces
the holding force and the centre column segments can sink downwards
accordingly when loaded. Therefore, if necessary, dry the centre column
elements with a soft, absorbent cloth (e.g. made of cotton).
■ In general, all elements of this lamp stand are maintenance-free. However,
regular removal of sand, dust and other impurities is recommended. If you
notice a scratching or crunching noise when moving the centre column
or boom segments, please remove the impurities with a soft, moistened
cloth. Also check the tightness of the fasteners (3) and tighten them with
an appropriate socket wrench (not included) if necessary. The correspon-
ding centre column segment can now be easily removed and cleaned.
Before opening the fasteners, please urgently observe the warnings for
loosening the spring preload of the centre column elements at the begin-
ning of these instructions.
■ When adjusting the centre column with mounted equipment, for your own
safety and to protect the equipment installed, make sure that you hold the
corresponding centre segment with one hand before loosening the stand
Now shut the clamping lever (7) far enough that both the stand and the
boom can no longer slip out.
Now move the clamping adapter to the desired height. Turn the boom to
the desired angle and pull it out as far as desired, making sure to leave space
for the counterweight. Make sure that the teeth of the rosette in the clam-
ping adapter t into each other and can engage. Now screw the clamping
lever completely shut.
The boom is now mounted and adjusted as desired.
Mounting equipment on the boom
The boom is extendable and features a 5/8“ spigot adapter at the tip. You
can attach all kinds of equipment to it. Please note the maximum load capa-
city, see technical specications.
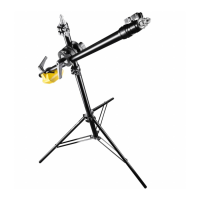
To maintain the stability of the stand, a 4.4 kg counterweight is included.
Use this at the rear end of the boom on the other side of the clamp adapter
to compensate for the leverage of the mounted equipment. Ask a second
person to help with the assembly.
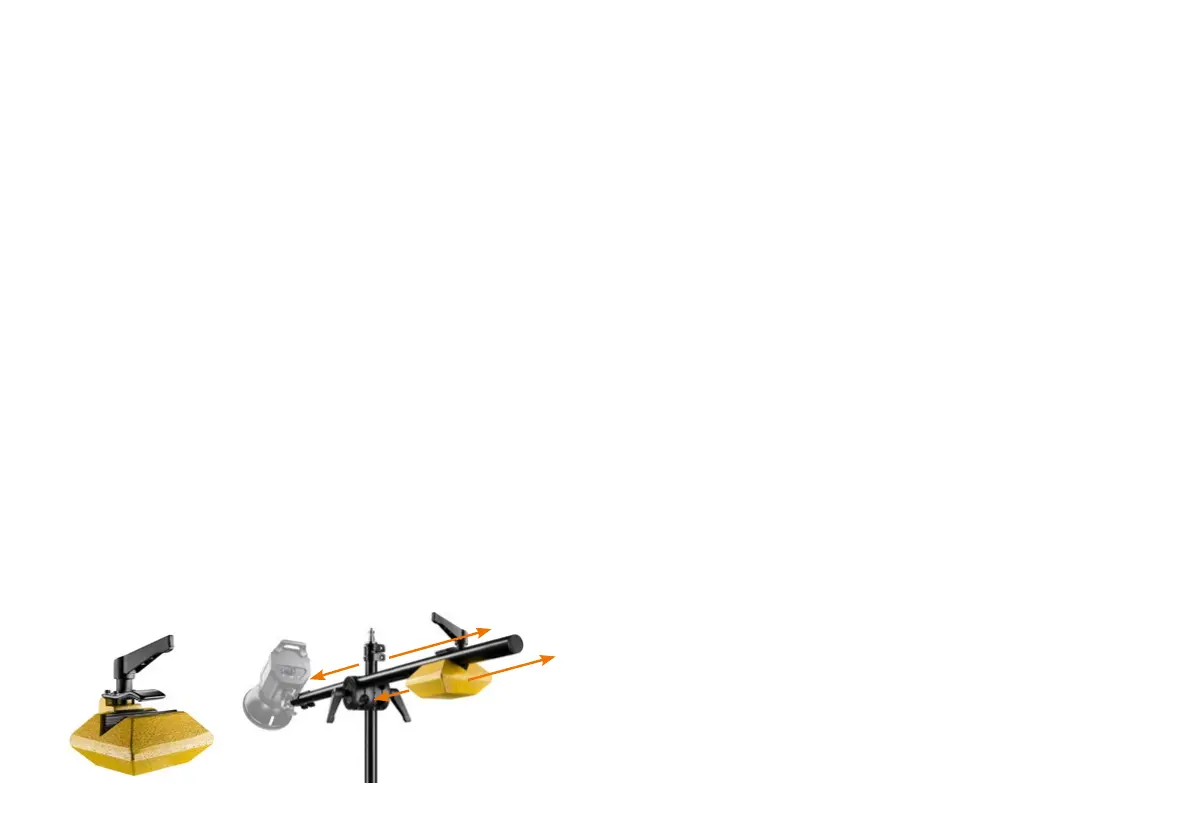
To mount equipment involving the counterweight, rst attach the counter-
weight to the rear end of the boom right next to the centre column of the
stand by opening the clamp, placing it in position and tightening the clamp
again. Now extend the boom to the desired length and attach the desired
equipment to the 5/8“ spigot in a non-slip manner, taking care to tighten the
screw on the slimmer part of the spigot. From now on, hold the boom rmly
with one hand to prevent it from sinking or tipping. Move the counterweight
on the spigot and / or the spigot in the bracket until you have reached a
balance between the equipment and the counterweight. Make sure that the
equipment and the boom are rmly mounted and that the stand is secure
before letting go.
 Loading...