Do you have a question about the Walker Edison W70NOR and is the answer not in the manual?
Verify all parts and hardware are present before commencing assembly.
Assembly is easier and safer with two people.
Identifies wood dowels, screws, and bolts as main hardware types.
Instructions on applying glue to secure wood dowels in place.
Specifies Phillips head screwdriver and advises against power tools.
Attach door stopper (K) to part (1) using screw (L).
Attach cam bolts (B) to part (1) using screwdriver.
Use hex key (G) to secure bolt (F) into part (2).
Insert wooden dowels (A) into parts (3,4,5,6).
Attach parts (3,4,5,6) to part (2) using bolt (E) and hex key (G).
Slide back panels (7,8) into grooves as per diagram.
Attach part (1) to parts (3,4,5,6) and secure with cam lock (C).
Attach plastic wedge (V) to parts (7,8) using screw (U).
Place stickers (D) over holes as per diagram.
Insert shelf support pins (H) into parts (3,4,5,6).
Place shelves (9) on top of support pins.
Place plastic pivots (P) over holes as per diagram.
Attach handles (S) and door hinges (M,N) to doors (13,14).
Insert top hinge (M) into pivot (P), slide door (13) into bottom hinge (N), secure with screws (Q).
Insert top hinge (N) into pivot (P), slide door (14) into bottom hinge (M), secure with screws (Q).
Insert glass holders (J) into parts (4,5).
Place glass shelf (10) on top of glass holders.
The unit is now fully assembled.
| Brand | Walker Edison |
|---|---|
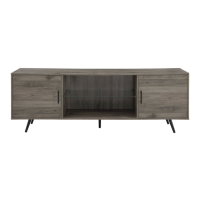
| Model | W70NOR |
| Category | Indoor Furnishing |
| Language | English |