Do you have a question about the Warn 37852 and is the answer not in the manual?
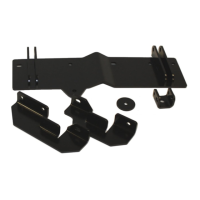
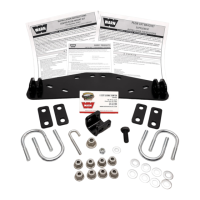
Details on how to install U-bolts onto the ATV frame for the mounting bracket.
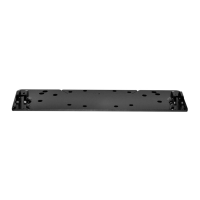
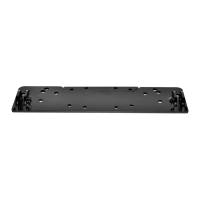
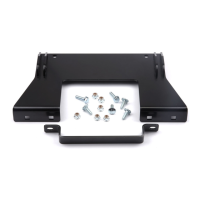
Diagram showing specific hole locations for frame mounting on different ATV models.
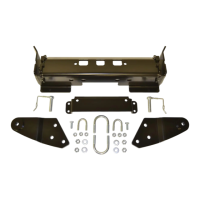
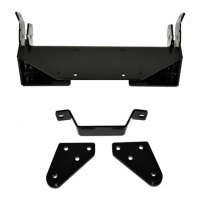
Procedure for sliding and securing the plow assembly to the frame.
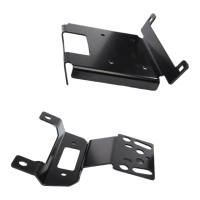
Instructions for attaching the J-bolt bracket to the plow cross member.
Guidance on connecting the winch cable to the J-bolt bracket.
This document provides installation instructions and safety information for the WARN ATV Snow Plow, specifically designed for Honda 450S and 450ES models. The mounting kit for this plow is PN 37852.
The WARN ATV Snow Plow is an accessory designed to be attached to Honda 450S and 450ES ATVs for snow removal. It allows the ATV to push snow, making it a useful tool for clearing driveways, paths, and other areas. The system includes a frame mounting bracket that attaches to the ATV's frame, and a plow assembly that connects to this bracket. A winch (not included, but required for operation) is used to lift and lower the plow blade. The J-bolt mechanism is a critical safety feature, designed to break the connection between the plow and the ATV under high forces to prevent damage to the plow or vehicle.
| Brand | Warn |
|---|---|
| Model | 37852 |
| Category | Racks & Stands |
| Language | English |