8
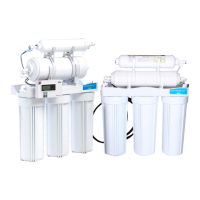
Step 8. Connect the System Tubing
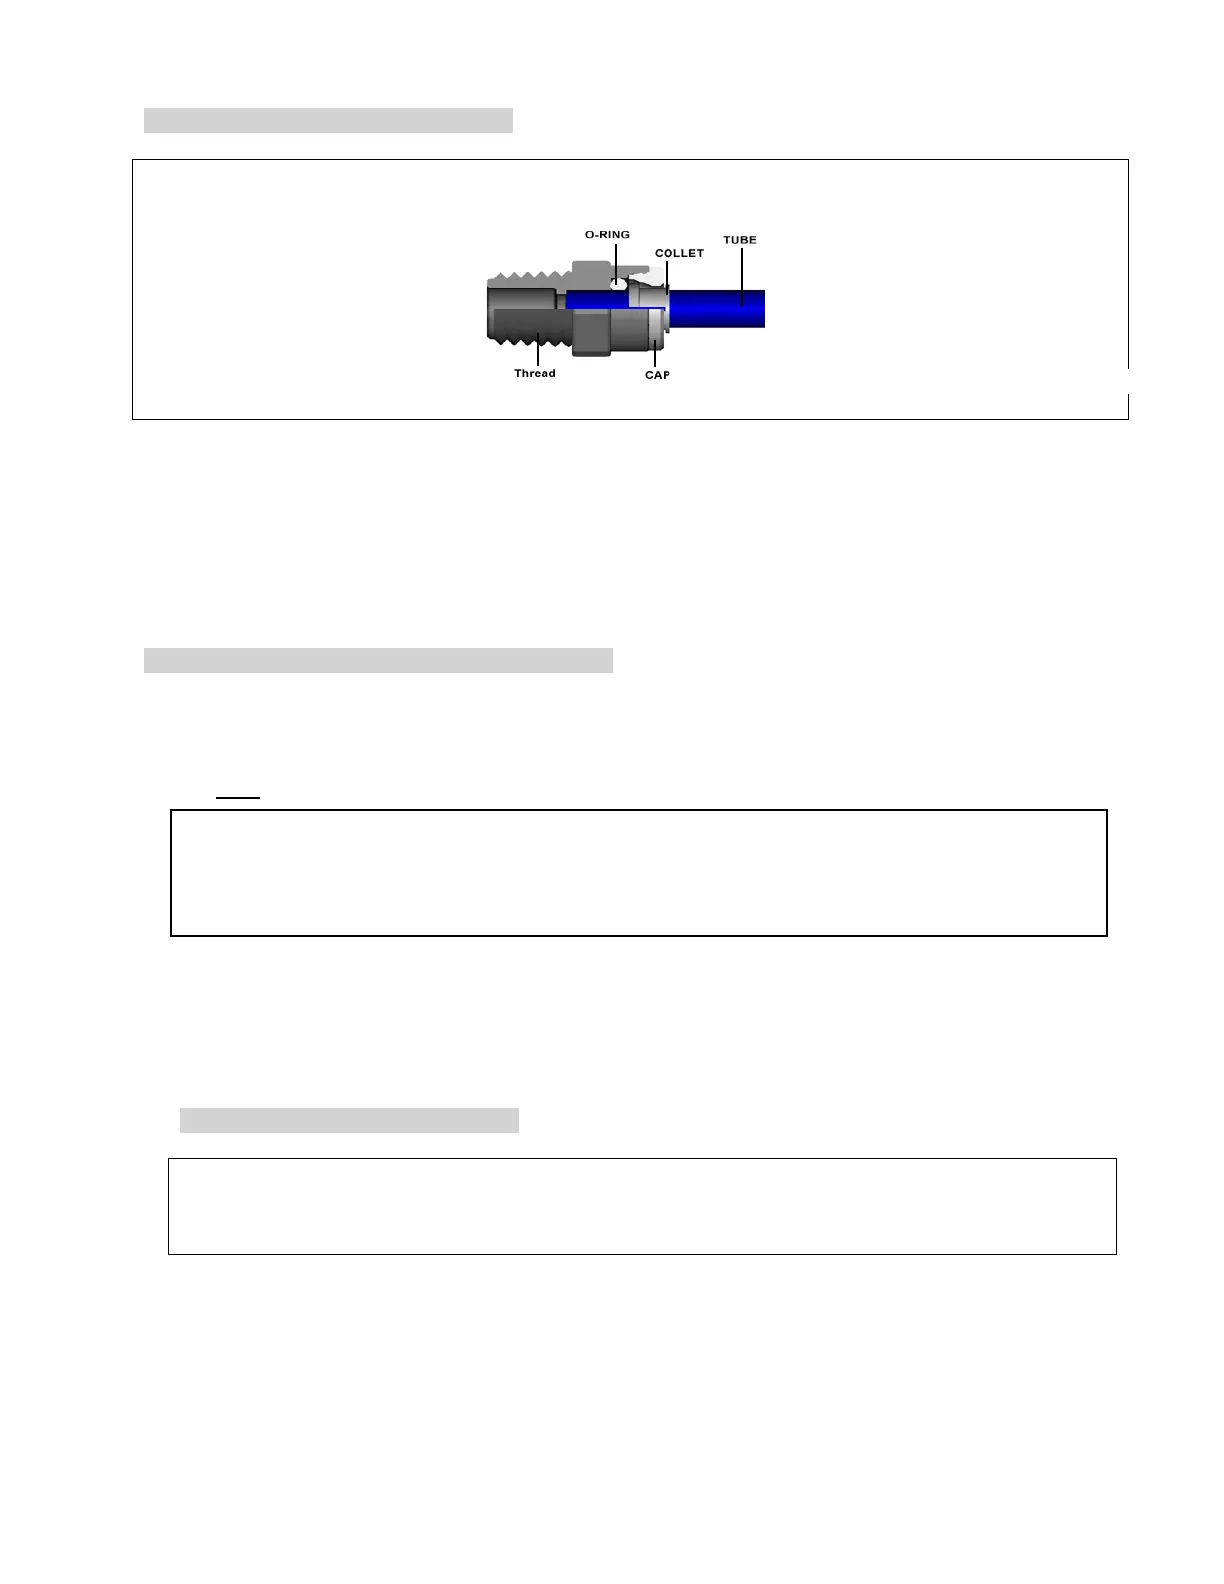
!
Making and securing a push on connection is simple. First, the
tubing should be cut square and any burrs or rough edges
removed. Insert the tube firmly and push until the tube end
contacts the stop. Gently tug the tube backwards to assure a
secure connection. To disconnect, pull the tube while
pushing in the collet ring. The joint may be used over and over
again, if necessary.
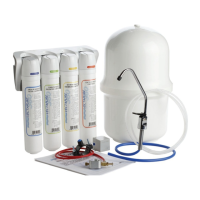
1. Connect the cold water supply valve to the first filter housing water inlet push-on fitting
(marked “water inlet”), after cutting the ¼” supply tube to the length required.
2. Connect the 3/8’” tube attached to the faucet to the system fitting marked “to faucet”. If the
tubing is not pre-attached to the faucet, cut the 3/8” clear tubing to the desired length and
attach the tube to the fitting at the base of the faucet shank to the fitting marked “ to faucet”
on the filter unit.
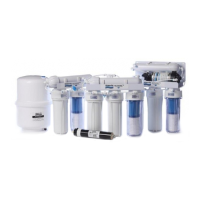
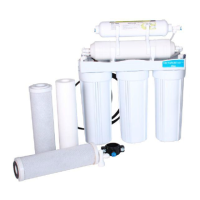
Step 9. Filling and Sani-Flushing the System
1. Turn on the feed water adapter valve and check all connections for leaks. Do not proceed
further until any leaks are fixed.
2. Open the faucet at the sink and let the water run free for 10 minutes. Turn the saddle valve
OFF. Leave the faucet open until water flow stops.
!
THOROUGHLY WASH HANDS BEFORE LOADING CARTRIDGES.
3. Remove the clear filter housing by turning counter clockwise with the housing wrench
supplied. Remove all protective wrapping from the filter cartridges. Insert the 5-micron white
sediment filter cartridge in the clear housing and reassemble housing. The housings are
seated with o-rings – DO NOT OVERTIGHTEN – 1/4 turn after hand tight is usually sufficient.
Install the carbon cartridge in the remaining white filter housing and reassemble.
Step 10. Starting Up the System
!
DO NOT USE ANY WATER FROM THE SYSTEM UNTIL THE NEXT STEP IS COMPLETE.
4. Open the faucet and let the system operate for about 3-4 minutes. You will see dark carbon
dust briefly flush from the carbon filer cartridge – this is harmless and normal for the first flow
of water through the cartridge. Once completed, your system is ready for use.