Softener Specifications
-Pre-Installation Check List-
A water test should always be performed in order to determine total water hardness (in gpg) and total dis-
solved iron (in parts per million - ppm). This is critical for proper equipment selection, sizing and for determining
the program for regeneration frequency. If heavy concentrations of iron (above 5 ppm), iron coloration, iron bac-
teria or sediment are present, filtration prior to the softener will most generally be required. Certain states may
require a licensed plumber for installation.
Note : Flexible water supply connectors and flexible drain line tubing may not be allowed in you locale. Please
check with local plumbing code officials prior to installation.
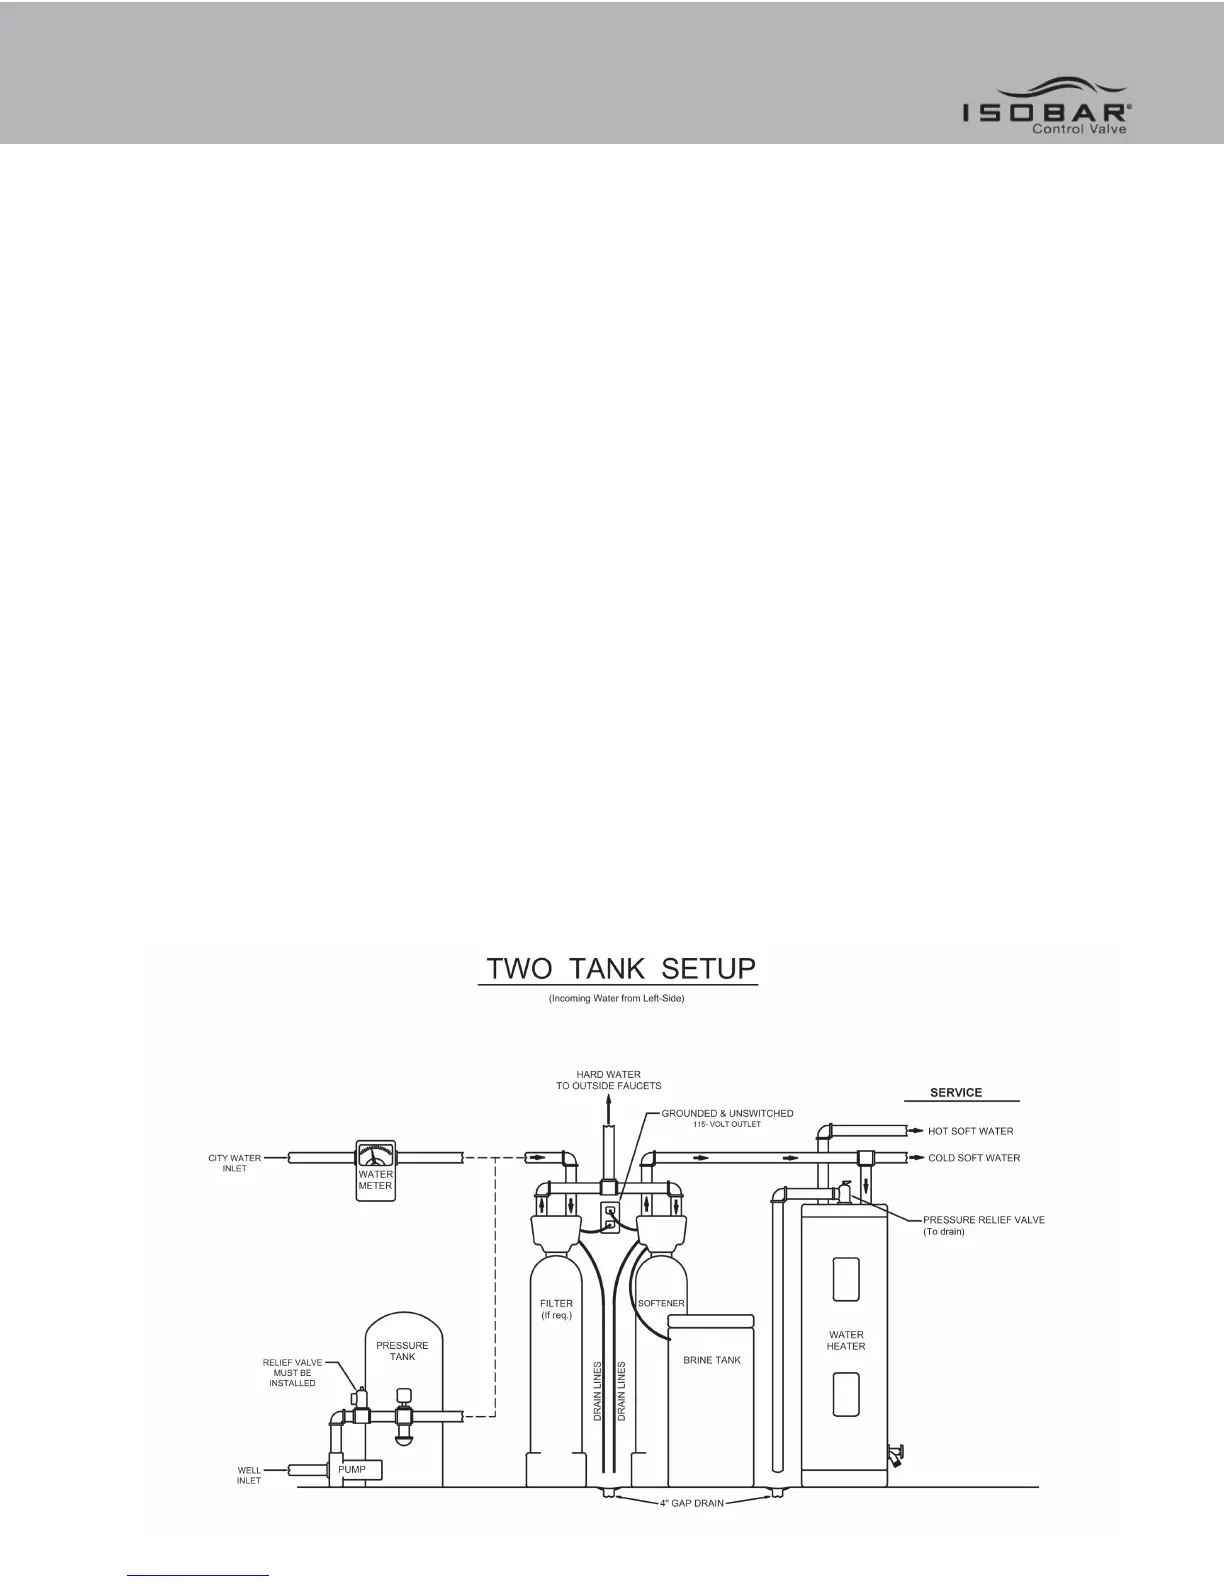
Installation Requirements
• A level floor position ahead of piping into water heater.
• Unit must be installed at least 10’ ahead of the inlet to a water heater to prevent damage due to
back-up of hot water.
• DO NOT install the unit in an area of direct sunlight or where freezing temperatures may occur!
(See Installation Diagrams for proper placement and plumbing connections.)
-Major System Components-
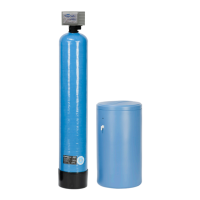
1. Brine Tank - This tank holds the salt that is added to the softener. This salt is dissolved with water to form a
brine solution used in the softener regeneration process.
2. Resin Tank - This tank contains the ion exchange resin media. Water flows through the resin tank under pres
sure to come into contact with the resin for water softening.
3. Control Valve - The valve directs water through the resin tank for water softening and controls the flow of
water / brine for the regeneration process.
Installation
5