23
Visit our website at http://watt-age.globalhobby.com for information on other Wattage products
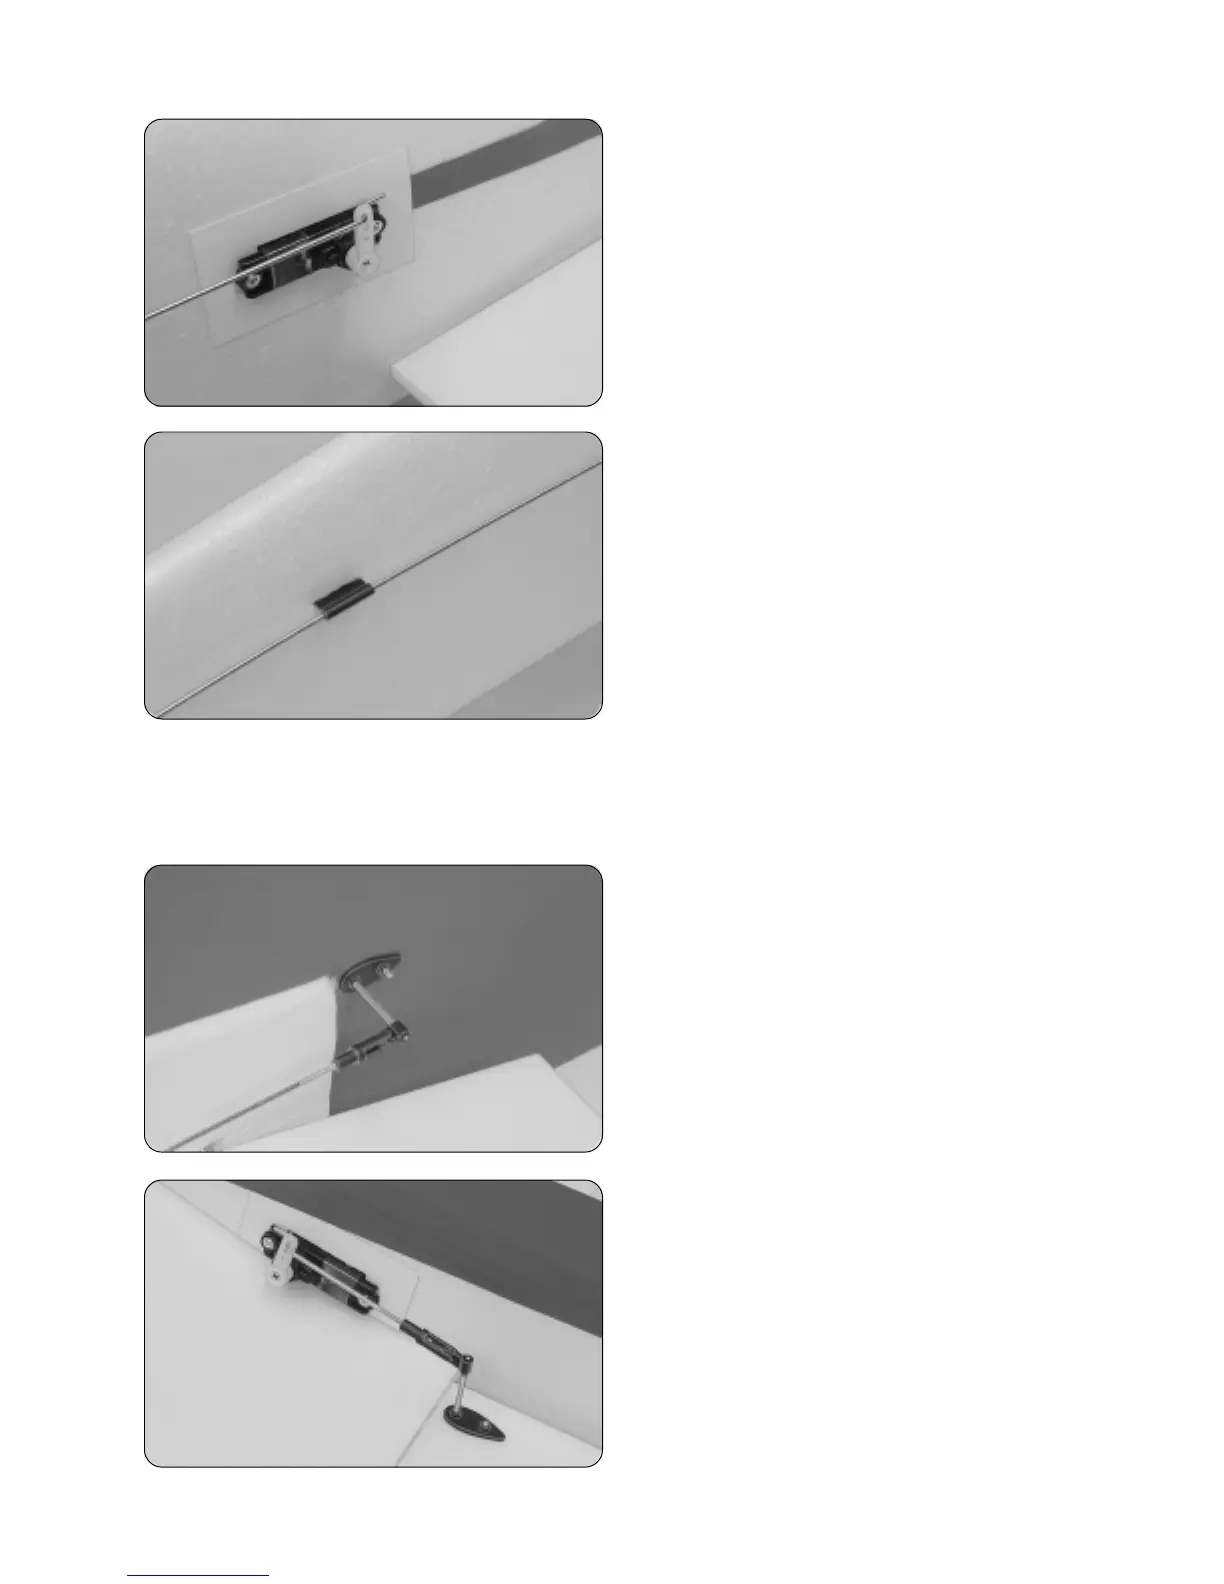
❑ Attach the servo horn to the Z-Bend, then attach the servo
horn to the servo, making sure it's centered.
❑ Install and tighten the servo horn retaining screw, provided
with your servo, to secure the servo horn into place.
❑ Double-check that the elevator is still centered. If it is out of adjustment, remove the clevis and readjust it until you are
satisfied with the alignment. Reinstall the clevis and unplug and turn off your radio system.
❑ Center the nylon pushrod support along the length of the
pushrod wire, cut a shallow slot in the fuselage side using a
modeling knife, then glue the support into the slot using 5
minute epoxy.
WARNING Make sure not to get any epoxy between the
pushrod wire and the nylon support.
☞
After installing the nylon support, the pushrod will be
bowed in toward the fuselage side. This is normal and will not
cause any problem.
Step 4: Installing the Rudder & Aileron Pushrod Assemblies
❑ The rudder pushrod assembly is installed exactly like the
elevator pushrod assembly.
IMPORTANT The rudder control horn should be installed
1/4" below the base of the rudder counter-balance. Again,
make sure that the front of the control horn mounting plates
are 1/8" behind the hinge line.
❑ The aileron pushrod assemblies are installed exactly like
the elevator and rudder pushrod assemblies.
IMPORTANT The aileron control horns should be installed
3/8" out from the inside edge of the ailerons and the front of
the control horn mounting plates should be 1/8" behind the
hinge line.
 Loading...