24
Need help or have any questions? Call us at 1-714-963-0329 or send us an email to service@globalhobby.net
SECTION 12: FINAL ASSEMBLY
Step 1: Installing the Cowling, Propeller & Spinner Assembly
❑ # 0 Phillips Head Screwdriver
❑ Wire Cutters
❑ Adjustable Wrench
❑ 220 Grit Sandpaper w/Sanding Block
YOU'LL NEED THE FOLLOWING PARTS FROM THE KIT:
❑ (1) Nylon Propeller
❑ (1) Spinner Assembly - Front & Back
❑ (2) M3 Hex Nuts
❑ (1) Molded Plastic Cowling
❑ (1) Molded Clear Canopy
❑ (4) M2 x 5 Wood Screws
❑ (1) Double-Sided Tape
❑ (1) Velcro
®
Mounting Material
❑ (1) Decal Set
YOU'LL NEED THE FOLLOWING TOOLS AND SUPPLIES:
❑ K&S 30 Watt Soldering Iron
❑ Heat-Shrink Tubing (Assorted Sizes)
❑ Solder
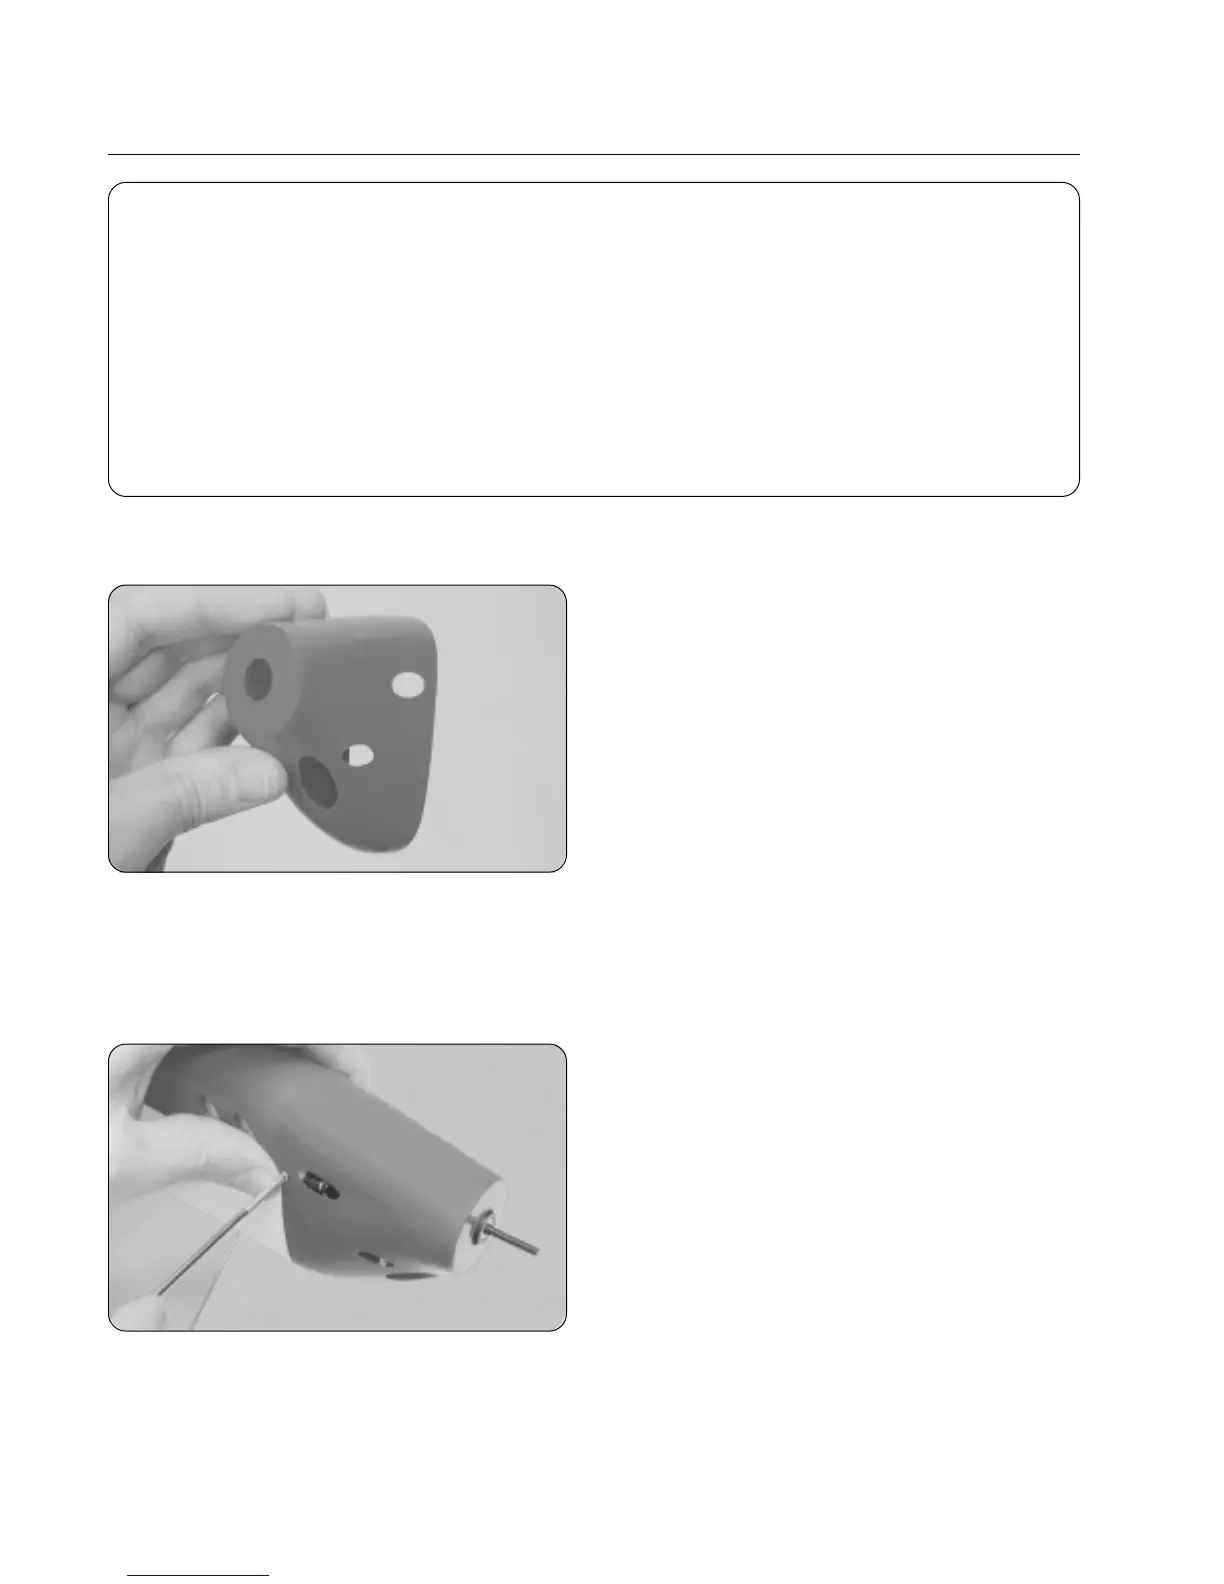
❑ Using a pair of scissors, carefully cut away and remove
the molded radius from the back edge of the cowling.
❑ Using a modeling knife, carefully cut out the three air-
intake holes on each side of the cowling, then cut away the
molded radius on the front of the cowling to clear the gear
box assembly.
❑ Using 220 grit sandpaper with a sanding block, carefully sand the back edge of the cowling smooth and straight.
❑ Slide the cowling over the gear box assembly and onto the fuselage.
❑ Carefully adjust the cowling so that the front of the cowling is 1/16" behind, and centered around, the front of
the gear box.
❑ When satisfied with the alignment, install and tighten two
M2 x 5 wood screws (one on each side), threaded through
the cowling and into the plastic fuselage top deck, to hold the
cowling in place.
☞
Use the tip of your modeling knife to make small pilot
holes in the cowling and top deck.
❑ Thread one M3 hex nut onto the propeller shaft and finger-tighten it until it will not thread on any further.
❑ Slide the propeller onto the propeller shaft, making sure that the back of the propeller slides firmly over the hex nut.
☞
The back of the propeller is molded to fit over the hex nut.
 Loading...