For assistance with assembly or questions contact:
Wayfair Customer Service, 877-WAYFAIR (877-929-3247) | www.wayfair.com
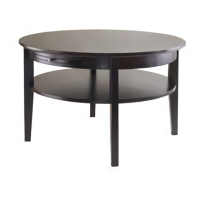
13PW152WHT COFFEE TABLE
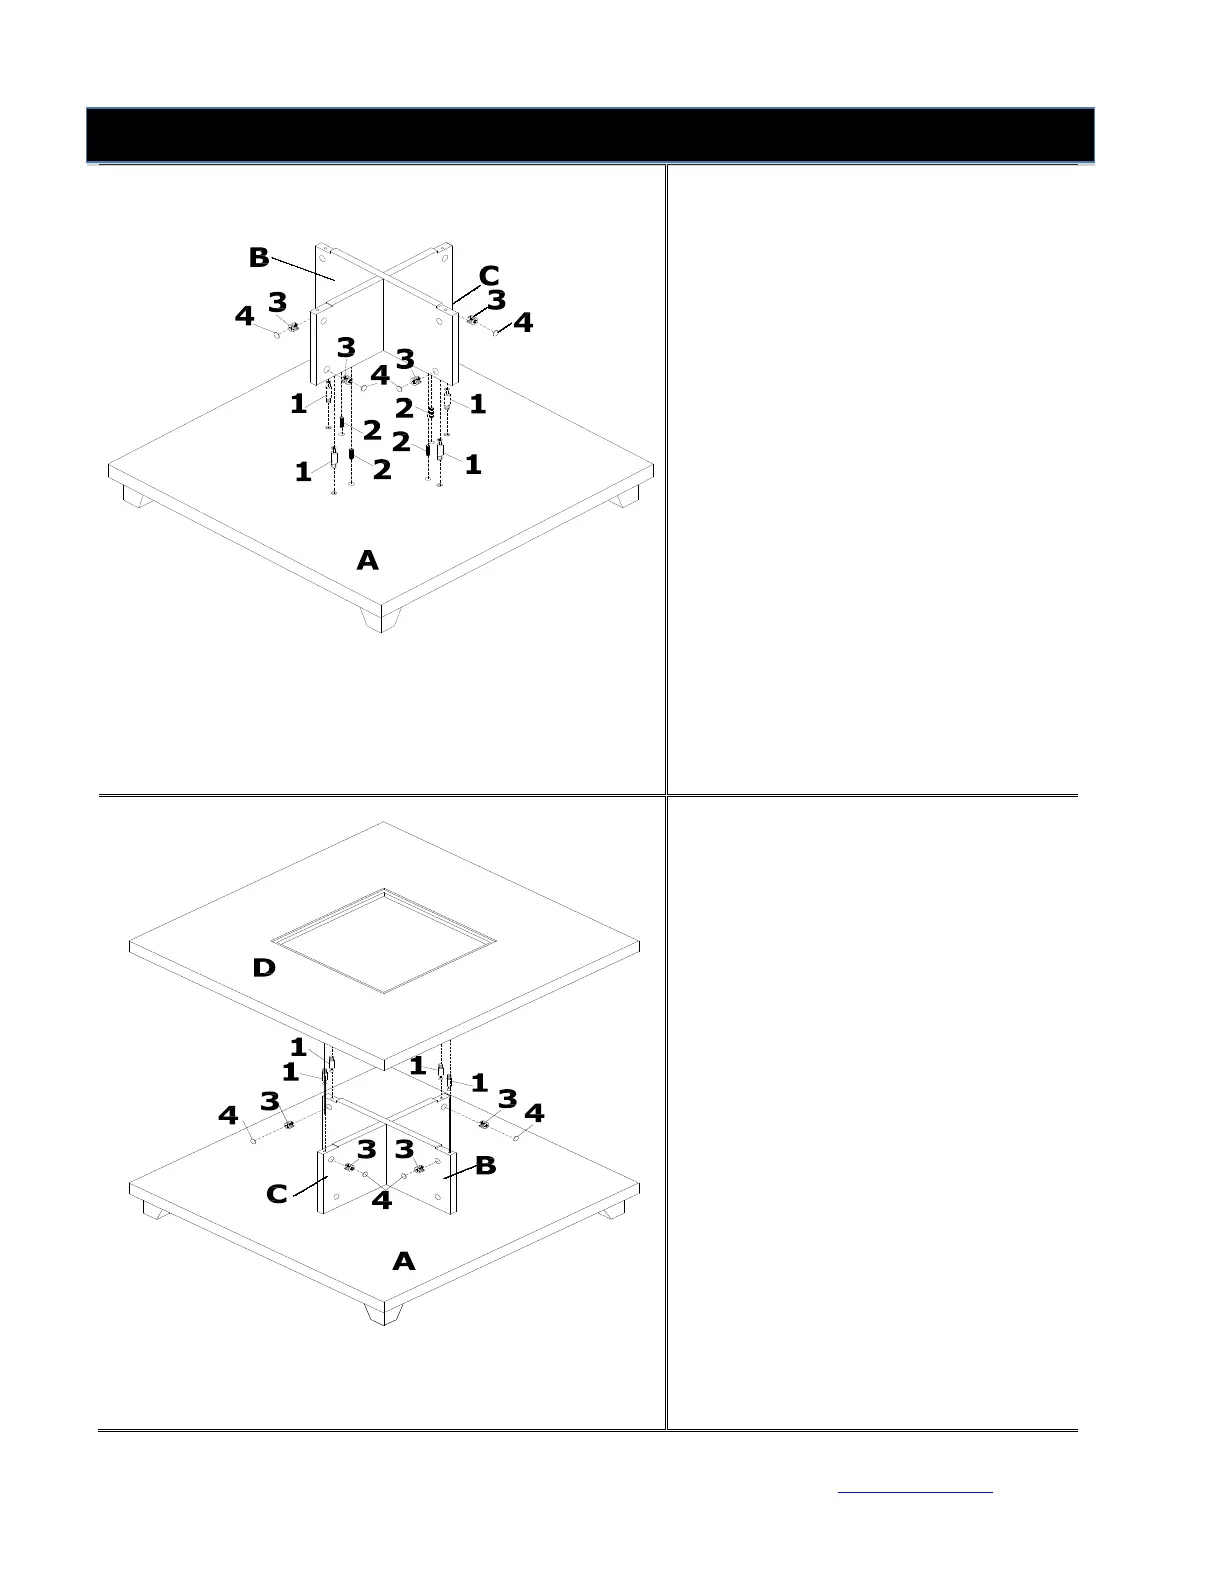
Step 3
Insert Cam Locks (3) into pre-drilled
holes on preassembled unit from
Figure 2.
Screw Cam Bolts (1) into pre-drilled
holes on Bottom Panel (A). Attach
preassembled unit from Figure 2 to
Bottom Panel (A) by inserting Wood
Dowels (2) and Cam Bolts (1) into
corresponding pre-drilled holes until
preassembled unit from Figure 2 and
Bottom Panel (A) meet.
Tighten by rotating Cam Locks (3)
clockwise with Phillips screwdriver
(not included).
Cover cam lock holes with Plastic
Covers (4).
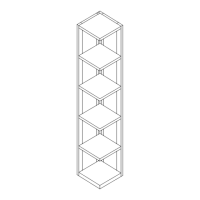
Step 4
Insert Cam Locks (3) into pre-drilled
holes on preassembled unit from
Figure 3.
Screw Cam Bolts (1) into pre-drilled
holes on Top Panel (D). Attach Top
Panel (D) to preassembled unit from
Figure 3 by inserting Cam Bolts (1)
into corresponding pre-drilled holes
until preassembled unit from Figure
3 and Top Panel (D) meet.
Tighten by rotating Cam Locks (3)
clockwise with Phillips screwdriver.
Cover cam lock holes with Plastic
Covers (4).