9
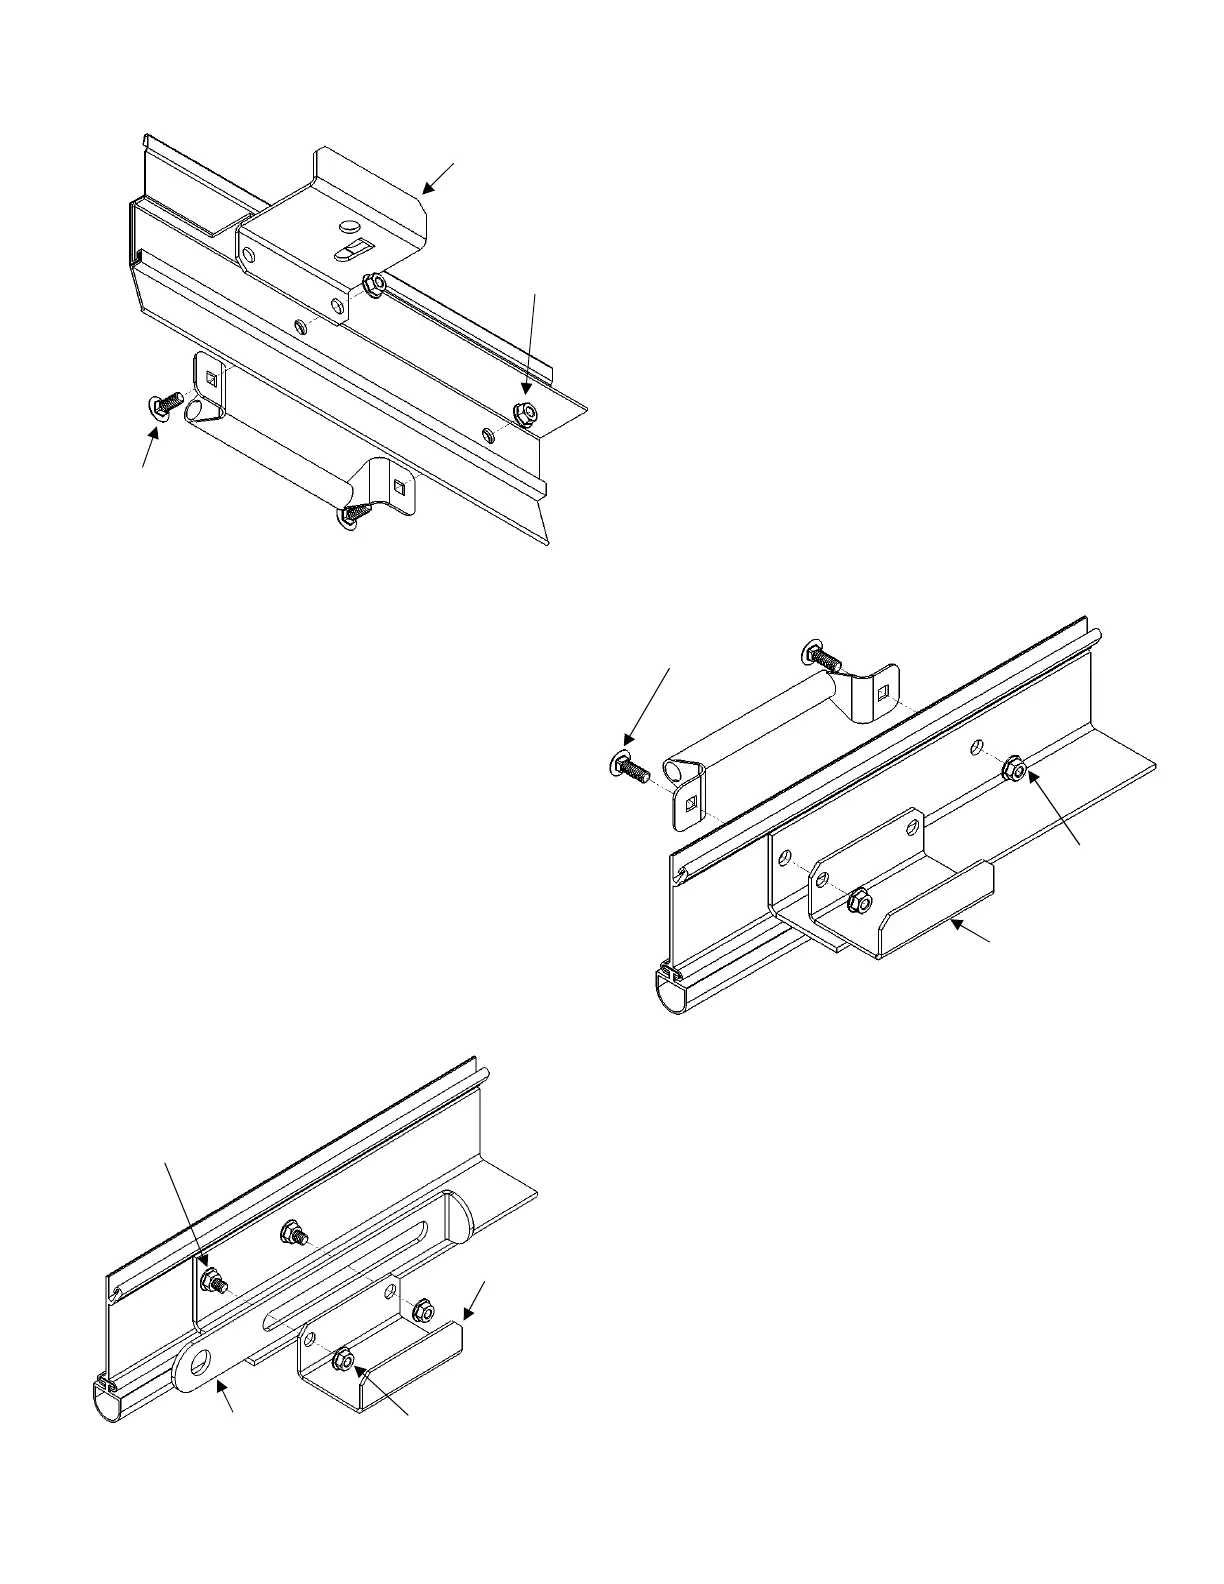
I: DS-75 Mini ‘Z’ Stop-Clip Attachment:
For DS-75 mini doors, install the ‘Z’ stop-clip as
shown on the right. Since the stop-clip has a
retaining tab on top, it only requires one bolt to
secure it to the bottom bar. Repeat assembly
procedure for both sides.
II: DS-50 & 100 ‘C’ Stop-Clip Attachment:
For doors with an aluminum bottom bar, a ‘C’ stop-
clip will need to be installed. Only one bolt is
required to secure the stop-clip to the bottom bar
when attaching a lift handle on that side. Repeat
assembly procedure for both sides.
III: ‘C’ Stop-Clip w/ Inside Slide Bolt Attachment:
Install slide bolt locks, if provided, as shown. The
bottom bar will have (4) carriage bolts & flange nuts pre-
attached. Verify that the flat sides of the nuts are
horizontal to the bottom bar. This ensures smooth
operation of the slide bolt. Place the slide bolt lock so
that the slot rides on the flange nuts. Then, add the stop-
clip and attach, using the flanged nuts. Repeat assembly
procedure for both sides.
(2) ‘C’ stop-clips
(4) ¼ - 20
flange nuts
(4) ¼ - 20 carriage bolts
(4) ¼ - 20 carriage bolts
(4) ¼ - 20 flange nuts
(4) ¼ - 20 carriage bolts
(4) ¼ - 20 flange nuts
(2) ‘Z’ stop-clips
 Loading...