B) Alarm Setting
1. Press the “+” button on the back of the base unit. An Alarm Bell icon (“ ”) appears between the hour and minute
digits, indicating the alarm function is active.
2. Press the “SET” button to enter Alarm Setting mode. The alarm digits appear in place of the clock, indicated by the
“AL” icon which appears next to the alarm digits.
3. Press and hold the “SET” button for 2 seconds. The alarm hour digits flash.
4. Press the “+” or “-” button on the back of the unit to change the hours. Press “SET” to confirm. The minute digits flash.
5. Press the “+” or “-” button to change the minutes. Press “SET” to confirm. The alarm is set. The clock display returns.
6. The alarm will sound for 1 minute at a rising volume unless silenced.
● To silence the alarm for 5 minutes, press the “SNOOZE/LIGHT” button on the top of the base unit.
The Alarm Bell icon (“ ”) icon flashes. The “ ” icon will continue to flash as long as the Snooze is active.
● To stop the alarm for the day and deactivate the Snooze, press any button on the base unit except SNOOZE/LIGHT.
The Alarm Bell icon (“ ”) stops flashing, indicating the alarm is turned off for the day. The alarm will sound again the
next day at the set time.
● To deactivate the alarm completely, press the “+” button until the alarm bell icon (“ ”) disappears. The alarm is
deactivated and will not sound the next day.
Note: If no buttons are pressed within 30 seconds, the unit will automatically exit Alarm Setting mode and return to Clock
mode.
If the snooze button is not pressed, the alarm will silence after one minute. The alarm will not sound again until the next
day if the alarm is still active.
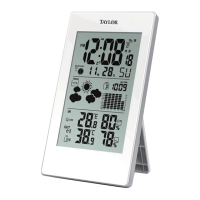
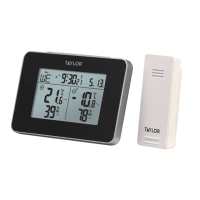
MAXIMUM/MINIMUM TEMPERATURE AND HUMIDITY READINGS
Your WeatherGuide™ will store the last recorded high and low temperatures and humidity over a 24 hour period. The 24
hour period starts when the units are powered up.
● Press the “MEM” button on the back of the base unit once to display the highest (maximum) indoor and outdoor
temperature and humidity readings since the unit was last reset. “MAX” will show on the LCD.
● Press the “MEM” button a second time to display the lowest (minimum) indoor and outdoor temperature and humidity
readings since the unit was last reset. “MIN” will show on the LCD.
● Press the “MEM” button a third time to see current indoor and outdoor temperatures and humidity, or the display will
automatically return to current readings after 10 seconds.
To clear the maximum and minimum readings: In either MAX or MIN mode, press and hold the “MEM” button for 2
seconds to clear both memories. The displays show dashes (“--”) and the unit will begin to track new MAX and MIN
readings. The memories will also reset when the base unit’s batteries are removed.
Notes: If the temperature is higher than the range of the unit, the display will show “HH.H”. If the temperature is lower,
the display will show “LL.L”.
If the humidity is higher than the range of the unit, the display will show “HH”. If the humidity is lower, the display will
show “LL”.
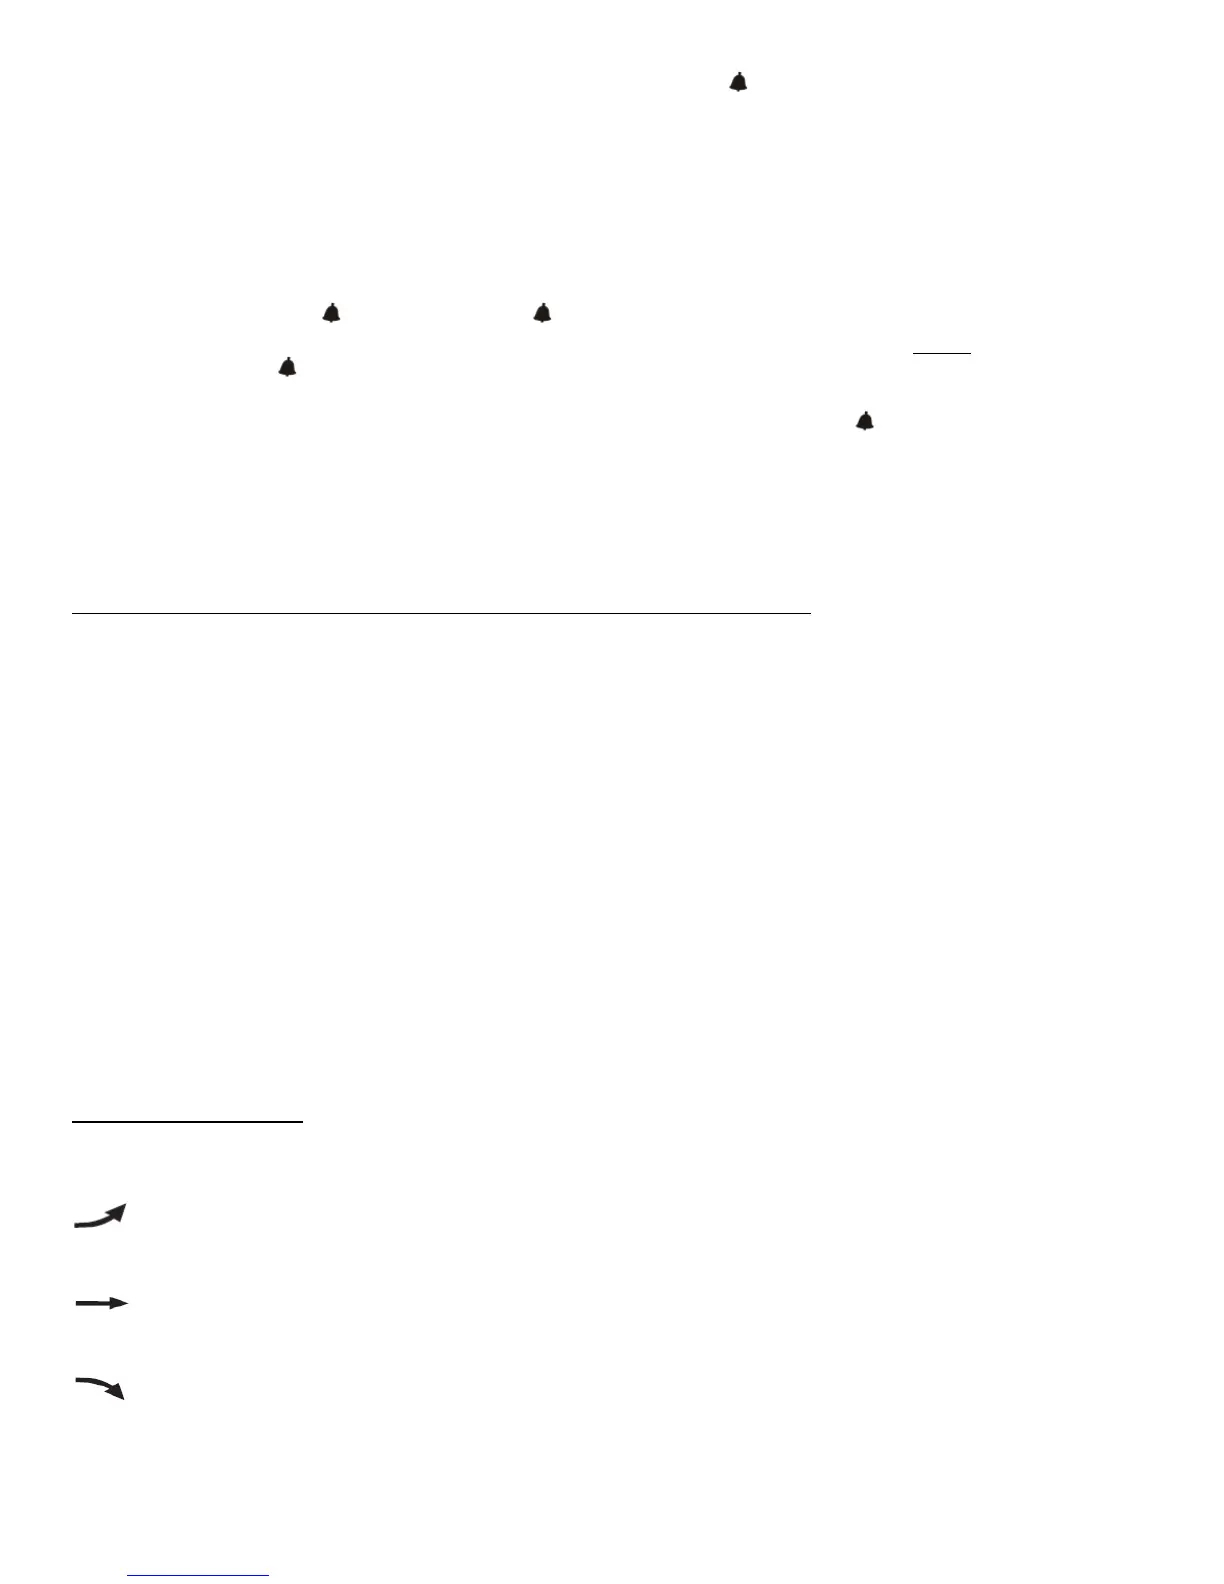
TREND INDICATORS
Arrow icons on your WeatherGuide™ screen will indicate if temperature and humidity readings are rising, falling, or
steady. The Temperature Trend arrow icon is located to the right of the temperature digits.
The Humidity Trend arrow icon is located to the right of the humidity digits.
indicates Rising Temperatures or Humidity (temperatures have gone up more than 1.8°F (1°C) or
humidity has gone up more than 3% in an hour)
indicates Steady readings (temperatures have not changed more than 1.8°F (1°C) and humidity has not
changed more than 3% in an hour)
indicates Falling Temperatures or Humidity (temperatures have gone down more than 1.8°F (1°C) or
humidity has gone down up more than 3% in an hour)
 Loading...