Disconnection of a connector with pneumatic coupling (Pos� 4) and control - / bleeding
valve (Pos� 3)
Î
After completing the test process and thorough venting of
the media line, disconnect the connector.
Caution: First depressurize the system before releasing
the connection.
Î
Operate the valve tappet of the control - / bleeding valve
(Pos. 3) (Figure 7). The pilot pressure applied is vented.
The front seals (Pos. 7) / the main seals (Pos. 8) are
relaxed, the connection to the test piece is released and the
connector can be removed straight backwards.
Attention: In the event that you cannot remove the connec-
tor:
- Wait a few moments
- Never use excessive force
- Do not use any tools (e.g. hammer)
- Make sure that the pilot pressure is released and the
front seals are completely relaxed.
Disconnection of a connector with hand slide valve (Pos� 6)
Î
After completing the test process and thorough venting of the media line, disconnect
the connector.
Caution: First depressurize the system before releasing the connection.
Î
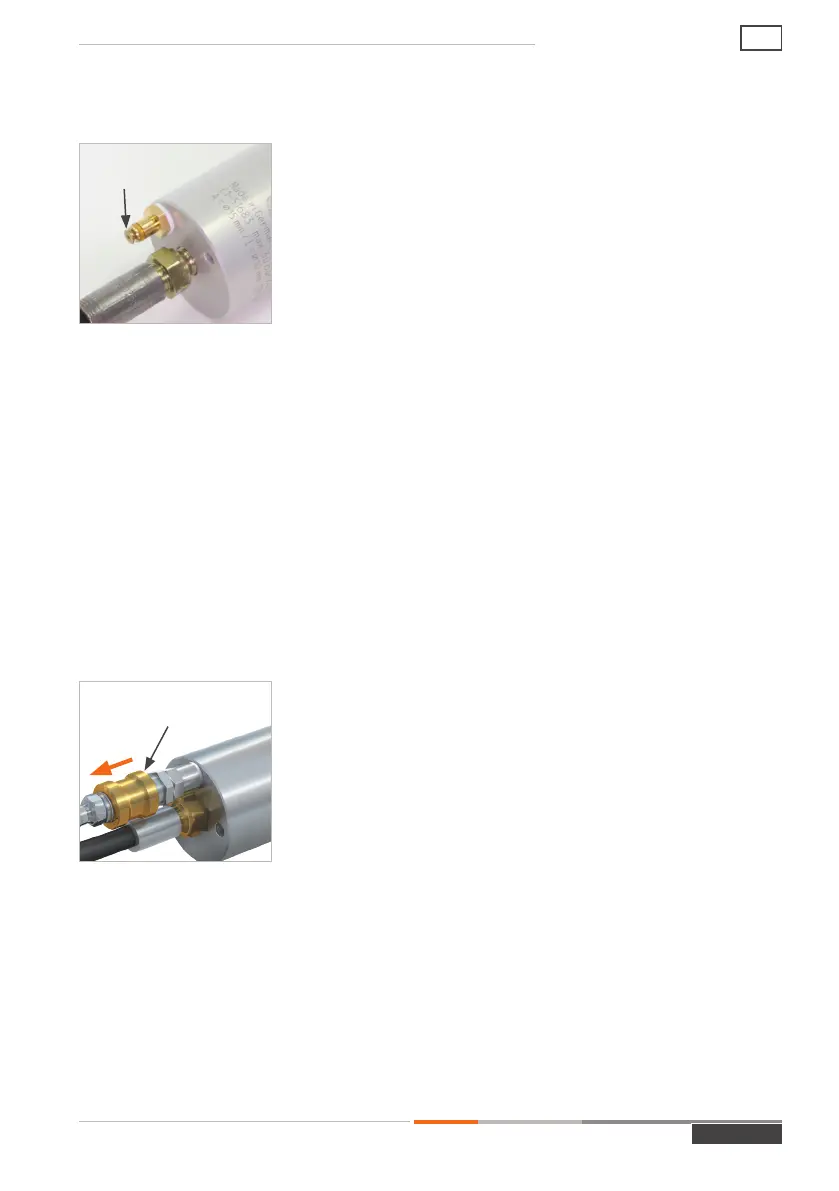
Push the sliding sleeve of the hand slide valve (Pos. 6)
backwards (Figure 8). The pilot pressure applied is vent-
ed. The front seals (Pos. 7) / the main seals (Pos. 8) are
relaxed, the connection to the test piece is released and the
connector can be removed straight backwards.
Attention: In the event that you cannot remove the connec-
tor:
- Wait a few moments
- Never use excessive force
- Do not use any tools (e.g. hammer)
- Make sure that the pilot pressure is released and the
front seals are completely relaxed.
Figure 7
Valve tappet
Figure 8
Hand slide valve
MD-10187-L51-R1.3.0-03
Page 25
Operating instructions
AE