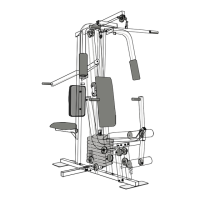
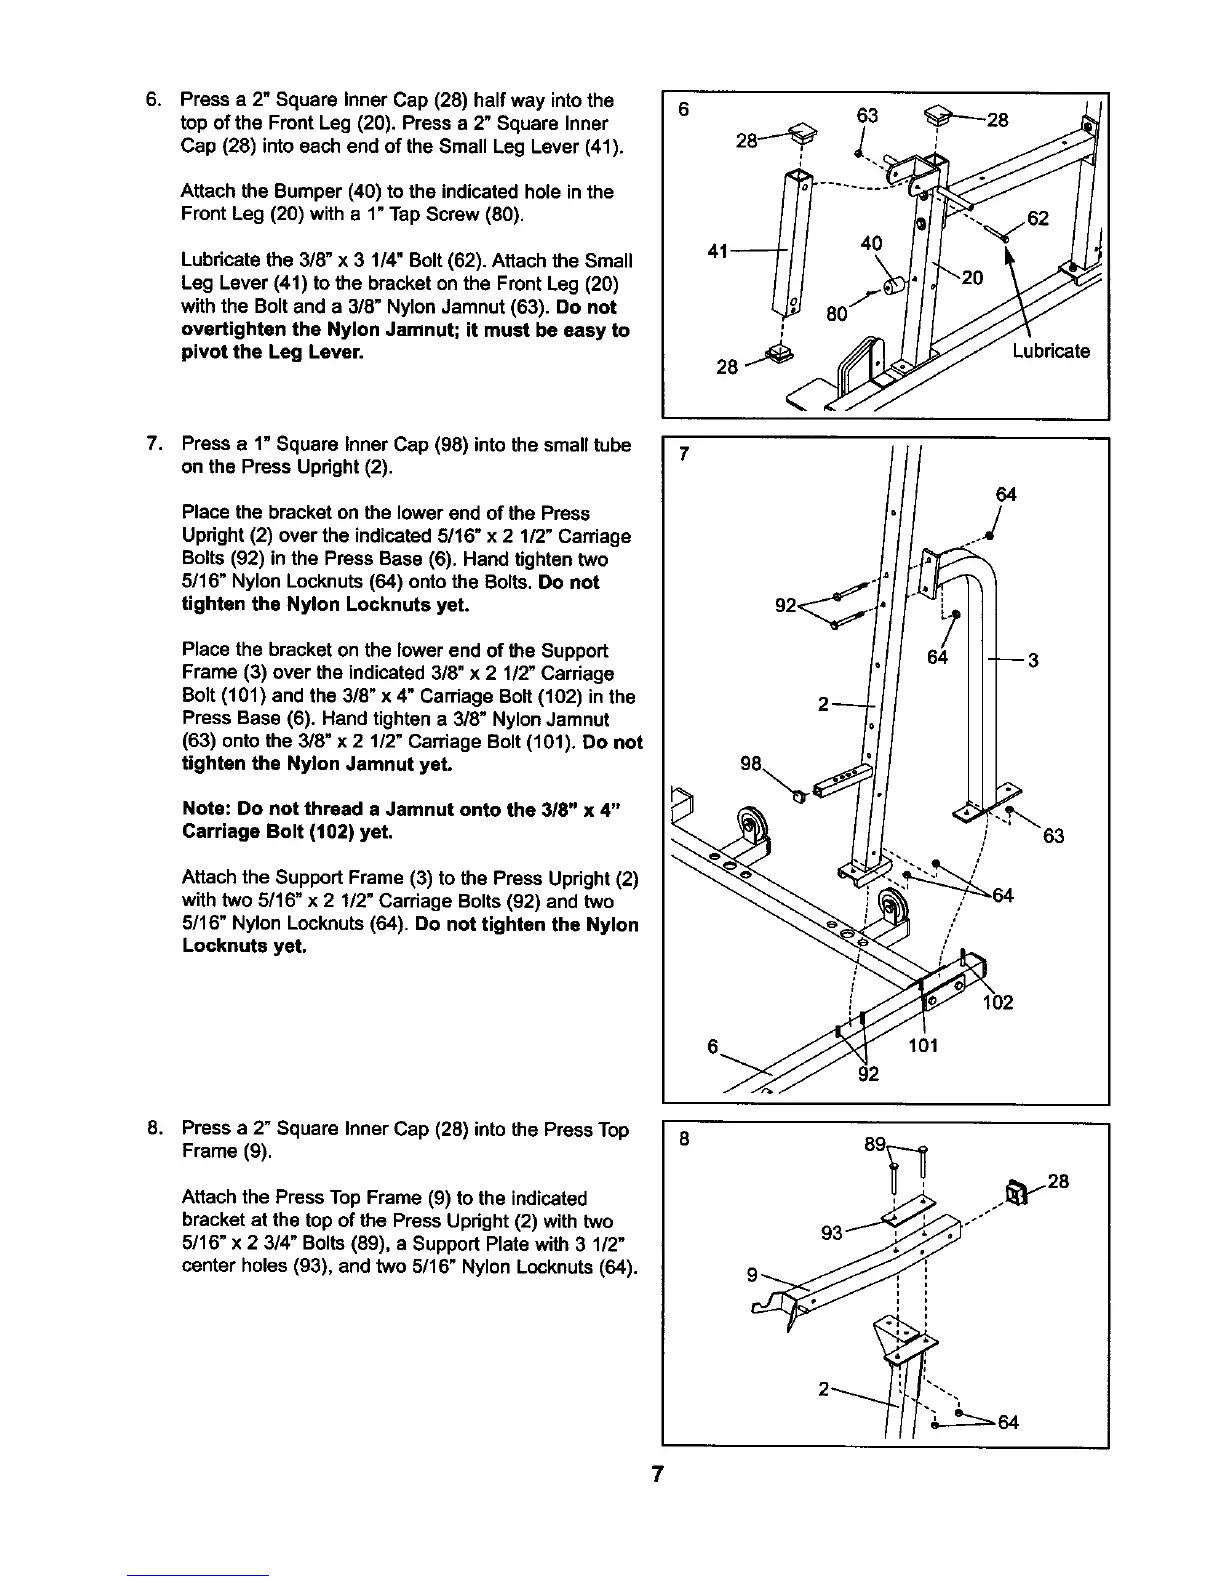
6. Press a 2" Square Inner Cap (28) half way into the
top of the Front Leg (20), Press a 2" Square Inner
Cap (28) intoeach end of the Small Leg Lever (41).
Attach the Bumper (40) to the indicatedhole in the
Front Leg (20) with a 1"Tap Screw (80).
Lubricatethe 3/8" x 3 1/4" Bolt (62). Attach the Small
Leg Lever (41) tothe bracket on the Front Leg (20)
with the Boltand a 3/8" Nylon Jamnut (63). Do not
overtighten the Nylon Jamnut; it must be easy to
pivot the Leg Lever.
40
Lubricate
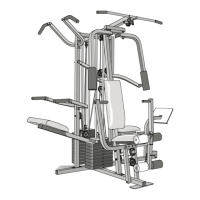
7.
Press a 1" Square Inner Cap (98) into the smalltube
on the Press Upright(2).
Place the bracketon the lower end of the Press
Upright(2) over the indicated5/16" x 2 1/2" Carriage
Bolts(92) inthe Press Base (6). Hand tighten two
5/16" Nylon Locknuts(64) onto the Bolts.Do not
tighten the Nylon Locknuts yet.
Place the bracketon the lower end of the Support
Frame (3) over the indicated3/8" x 2 1/2"Carriage
Bolt(101) and the 3/8" x 4" Carriage Bolt(102) in the
Press Base (6). Hand tighten a 3/8" NylonJamnut
(63) ontothe 3/8" x 2 1/2" Carriage Bolt(101). Do not
tighten the Nylon Jarnnut yet.
Note: Do not thread a Jamnut onto the 3/8" x 4"
Carriage Bolt (102) yet.
Attach the SupportFrame (3) to the Press Upright(2)
with two 5/16" x 2 1/2"Carriage Bolts(92) and two
5/16" Nylon Locknuts(64). Do not tighten the Nylon
Locknuts yet.
/
/
64
63
102
101
92
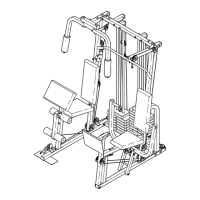
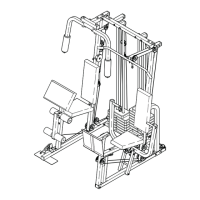
8.
Press a 2" Square Inner Cap (28) into the Press Top
Frame (9).
Attach the Press TopFrame (9) tothe indicated
bracket at the top of the Press Upright(2) with two
5/16" x 2 3/4" Bolts(89), a Support Plate with 3 1/2"
center holes (93), and two 5/16" Nylon Locknuts(64).
_> ._28
7
 Loading...