25
Materials you will need:
Wellion GALILEO Ketone Control Solution (Level 2)
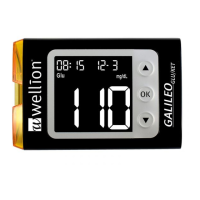
Your Wellion GALILEO GLU/KET (plus) Meter
A new Wellion GALILEO Blood Ketone Test Strip
IMPORTANT
t 6TF POMZ UIF 8FMMJPO ("-*-&0 ,FUPOF $POUSPM 4PMVUJPO -FWFM XJUI UIF
Wellion GALILEO Blood Ketone Test Strip. Other brands of control solution will produce
inaccurate results.
t "MXBZTDIFDLUIFFYQJSBUJPOEBUFXX . DO NOT use control solutions if expired.
t .BSL UIF OFXMZ PQFOFE CPUUMF PG DPOUSPM TPMVUJPO XJUI UIF EBUF PQFOFE %JTDBSE BOZ
unused control solution 3 months after opening.
t %0/05'3&&;&PS3&'3*(&3"5&4UPSFUIFDPOUSPMTPMVUJPOTBU¡$¡$
Step 1: Insert a Wellion GALILEO Blood Ketone Test Strip into the meter with the blood
sample reaction zone facing up. Make sure the test strip contact points are inserted all
the way into the meter.
Step 2: The “Ket“ symbol, the ashing blood drop and test strip icons appear on the
meter display screen.

 Loading...