7
Owner’s Manual WPC-6000
Maintenance
FILTER CLEANING (See Figures 9 and 10)
There are two lters in the unit. The evaporator lter is located at the front of the unit. The
condenser lter is located at the side of the unit.
1. loosen up 2 bolts on the front lter guard.
2. Slide lter up and use a vacuum cleaner to remove the dust from the lter.
3. If the lter is heavily covered with dust and dirt, warm water and mild soap or neutral deter
-
gent may be used to wash the lter. Do not use any other chemicals to clean lter, as they will
likely damage the lter.
4. Dry the lter in a shaded area before replacing it. Do not operate the unit without the lter
installed and the lter guard in the closed posion.
5. Replace the clean lter and close the lter guard.
6. To clean the condenser lter, li up on the side lter from the middle bar slightly and then
angle the lter outwards from the boom and remove.
7.Use the same cleaning procedure as above (3 – 5).
8. To replace the condenser lter, place the top of the lter in the guide and slide the lter up
unl the boom of the lter clears the frame. Then push the boom of lter into the guide
and let lter gently fall inside the guide.
NOTE: For eecve cooling clean the lter at least every 2 weeks.
– For your convenience, record the complete model number and product name (located on the
Product Idencaon Plate), the purchase date, purchase locaon, serial number, and warran
-
ty period in the table below.
– Also, aach your purchase receipt as proof of purchase to this instrucon manual for future
reference.
– To ensure your product is covered by warranty, the complete faulty product along with your
original purchase receipt must be provided at the place of purchase.
Do not operate without the lter ed.
Do not operate the unit with a damaged cord or plug, aer the unit malfunc
-
ons, or if the unit has been dropped or damaged.
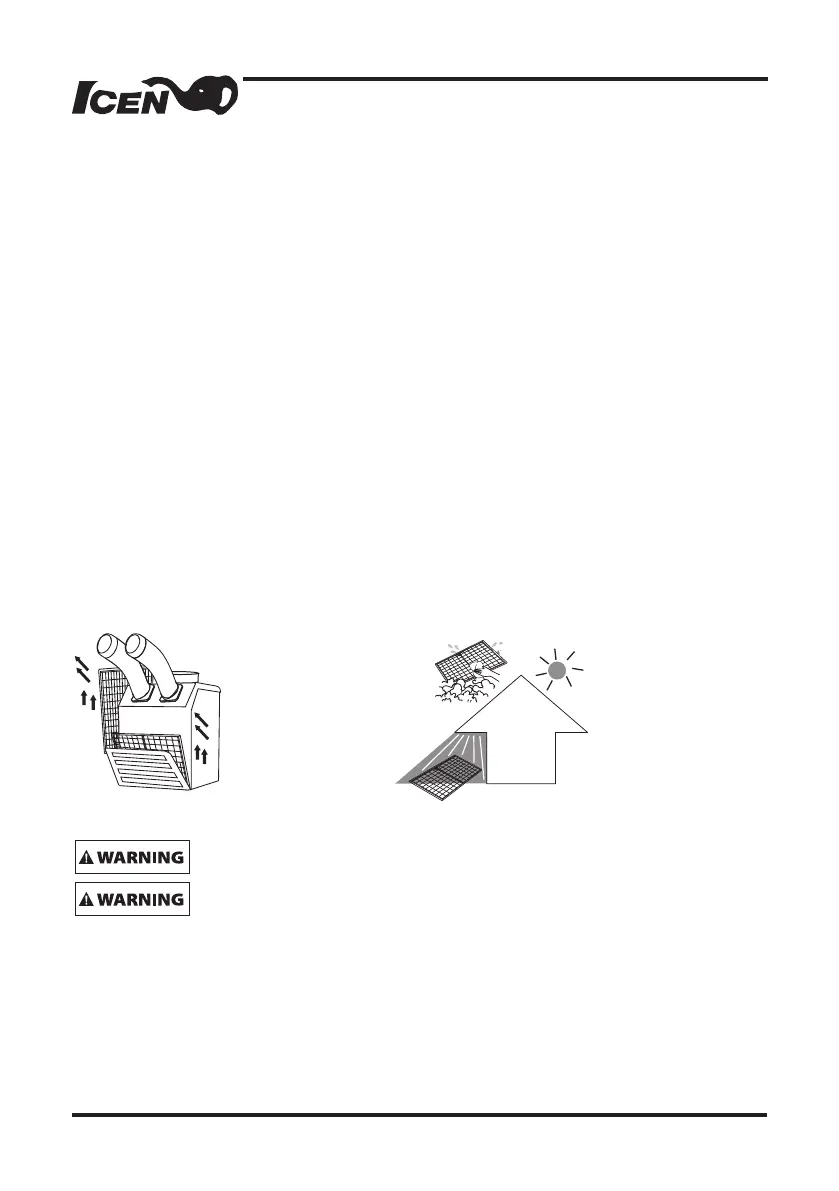
– Loosen up 2 bolts on
the front filter guard.
– Slide filter up and use
a vacuum cleaner to remove
the dust from the filter.
– Remove dust from the filter
using a vacuum cleaner
hose aachment.
– If required wash the filter i
luk
detergent. Leave to dry in
a shaded area before
reinstalling.
Figure 9 – Removing Filters
Figure 10 – Removal of Dust