For best results make sure the ceiling
around the opening is flat and in good
repair and that all sides of the opening
are flat, plumb and in good repair.
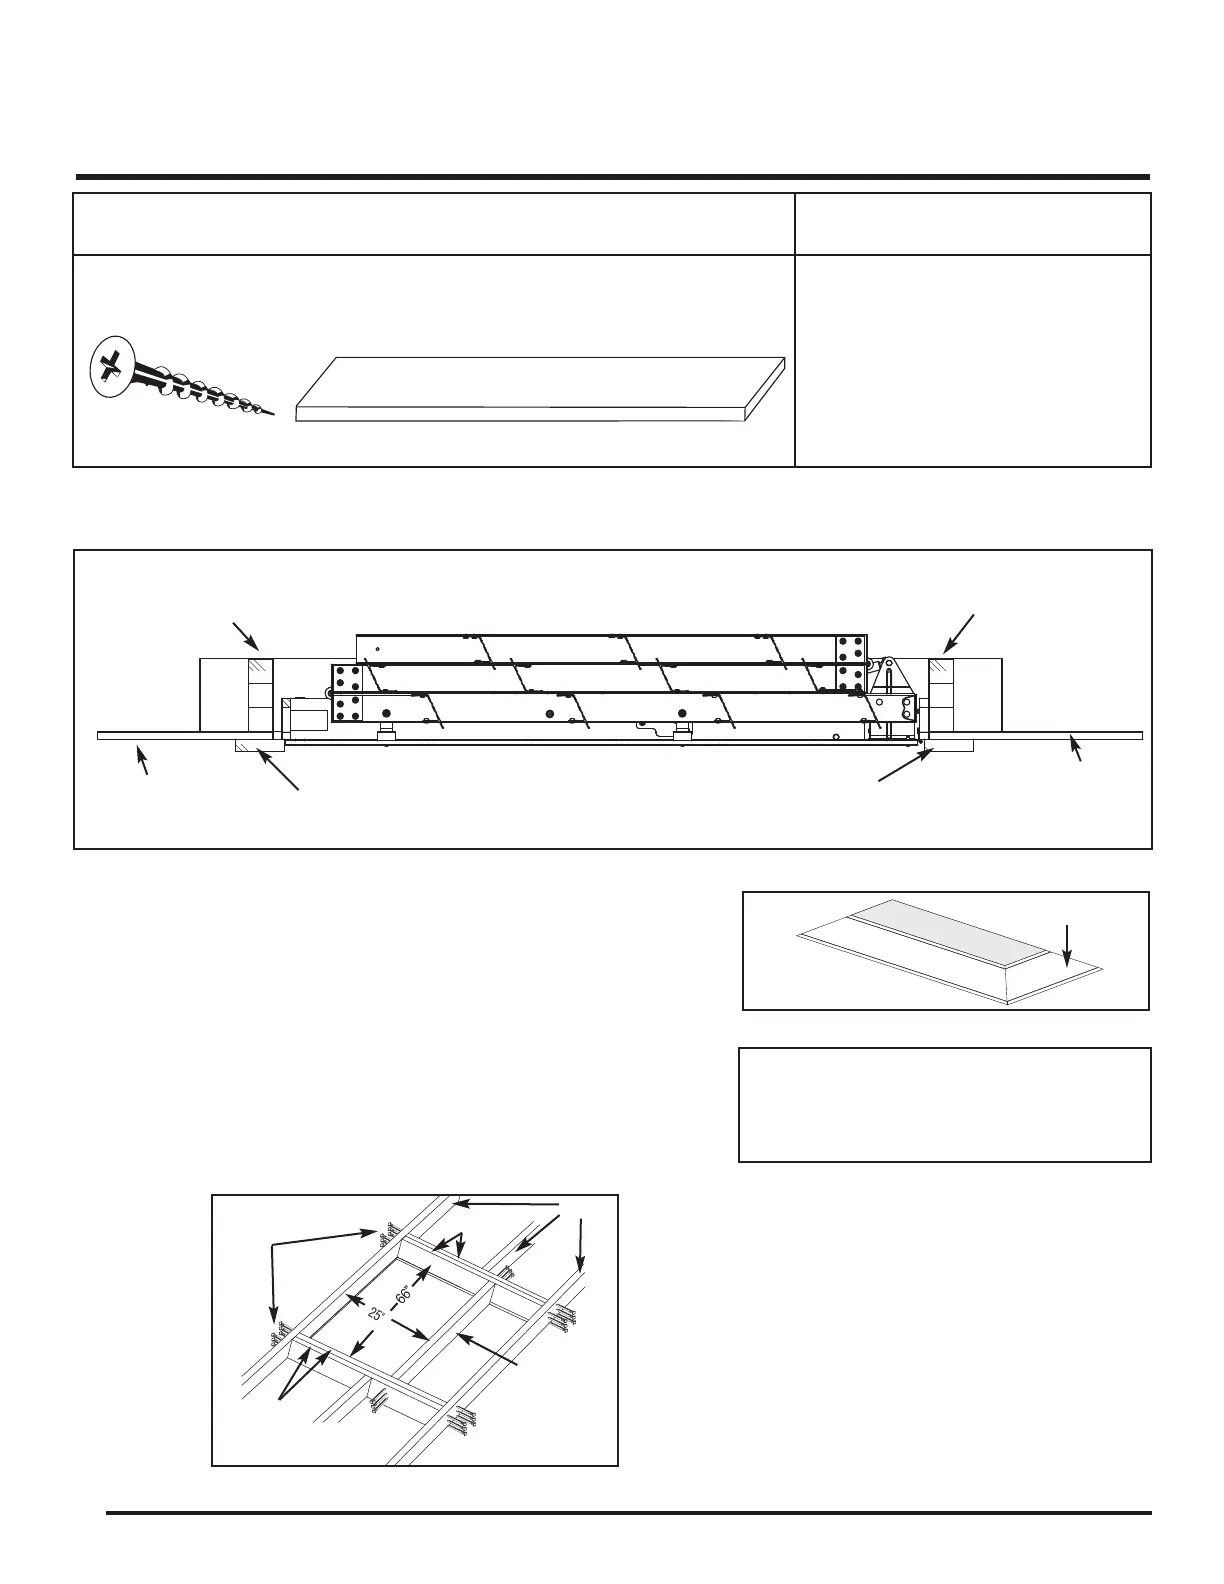
1. PREPARING EXISTING OPENING: (See Figure B)
a. Remove any trim and hardware surrounding
the opening.
b. Inspect existing attic ladder opening to make
sure it meets minimum construction
requirements and is 25" x 66" (Figure C).
c. If it is necessary to modify or create a new
opening, please refer to Appendix,Section 1.1,
page 12.
4
Step
1 PREPARING EXISTING ATTIC LADDER
OPENING FOR INSTALLATION
TOOLS NEEDED
ADDITIONAL MATERIALS NEEDED
Stepladder
Hammer
Tape Measure
Pencil
Carpenter’s Square
Drill
Phillips Driver
(6) #8 Deck Screws, 2"
1 x 4 Temporary Support Boards
(2 pieces approximately 32" long)
Figure B
Header
Figure A
Header A
Header B
Finished
Ceiling
Finished
Ceiling
1st Temporary
Support
2nd Temporary Support
At completion of Steps 1 & 2 the frame of your ladder will be installed flush with the underside of
the finished ceiling. (See Figure A)
Figure C
Headers
16d Nails
(6) per Header
Joists
25"
Headers
Stringer