Do you have a question about the Westinghouse Havanna 7254635 and is the answer not in the manual?
Essential instructions for safe operation and maintenance of the fan.
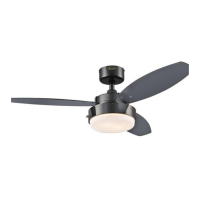
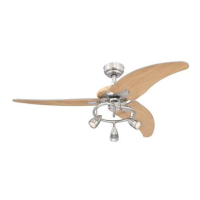
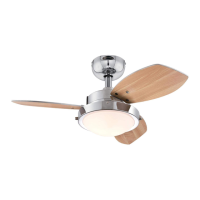
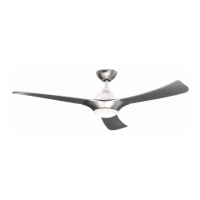
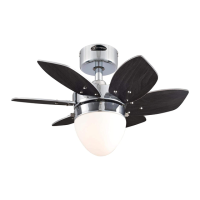
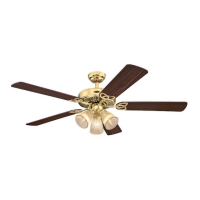
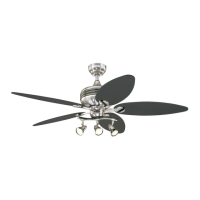
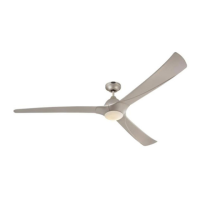
Description of fan blades with dual finishes for decorative flexibility.
Instructions for installing the downrod on standard ceiling types.
Initial steps include unpacking, checking contents, and ensuring power is off.
Ensuring the outlet box is properly fastened to a structural ceiling member for fan support.
Securing the mounting bracket to the outlet box using provided screws.
Diagram and instructions for making electrical connections to the terminal block.
Removing the top cover to access blade attachment points.
Inserting and tightening fan blades using screws and washers.
Reattaching the decorative cover after blade installation.
Lifting and rotating the fan assembly to engage the downrod ball with the mounting bracket for hands-free wiring.
Connecting the fan's plug and ground wire to the mounting bracket's terminal block.
Raising the canopy and securing it to the mounting bracket by tightening screws.
Aligning and twisting the glass shade to lock it onto the light kit.
Detaching the front cover of the wall control unit for access.
Fastening the wall control unit to the outlet box after wiring completion.
Reattaching the front cover to the wall control unit.
Connecting light, 240V hot house, and fan control wires to the appropriate terminal block markings.
Explains fan speed settings and light operation via the wall control.
Describes fan speeds, direction control (forward/reverse) for cooling and heating.
Instructions for periodic cleaning and checking of fan connections and finish.
Remedies for fan failure to start, including checking fuses and wiring.
Solutions for fan noise, such as checking screws and allowing a break-in period.
Steps to reduce fan wobble by checking blade and bracket tightness.
Troubleshooting tips for when the light fixture fails to operate.
Lists and illustrates the various components included in the fan package.
| Model Number | 7254635 |
|---|---|
| Brand | Westinghouse |
| Type | Ceiling Fan |
| Fan Diameter | 52 inches |
| Blade Span | 52 inches |
| Number of Blades | 5 |
| Downrod Length | 4 inches |
| Reversible Motor | Yes |
| Finish | Brushed Nickel |
| Motor Type | AC Motor |
| Motor Speed | 3 speeds |
| Blade Material | Wood |